GCode: The Lingo of 3D Printers
2024-12-23 | By Antonio Velasco
Talking to 3D printers can be more complicated than you might think. It can get complex very quickly for them to process layers, understand specifically where to extrude material, and how to prepare the models that you create. Similar to how websites utilize coding languages to depict graphics and text (like the one that you’re reading this on), 3D printers use their own language: G-Code. In this blog, we’ll discuss what G-Code is and explain the logic behind how your models come to life!
So, What is G-Code?
Simply, the G in G-Code stands for “Geometric.” Essentially what’s being done here is that the 3D printer needs to receive an input that describes a geometric, or 3D shape. If you’ve ever taken a coding class, chances are you might’ve had to work with creating a picture out of pixels, utilizing a series of loops and statements, mimicking the way that photos are loaded. JPG, PNG, and other image file formats utilize the same method, encoding instructions for assigning color to each pixel on a grid, resulting in a fully colored picture. G-Code does this process, except instead of designating colors and pixels, it assigns extrusions across a 3-D plane. And, instead, of going from left to right or up and down on a grid, it goes by layer-by-layer, as a 3D printer does.

G-Code also includes a significant amount of functionality for the 3D printer itself, allowing it to perform specific movements and instructions. This includes setting the operation temperature, speed, extrusion timing, and much more. To summarize, G-Code is basically a step-by-step instruction manual for the 3D printer to use.

How is G-Code Generated?
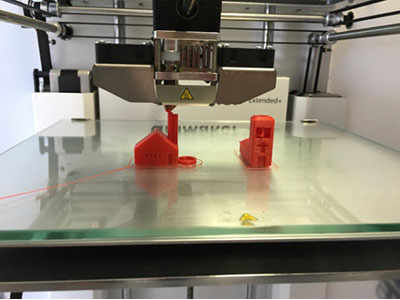
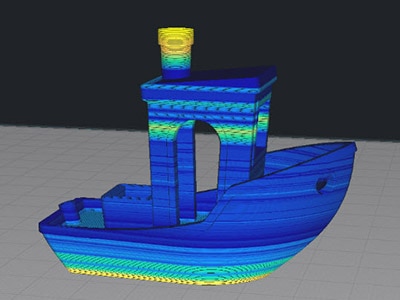
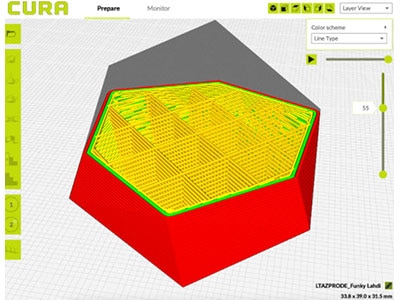
G-Code is generated through a series of steps but can be boiled down to it using slicing software and analyzing each of the individual layers. Each layer is a uniform thickness and will dictate how the printer will go about producing the model from the bottom up. Like how a 2D image can be formed with loops and statements, these layers are translated into a similar algorithm, allowing the 3D object to be formed by stacking each of these individual layers. The slicer “slices” the 3D object into each of these layers, producing a G-Code file for the printer to use.

Let’s take a look at a G-Code command to get a better understanding of what is really given to the printer. Let’s take “G1 X10 Y20 Z0.3 F1500 E0.5” for example.
- G1 is one of the most basic commands, telling the printer to move in a straight line.
- X10, Y20, Z0.3 corresponds to an XYZ-coordinate on the 3D plane (10,20,0.3), giving it a location to go to.
- F1500 tells the printer the speed to move at (1,500 millimeters/minute)
- E0.5 dictates the extrusion rate (0.5 millimeters of filament).
This is just one of hundreds of thousands of commands that will be passed to the 3D printer to use, which are all generated from a single .stl file!
So, why does this matter?
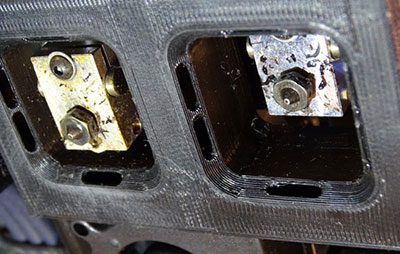
Understanding G-Code and the commands that it passes to the printer can help you to debug any potential issues, and possibly get an insight as to why your print might not be coming out the way that you want it to. For example, say that your print is extremely off at one specific section. You can examine the G-code for those specific layers to find any issues, which most common 3D printers and programs will allow you to do. You can also edit the code manually to set extruder temperatures, speeds, and more. Knowing how to tweak this code will allow your prints to become sharper over time.
G-Code is also utilized for printer calibration, which is especially essential for the first few layers that bond/stick to the base. If those layers get messed up, then it’s extremely easy for the print to come out weirdly (especially if the structures that will hold up certain parts during printing aren’t there).
Overall, G-Code is what allows you to go from a 3D model to a physical print. It’s the lingo that 3D printers will understand—instructions that will be crucial to your results. Being able to understand it yourself and to work with gives you more control and confidence in your printing.