制造商零件编号 13883
DEV LILYPAD COIN CELL BATT HOLDR
SparkFun Electronics
License: General Public License 4-20mA Battery Holders Wearables LilyPad
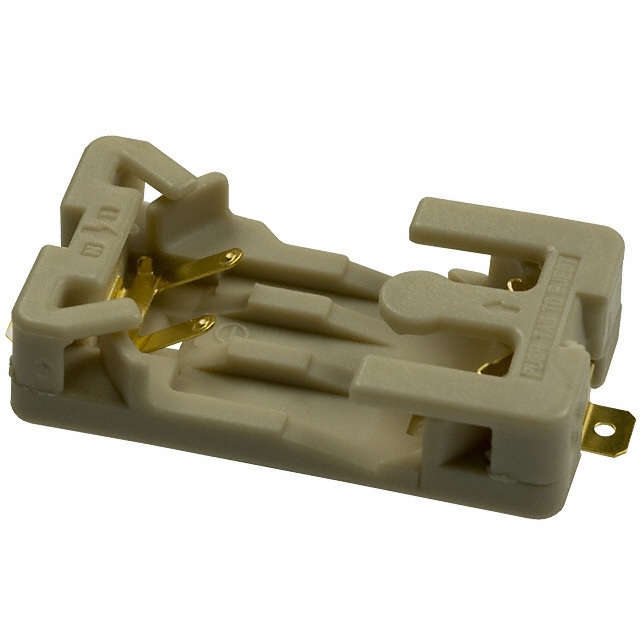
Today I'm making a coin cell battery holder - my first assembled PCB product.
I have been selling purple coin cell battery holders in my LED sewing kit for years. They're perfect for making a simple circuit, and they have a handy on-off switch, so you don't have to take the battery out to power off your project. Before these boards were available, I would use a surface-mount coin cell battery holder with tiny holes in the metal tabs. I had just enough space to sew a few stitches through those holes with conductive thread. They weren’t designed for this purpose and didn't have that handy switch, but they were better than the through-hole variety available since those don't have holes in the tabs at all.
There are a handful of circuits like this on the market that include a coin cell battery clip, a single on/off switch on a PCB, and tabs or holes to connect it to the rest of your circuit, either by soldering to the pad or sewing through the holes with conductive thread. The design I was using in my kit was a knockoff of a SparkFun Lilypad product, an open-source design. I don't feel great about buying the clones, but I was looking for the best price available for my kits. My version observes the open-source license, which means you can download my files too.
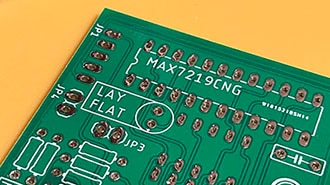
To make my own version, I started with that same open-source design for the sewable LilyPad CR2032 coin cell battery holder. I used Autodesk Fusion for this project, partially because it's what I already know how to use, and because the design files are Eagle files, which is the previous name of the software package that was rolled into Fusion. The personal use version of Fusion is free, and it has enough features to do all the things I'm going to do today.
I imported the files, installed the libraries needed, and made a few adjustments to the design. The first change I made was to have three grounds and one power. This is just so that I can turn the battery connector 90 degrees, and have it face the way I want in my projects. It's just something that annoyed me about the other one, and when designing my own I get to satisfy my personal preference.
The second update involved making sure the components available today matched my circuit design. When I was uploading to JLCPCB, the partner for this project, I had to pick out new components that matched the footprints of the components that were spec’d in the original open-source design. To do this, I just opened up the data sheets of the specified products and the products available to me through JLC and found ones that had the exact same spacing between their pads. I easily found a battery clip and switch that would fit.
Also, on JLC, I set the board thickness to be thinner than the average PCB to keep the circuit lightweight and set the board color to black - because black goes with everything. Now, if I want to put the battery on the outside of a project where the electronics are visible, the black is going to match better than purple.
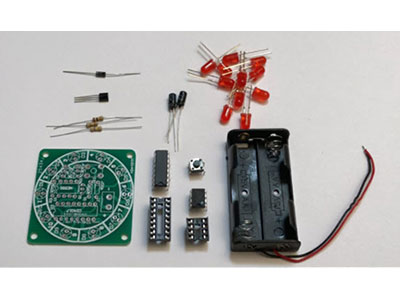
Once JLC had my board files and my bill of materials for the parts that go on the board, they went ahead and manufactured them. That involves making a stencil for the solder paste, applying the solder paste with the stencil, populating the board with a pick and place machine, and then running the board through a solder reflow oven.
One of the things that makes this process more efficient is panelizing the boards, which they also did for me, to fill up the full width of the machine with many boards that can be broken apart later.
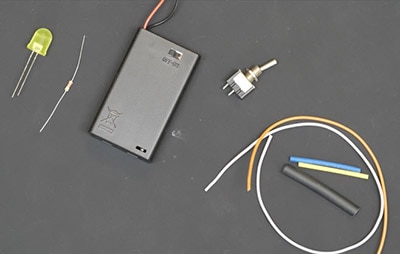
My order arrived quickly, which was great because I was excited to check out my first PCB product - hot off the press! I tested the battery holders by holding an LED up to them, putting a battery in, and testing that the switch worked. I also tested these for longevity by leaving a battery in the holder for over a week. I wanted to make sure that the pressure of the battery clip doesn't spring the clip loose. Sometimes that happens with lower-quality clips - the spring loading puts too much pressure on the less-than-high-quality solder joints and the thing pops off. Everything tested perfectly!
After these tests, I know I can trust these in my kits. So, if you order an LED sewing kit from me from now on you will get my black custom battery holders instead of the purple ones. I’ve also made them available as a two-pack standalone product, in case you just want to get your hands on the battery holders.
If you want to get started making your own PCBs, I have a video on the DigiKey channel about getting started making your first board using Fusion. I’m most familiar with Fusion, and the channel already has some great KiCad tutorials from Shawn Hymel too.
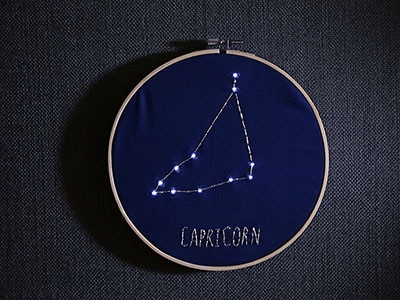
So, whether you're just starting out in your PCB design journey, or you just want to add some LEDs to your sewing project, I hope my experience leaves you inspired to create something new.