Tips for 3D-Printing with Dissolvable Support Structures
2021-09-22 | By Maker.io Staff
Dissolvable support materials structures allow greater freedom in design choices when 3D printing, thus alleviating some limitations of using an FDM 3D printer. This article looks at dissolvable support structures and provides some tips and tricks for working with them.

Featured Products
PolyMaker S1
Lulzbot TAZ Pro Dual Extruder 3D printer
Some Things to Note Before You Get Started
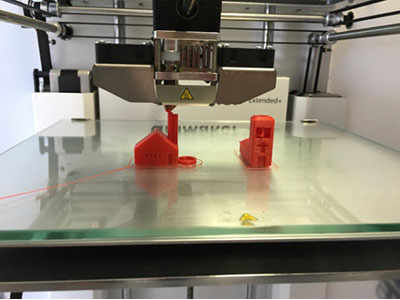
Using a different material for printing support structures is usually only viable when using a multiple-extruder FDM 3D printer. A single-extruder system would require you to change the filament with every additional layer that the printer puts down.
Select the correct support material for your printer and the intended use. Support materials are typically designed to work best with a specific material, such as PLA. Furthermore, support materials from one manufacturer could lead to poor results when used in combination with filaments from other manufacturers. Therefore, make sure to check the manufacturer’s documentation for details.
Things to Consider When Using a Slicer
Many regular 3D printing filaments are relatively forgiving when it comes to their optimal printing temperature. Most filaments work well with a broad range of extruder and bed temperature settings. Dissolvable materials, on the other hand, are often more complicated to work with, and you may run into several problems while printing.
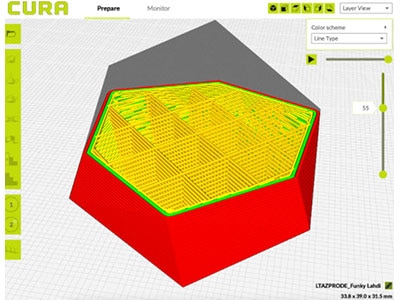
Therefore, it’s crucial that you accurately follow the manufacturer’s recommendations regarding temperature settings when printing soluble supports. Use the slicing software’s presets whenever possible. The Lulzbot edition of Cura, for example, comes with a built-in preset for Polydissolve S1, a water-soluble support material specifically designed to work best with PLA.
Placing Supports
When working with water-soluble materials, treat the support structures the same way as if you used any other 3D printing material for the supports. First, you should only place supports where necessary. Doing so reduces the time that you’ll spend when you remove the support structures later on.
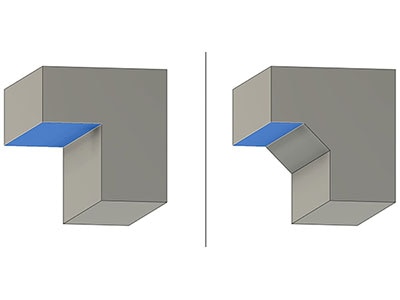
You can instruct Cura to only place support structures directly on the build plate by turning on the ‘Touching Buildplate’ option in the ‘Support Placement’ settings. Also, make sure to correctly set the support overhang angle. These placement options depend on your specific model, and there’s no one-size-fits-all solution.
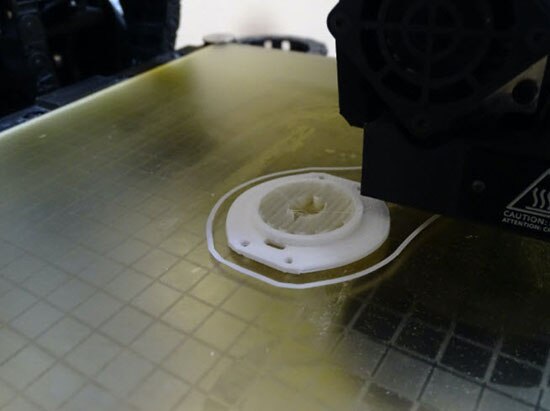
Next, select a suitable support pattern and density. These settings, again, depend on your model. However, I’ve found that the Zig-Zag pattern with a density of 15% to 20% works well for most of my models. Keep in mind that towers are a great alternative for exterior overhangs.
Things to Consider While Printing
Typically, most printing failures occur within the first few minutes of printing. However, when using support structures in general (but specifically with soluble materials), prints can also fail very late in the process. From my experience, this often happens due to oozing, dripping, or a clogged nozzle. When observing the 3D printer, you might notice a short delay before the material comes out of the extruder after a tool change. These issues seem to occur frequently when a long-time elapses between nozzle changes.
One way to tackle these problems is to use a prime tower. Doing so creates a small structure next to the model. The printer uses this structure to ensure that old burnt-up material in the nozzle lands on the prime tower, and the extruder is ready to print the next layer right away. In addition, you can also instruct the printer to wipe the inactive nozzle on the prime tower, which can further help prevent dripping and oozing.
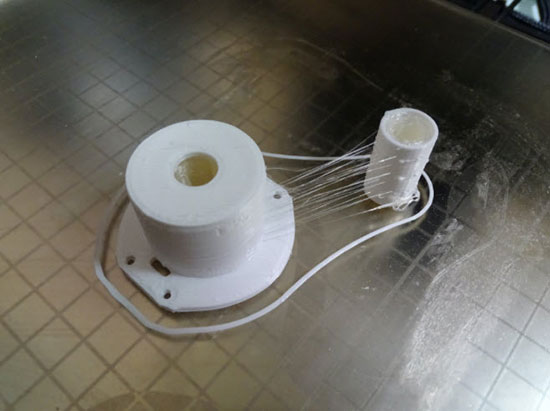
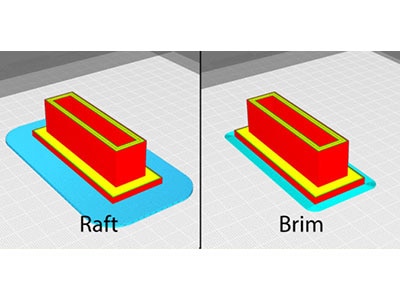
In addition, it's important to closely follow the manufacturer’s recommendation regarding the print speed. Choosing too high print speeds might cause the support material to not adhere properly, which, in the long run, can cause nozzle clogs and failed prints. Make sure to correctly prepare the print bed using the method recommended by the manufacturer.
Post-Print Cleanup
Once the printed parts have cooled, remove them from the print bed carefully. Then, try to extract the soluble support material without trying to dissolve it right away. You can do this using the same method you’d use to remove other support structures. Typically, the support material is designed so that it easily detaches from the main part.

If that doesn’t work, use the process recommended by the manufacturer to dissolve the material. From my experience, you’ll most likely experience difficulties removing support structures from small parts and cavities. After dissolving, make sure that the remaining waste material is disposed of properly. For more information, please refer to the material's datasheet or your local recycling center.
Summary
Soluble support structures offer greater freedom of choice when creating designs for 3D printing. Typically, these materials are more difficult to work with than regular 3D printing filaments. Therefore, you should closely follow the manufacturer’s print speed, temperature, and print bed preparation recommendations.
In the slicing software, place supports only where necessary. Keep in mind that there’s no one-size-fits-all solution that works well for every single 3D-printable model. However, I like to use Zig-Zag supports with a density of around 15%, as I find these settings offer a good mix of stability and print speed.
When the print finishes, try to remove the support structures without dissolving them. If that doesn’t work, dissolve the support structures according to the manufacturer’s instructions. Dispose of leftover waste under your local recycling rules and laws.


