制造商零件编号 17610
LONG TRIGGER HOT GLUE GUN
Aven Tools
Creating the perfect enclosure is an important step in finishing any electronics project. It keeps your circuit safe while improving the function and look of your project! Here are a few different ways to make your own.

Let's start with the most accessible enclosures made from materials you find around the house. Plastic takeout containers make great prototype enclosures. Just cut holes for wires and external interface components and mount everything inside using hot glue or double-sided tape.
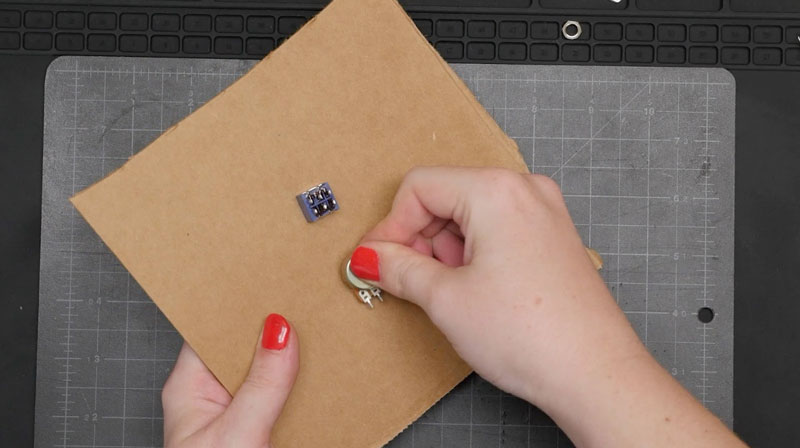
Recycled cardboard can provide a simple enclosure too. You can cut it into custom shapes and sizes to accurately fit your project's size.

Foam core board is also an inexpensive material that can be easily cut and shaped. Foam core enclosures are lightweight yet sturdy, making them a better long-term choice than cardboard.
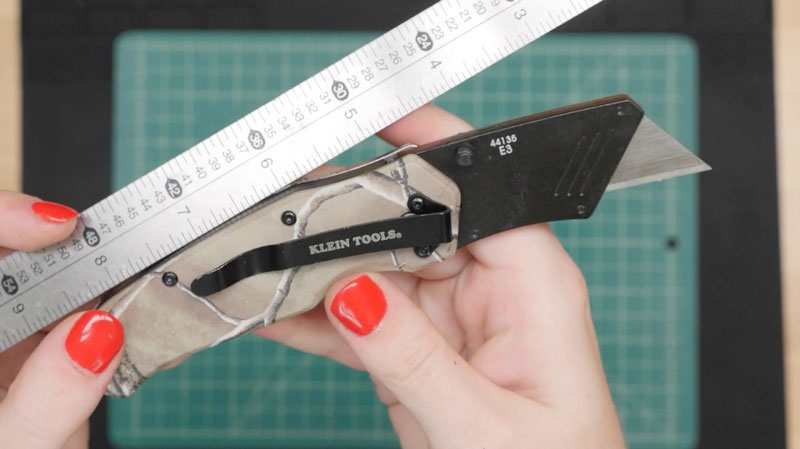
For working with all three of these materials, I recommend a sturdy utility knife and a cutting mat, as well as a metal ruler for making straight cuts. Be very careful to keep your fingers out of the path of the blade.

You might find that making a disposable prototype enclosure helps you visualize your project and iterate on your user interface without a lot of investment or waste. Then, you can head into the process of making a more sophisticated enclosure with a more certain idea of what will work.

For a more polished and less DIY appearance, consider ready-made electronics project enclosures. These can provide a cleaner and more professional look, and often already have mounting spots for your circuit board. Waterproof enclosures are also available.
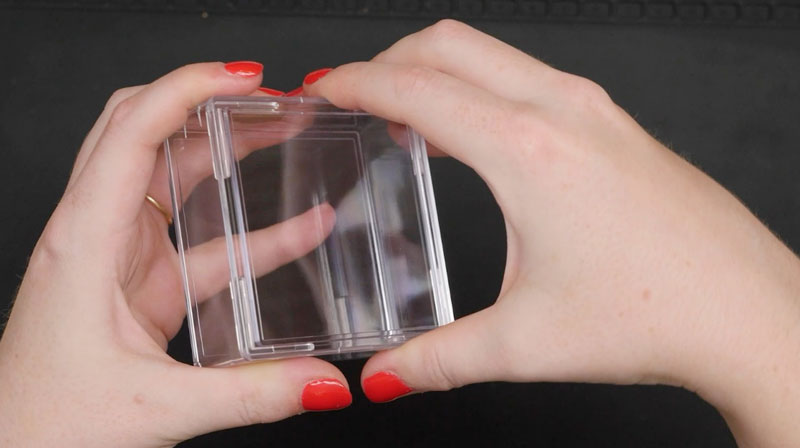
But your search shouldn’t stop at boxes designed for electronics. You can also get clear plastic boxes designed for memorabilia display like hockey pucks and baseballs in a variety of sizes, and they work quite well.

I am particularly fond of using shadowboxes as electronic enclosures because they offer a nice-looking display while being easy to add your components. You can use the glass along with some printer paper to diffuse some LEDs or leave it out to provide access to touch buttons and knobs.
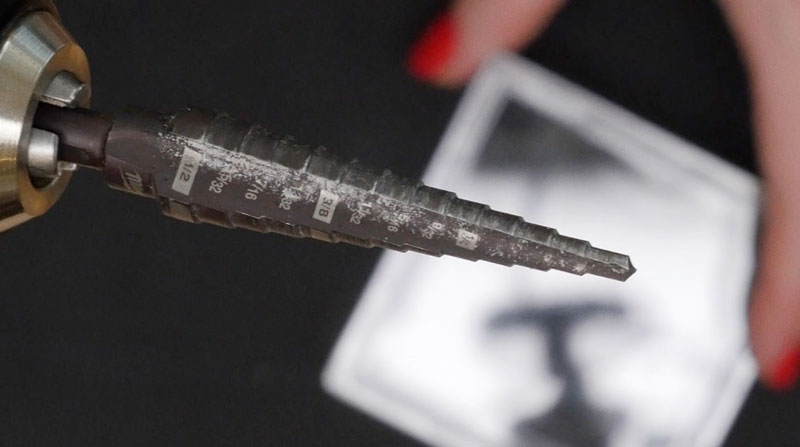
When drilling into plastic, I recommend using a step drill to avoid cracking it. These cone-shaped drill bits also work well on metal project boxes.
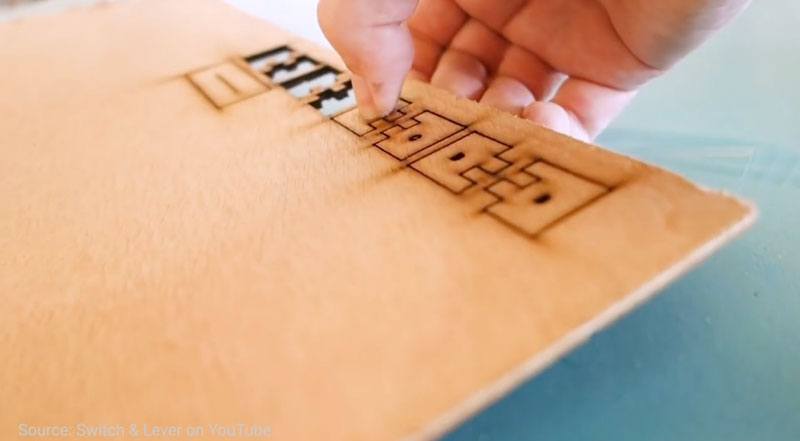
Laser-cutting is a popular option for making enclosures, often from thin plywood, sheet acrylic, or even cardboard. There are a handful of laserable box generators online that make it easy to create an appropriately sized box based on your project dimensions.
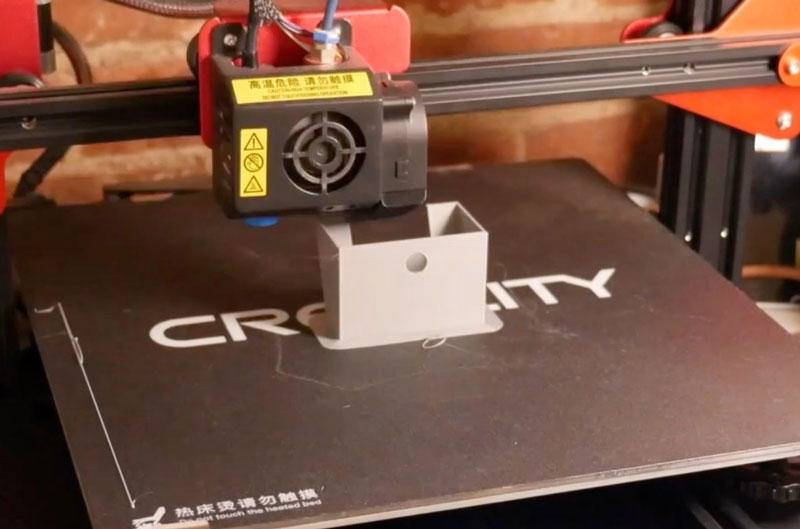
For a totally bespoke enclosure, 3D printing your own enclosure is an excellent option.

First, use calipers to measure your project’s dimensions. You need accurate information to create the perfect fit. Record the length, width, and height of your circuit board, as well as the clearance needed and positioning for any components that need to protrude to the outside of the enclosure.

Make a sketch of your object and use it to record the relevant dimensions. Even if it’s just a rough diagram, it will help you find a project box that will fit.
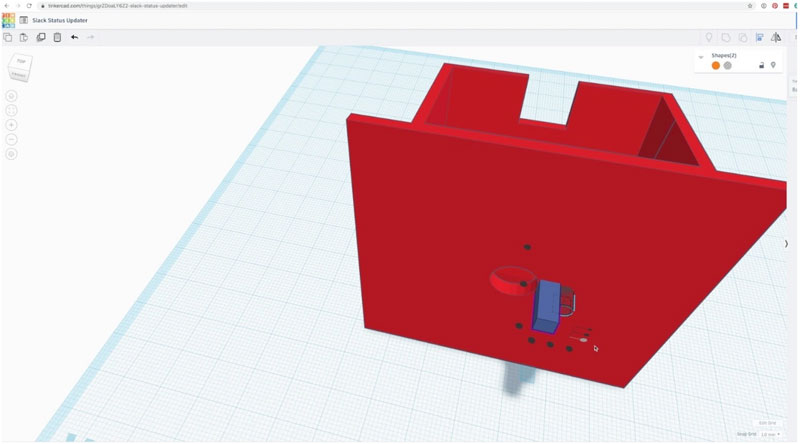
Next, use a free 3D modeling program like Tinkercad or Fusion 360 to design your enclosure. Make sure to include necessary mounting points and openings for switches, connectors, and LEDs. Be sure to include a little extra space, called tolerance, since in real life the parts need to sit next to each other and can’t overlap.
You’ll find some exquisite examples of custom enclosure design online. Sometimes they have space for specific fastening hardware like nuts and bolts or heat-set inserts.
The basic strategy is to make a hollow box with holes in the right places for your components, but 3D design is a big topic, and there’s much more to learn! Here are some resources if you’d like to explore this more:
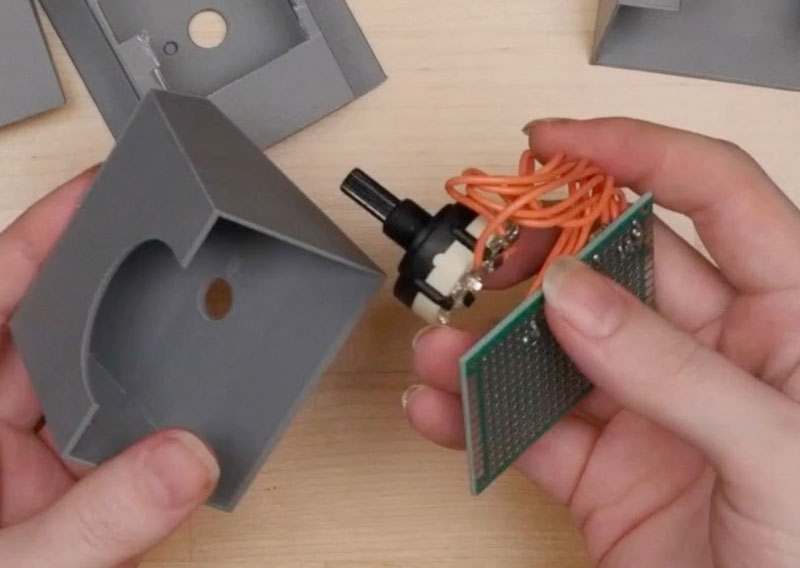
Once you have your enclosure in 3D, you can print it out yourself or send off the file to be printed for you. The digital design will become a physical copy. Then you can put your components inside and determine if any revisions are needed. It’s normal to make several iterations and make improvements along the way.
If you want my recommendation for getting into 3D printing, it’s to get a basic FDM machine and some PLA filament, then branch out to different materials from there. Set it up in a space with ventilation– even just an open window.
Beyond 3D printing, you could also consider CNC milling for your enclosure as well. I’ve seen bespoke wooden and metal enclosures made this way that turned out super well.
So, there you have it! You can build a DIY enclosure for your electronics projects in a bunch of different ways, depending on what skills, tools, and materials you have available.
Check out the rest of this series for more information on getting started with electronics design!