


制造商零件编号 SC0373
SBC 1.8GHZ 4 CORE 4GB RAM US
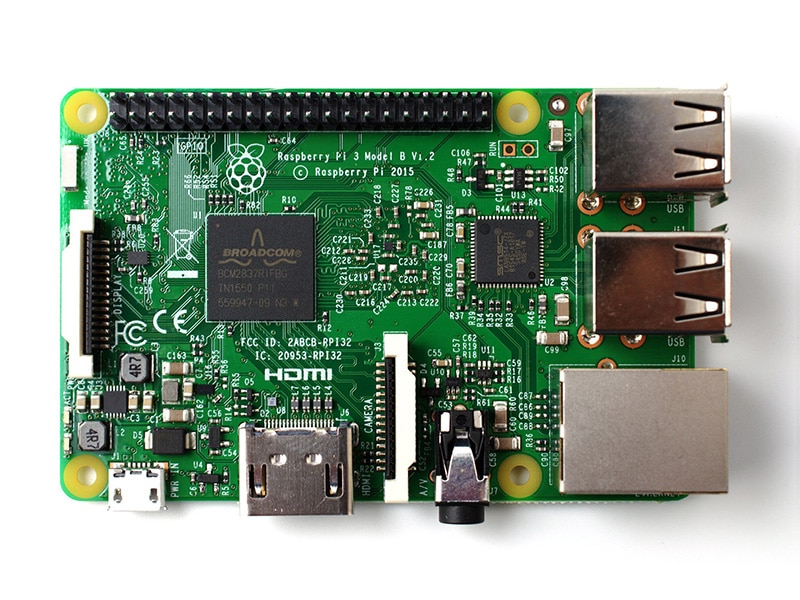
Raspberry Pi
Single Board Computers Raspberry Pi
When starting with a brand-new Raspberry Pi, one of the first steps involves creating a bootable SD card that contains the tiny computer’s operating system and user files. Luckily, the process has become more straightforward every year since the release of the original Raspberry Pi back in 2012. This article takes you through the process of creating a bootable SD card and illustrates how changing a few settings can help cut down the number of configuration steps one would otherwise have to perform on the SBC so that getting started with a Raspberry Pi can be as easy as pie.
Today, the process of creating a bootable SD card for a Pi involves only inserting an SD card into the computer and clicking a few buttons. To begin, navigate to the official download page, click the download link for your operating system, download the installer, and install the imager software:
 Scroll down on the official page to find the download links.
Once the installation finishes, the program should start by itself — but if it doesn’t, you can launch it manually.
The quick installation process, outlined in this section, is most useful when using the Raspberry Pi as a standalone PC with an external monitor, keyboard, and mouse. This method involves only three steps and installs the whole OS and desktop environment with all programs.
Begin by inserting the target SD card into your computer and launching the Raspberry Pi imager software downloaded above. The interface comprises only three buttons at this point. The first button lets users choose the OS to install, the second allows them to select the target SD card, and the third starts the flashing process. Click the “Choose OS” button and select the “Raspberry Pi OS (32-Bit)” option from the pop-up menu that opens:
 Choose the first option from the pop-up window.
Next, click the “Choose Storage” button and select the target SD card from the list:
 Select the target SD card once prompted.
Finally, click the “Write” button to start the process. Note that doing so will erase all data on the selected SD card before downloading and flashing the most recent version of the Raspberry Pi operating system to the card.
Users can also instruct the Raspberry Pi Imager to download and flash a specific version of the Raspberry Pi OS or another OS altogether, rather than use the newest version of the Pi OS. To do so, click the “Choose OS” button on the starting screen of the tool and then select one of the appropriate options from the list that pops up. For example, the “Raspberry Pi OS (other)” section contains a headless version, 64-bit versions, and legacy builds of the official OS:
 The imager app also allows makers to select from other versions of the official OS as well as completely different operating systems, such as Ubuntu.
Finally, you can customize some OS settings in the Raspberry Pi Imager tool, a handy feature that saves you the trouble of having to connect a monitor, keyboard, and mouse to your Raspberry Pi to finish the setup. This is especially useful when using the Pi in a headless configuration.
Begin by selecting an operating system and target device, as shown above. For headless setups, using Raspberry Pi OS Lite (32-bit) is recommended, as it occupies less space on the target SD card by omitting the graphical desktop environment. Once selected, click the gear icon on the main screen of the imager app, which opens up the following pop-up dialog that allows changing various system parameters:
 You can change OS settings from within the app without needing to modify any files on the SD card.
Enabling SSH, setting a username and password, and configuring a wireless network is especially useful. Follow this guide for further details on this topic.
The process of setting up a bootable SD card for a Raspberry Pi has successively become more accessible and easier over the past years. In its simplest form, the process only involves a few steps.
Begin by downloading and installing the official Raspberry Pi imager. Next, insert the target SD card. Then, choose the OS and the inserted SD card in the app. Finally, click the flash button to download and install the selected OS onto the SD card.
More experienced users can benefit from the advanced features the imager offers, such as selecting specific versions of the official OS, an experimental OS, or a light version for headless setups. Additionally, you can configure several OS settings from within the app without having to modify any files on the SD card or hook up the Pi to an external monitor and keyboard.

Have questions or comments? Continue the conversation on TechForum, DigiKey's online community and technical resource.
Visit TechForum


 中国
中国