制造商零件编号 SC0023
RPI CAM V2 IMX219 8MP
Raspberry Pi
A camera can be a useful addition to many Raspberry Pi-based projects such as robots, home surveillance centers, and AI applications with image-based detection. Luckily, there are multiple ways of setting up a camera module or a USB webcam. All the presented methods are easy to replicate and work with common cameras, as this article demonstrates.
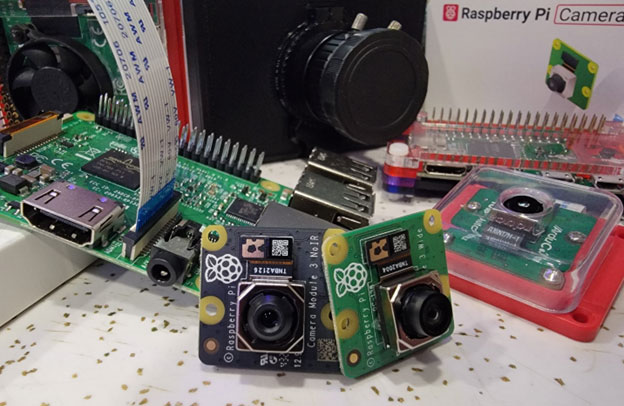
Using a supported camera module together with a Raspberry Pi is the most straightforward way of adding visual input to a project. The only thing needed is a supported camera module such as the official Raspberry Pi camera module. However, many alternative modules exist: for example, this breakout board with a night-vision camera and infrared LEDs.
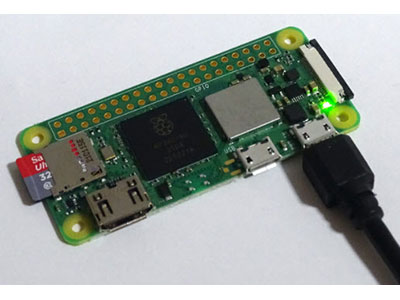
Regardless of the chosen camera, the setup process always works similarly, as long as the camera is supported by the Raspberry Pi. First, plug the ribbon connector of the camera module into the connector on the Raspberry Pi. The white connector closer to the USB and Ethernet ports is the one for the camera. The other port, located on the other side of the single-board computer, is meant for connecting a display.

Connect the camera module while the Raspberry Pi is still powered off. Note that the shiny contacts on the ribbon cable should face away from the USB ports. Then, turn the Raspberry Pi on and launch the Raspberry Pi Software Configuration tool by typing the following command:
sudo raspi-config
In the graphical user interface, choose the fifth option in the list:

Then, select the ‘Camera’ option from the list and enable it:

When done, use the tab key in the main menu to select the ‘Finish’ option and then hit the enter key. After a reboot, the Raspberry Pi will be ready to interface with a connected camera module.
Once the computer is finished rebooting, you can check the status of the camera using the following command:
vcgencmd get_camera
If the camera is connected correctly and the Raspberry Pi is configured to use the camera interface, the vcgencmd command should create an output similar to the following image:

You can use the raspistill command to test whether the camera module works as intended:
raspistill -o image.jpg
Note that running this command might take a couple of seconds before it’s done. It should create an image file like this:

If buying a new camera module is not feasible for your project, or if a higher resolution, longer cable, or other features are required, it’s possible to connect common USB cameras to the Raspberry Pi and use them instead of a camera module. For that to work, shut down the Raspberry Pi and connect the USB webcam. Then turn the Raspberry Pi back on. The Pi should detect most USB cameras and create a new device.
To test whether the camera works with the Raspberry Pi as intended, you can install a small program named ‘fswebcam’ and create a still image as before:
sudo apt-get install fswebcam
fswebcam image.jpg
Doing so creates a still image in the current folder. Note that it doesn't pose a problem to leave the Raspberry Pi's camera interface enabled when a webcam gets connected via USB. It is also possible to connect multiple USB cameras to the Raspberry Pi and build a home surveillance hub, for example.
Use the following command to take a picture with a specific webcam:
fswebcam --device /dev/video0 image.jpg
This will create a still image with the camera zero and store the result in a file named ‘image.jpg’.
As demonstrated, configuring a Raspberry Pi to interface a connected camera is a straightforward process. Essentially, two common methods exist, and both of them work without much configuration. The first option is to use a Raspberry Pi-compatible camera module. The benefits of this method are the great support, the large variety of different modules, and that most camera-based software for the Raspberry Pi supports the internal camera interface right out of the box. The relatively short cable length of such camera modules can be a disadvantage. USB cameras, on the other hand, usually have a longer cable and reasonable image quality. Support, however, cannot be guaranteed. On a positive note, using this method allows you to connect multiple USB cameras to a single Raspberry Pi, which is especially useful in surveillance applications.