DS1302 Real-Time Clock Module: Project Applications
2024-08-30 | By Antonio Velasco
License: Public Domain LEDs / Discrete / Modules Real Time Clocks (RTCs) Arduino
In my previous blog, I talked about the DS1302 Real-Time Clock module and how it works and can be used for your projects. In this blog, I'll talk about how my roommate and I made a beefed-up alarm clock with it! Long story short, we've had a hard time waking up for classes recently (particularly for an 8AM Network Analysis lecture) and found that our phone alarms simply weren't cutting it. We sought a different solution and took it into our own hands.
The Parts
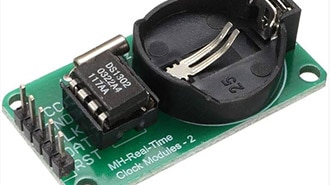
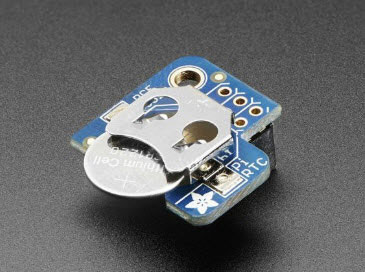
The star of the show here is, of course, the DS1302 RTC module. As described in the previous blog, it serves as an amazing way to keep track of time in terms of seconds, minutes, hours, days, or even years! We'll be using this as an input device to the Arduino so we can keep track of the time.
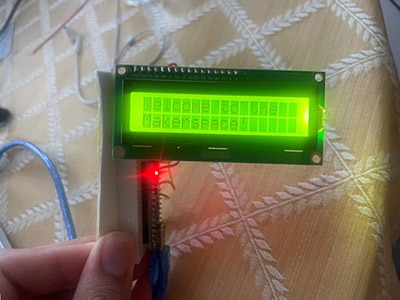
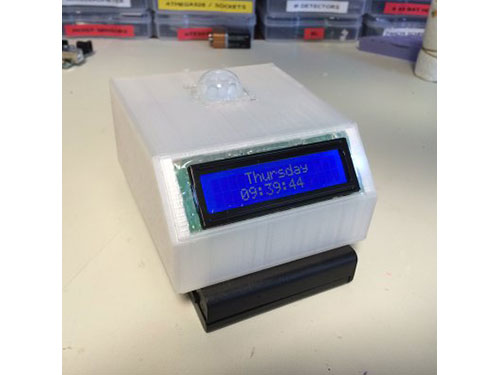
Next, we'll also be utilizing an LCD. Specifically, we'll be utilizing an Adafruit I2C Backpack w/ LCD, which I talked about in a previous blog. This will allow us to interface with the Arduino and to visibly see the set alarm time and the current time.
For the alarm itself, we utilized a super bright LED and a loud piezo buzzer (which happens to be super annoying).
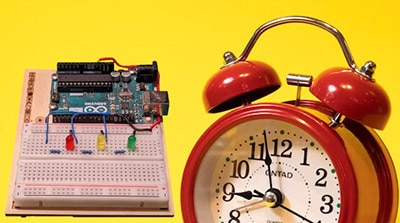
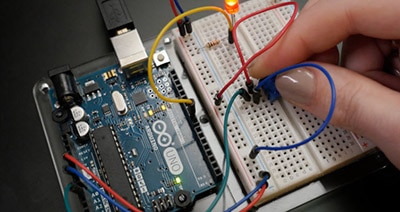
Finally, we'll mount it all on a breadboard and connect it with wires. We'll also include buttons to set the alarm to a certain time, turn it off when it's making noise, and arming/disarming it.
Putting the Pieces Together
Getting the system working as a whole required four main components. Ensuring that the DS1302 RTC Module connected and communicated with the Arduino, outputting data to the LCD, making sure the alarm functions, and incorporating the user interface.
The first three were relatively easy, taking advantage of our prior experience with other embedded systems projects. This was simply just breadboarding and connecting all of the pins. The hardest part was incorporating user interaction.
If we were to just set one specific time on the code or even just edit the code through the Arduino IDE, it'd be much easier. However, we wanted to make sure that the alarm clock could be battery-powered and taken anywhere, so this part was crucial. We planned for four buttons (two to set the alarm time, one to arm/disarm the alarm, and one to turn off the alarm). Getting one or two of them to work independently is simple, but having all four can be hard, especially on an Arduino. We found that, in the end, adding in delays and taking our time between button presses allowed it to work more seamlessly.
We also found that if the alarm clock were to lose power, we'd have to reset the time. This could only be done through the Arduino IDE with our design, so our quick fix was to make sure that it wouldn't lose power between being unplugged from the computer and then with the battery. This is an issue that we can resolve with more buttons to set the time, but that's something we'll pursue in the next iteration, along with a snooze button!
For now, we have a fully functioning alarm!


