Your First Arduino Project with Becky Stern
2023-03-14 | By bekathwia
After you’ve tried a bunch of the built-in and downloadable examples, as we’ve covered in previous episodes, the next step in your Arduino journey is to combine Arduino sample sketches to make a working prototype of your idea. In this guide, you’ll learn how to build your own unique Arduino project for the first time.
The board I recommend starting with is the Arduino Uno or compatibles such as the Adafruit Metro, Sparkfun Redboard, or Seeeduino.
To build the circuits in this guide, you will need:
- Arduino Uno or compatible, and USB cable
- Solderless breadboard
The additional components you’ll need will depend on what you want your unique Arduino project to do, but here is what I used for mine:
- Micro servo motor
- Servo motor extension wire
- Potentiometer
- Momentary switch
- DS3231 Real-time clock module (RTC)
- Seeed Xiao RP2040 microcontroller
Figuring out how to write the code for your project can be super intimidating, but here’s a process you can use to break it down.

First, write out the primary project purpose. If it has numerous features, you’ll have to decide which are necessary versus those that would be nice but aren’t needed at first. You can always add your “nice to have” features later, but as a beginner, you should start with the simplest version.
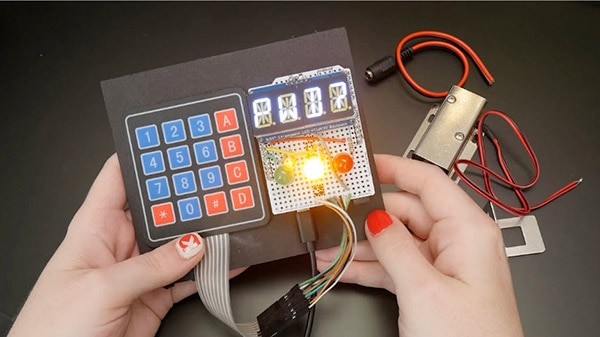
Next, list the project’s inputs and outputs. A passkey lock might have a keypad input, some kind of LED display output, and a solenoid output. Internet projects might have a cloud service as an input, output, or both, but if it’s really your first time building an Arduino project, I recommend saving the IoT stuff for projects two or three.

The project I’m building today is a webcam privacy device that uses a button and real-time clock inputs and outputs to a servo motor.

The next step is to write out an outline of your program’s main loop. This is called pseudocode, and it should map out the cause-and-effect relationships you want to have in your program.
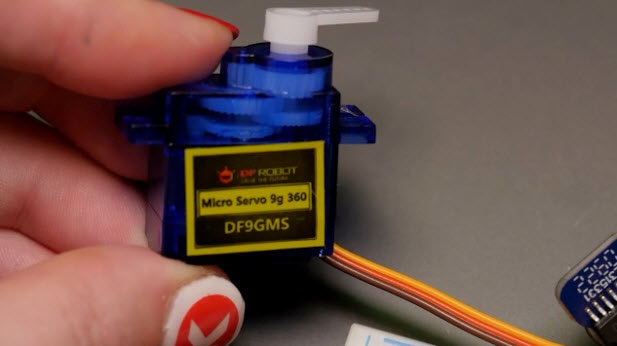
When it comes to choosing the electronic components for your project, ask yourself if each of your inputs and outputs needs to be digital (“on” or “off”), analog (along a scale), or something else. The servo motor that I’m using requires a code library to get it working.
Not all product documentation is created equal, so my best advice to beginners is to shop for components that have good tutorials and sample code, such as those mentioned in the built-in examples, to start or from reputable library sample code. Look up examples and tutorials for each component of your project and build and run each one at a time before attempting to combine their code.
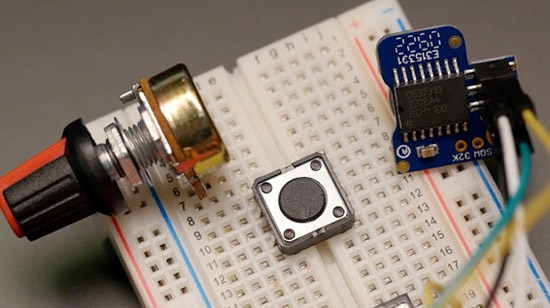
So, for example, in my webcam privacy device project, I’ve got a momentary pushbutton input to manually operate the device, a potentiometer to adjust the time it stays open, and a real-time clock to keep accurate track of that time. Then there’s the servo motor. So I’ve got three inputs and one output.

So, I’ll start with the built-in Arduino example DigitalReadSerial and wire up my pushbutton, then observe the serial output to confirm my button is working and wired correctly.

It’s easier to discover that something is wired incorrectly at this stage when you’re working with code that’s known to work with the component at hand rather than trying to debug wiring and new code at the same time.
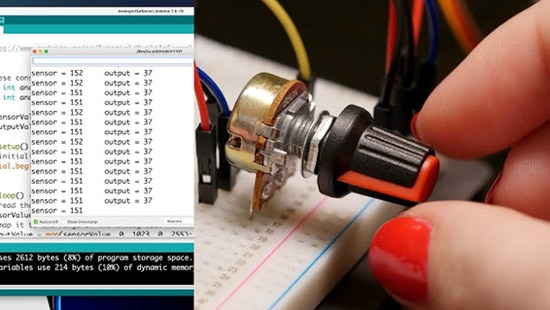
Then I’ll add the potentiometer and open up a different example, AnalogReadSerial, and observe that serial output to confirm my knob circuit works.
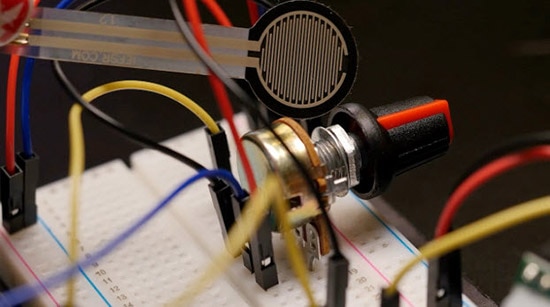
As we’ve covered in a previous episode, basic digital and analog code can be used with a variety of different sensors, many times with little to no modification. So I could substitute the pushbutton for a PIR motion sensor, for example, or the knob for a slider or force-sensitive resistor. Having that serial output can help figure out if the logic needs to be reversed or the sensor range mapped to suit the output.
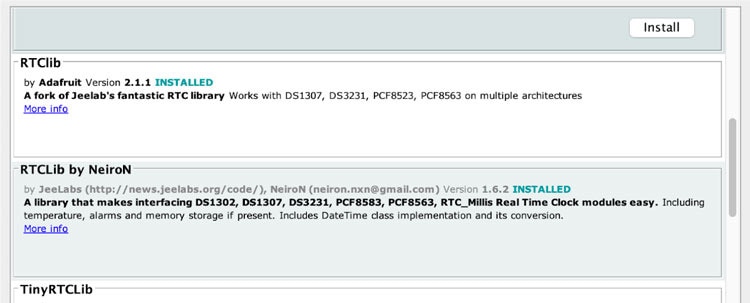
For the real-time clock, a library needs to be downloaded to communicate with the device, and that library comes with example code, found in the Examples menu after you’ve installed the library.

Lastly, it’s time to test the servo motor, which requires a library that happens to come pre-installed with the Arduino software.
Now it’s time to create a new sketch that will operate all the inputs and outputs and apply the logic that makes the features work.

Sometimes there’s an example that does something similar to what you want already, and you can build on that, or you can start with any one of the basic testers you ran in the last step.
The basic idea is to add together all the required bits like library includes and setup stuff, then write something that performs the actions described in the pseudocode. It’s a smart thing to paste your pseudocode into your program as comments. That way you can always see in plain language what you are trying to do. Comments also make it easy for somebody to pick up where you left off later, even if that somebody is you.

You’ll want to compile your new program after every important change. Just like testing the hardware one component at a time, compiling often will catch and isolate errors as you make them, like a misplaced semicolon or curly brace. If you keep making changes and try to fix all the errors later, it will be harder to isolate and fix each issue. I’ll go into more error troubleshooting detail in a future episode.
When your program achieves important milestones, save your code as a new version to preserve your last working state. It’s like preserving your last save at an important checkpoint in a video game.

You might end up changing some elements of your project as you progress, and that’s natural. Once you get a good basic prototype working, then you can start adding extra features you wrote down earlier.
This process of incrementally building up your project will make it come together more easily, and most importantly, it’ll be more fun and less frustrating. And if you do get frustrated, take a break. So, if you are a student, don’t wait until the last minute. You’d be surprised what fresh eyes can do to improve your code.
Check out the rest of this series for even more information on building with Arduino.


