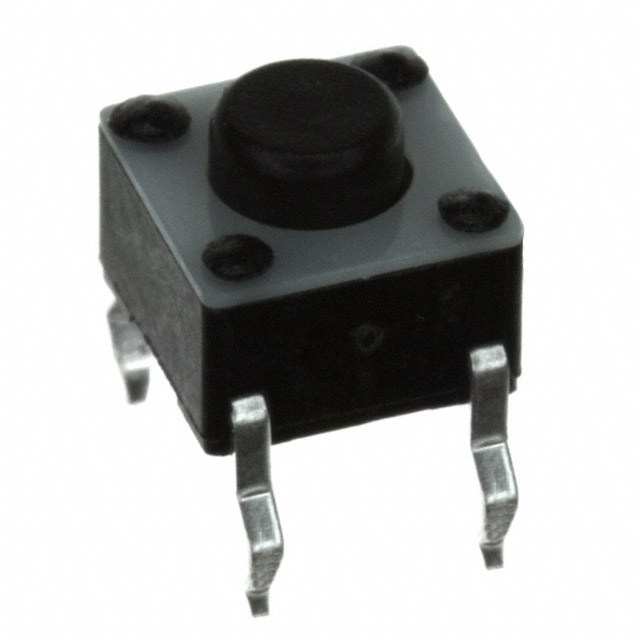
制造商零件编号 ESP32-S3-DEVKITC-1-N32R8V
ESP32-S3-WROOM-2-N32R8V DEV BRD
Espressif Systems
Previously, we looked at how bindings files are used as interfaces for Devicetree nodes and how they connect the Devicetree to the appropriate driver code. In this post, we will create our device driver that wraps a button.
A device driver is a specialized piece of software that acts as a bridge between the operating system and a hardware component. It translates the operating system’s generic commands into the hardware-specific instructions needed to operate the device. Without a device driver, the OS wouldn’t know how to interact with or control the hardware, making it inaccessible to applications. This abstraction allows developers and users to work with hardware at a higher level without needing to know its internal implementation details.
Zephyr uses a device driver model similar to Linux–it relies on the Devicetree to act as a glue between driver layers to allow for truly abstracted code, which means that application code can rely on the device drivers to handle the lower-level functionality.
All code for this Introduction to Zephyr series can be found here: https://github.com/ShawnHymel/introduction-to-zephyr
For this demonstration, we will be using two pushbuttons connected to pins 4 and 5 on the ESP32-S3-DevKitC. Here is a Fritzing diagram showing all of the connections we will use throughout this series:

To save on space in this blog post, the driver module code can be found here: https://github.com/ShawnHymel/introduction-to-zephyr/tree/main/workspace/modules/button
Note that the module is “out-of-tree” (meaning it is not in the main Zephyr source directory), and it is separate from our application directory. The directory structure of the driver module is important, and we will provide a summary of the files.
workspace/modules/button/
├── drivers
│   ├── button
│   │   ├── CMakeLists.txt
│   │   ├── Kconfig
│   │   ├── button.c
│   │   └── button.h
│   ├── CMakeLists.txt
│   └── Kconfig
├── dts
│   └── bindings
│       └── input
│           └── custom,button.yaml
├── zephyr
│   └── module.yaml
├── CMakeLists.txt
└── Kconfig
Rather than paste the file contents here, we will link to the code and give a brief description of what each file does. Feel free to copy the contents to your own development environment to build the driver.
workspace/modules/button/drivers/button/CMakeLists.txt
Specifies how the button driver source files are built and linked. It uses Zephyr-specific CMake functions to declare the library and add source/header files to the target.
workspace/modules/button/drivers/button/Kconfig
Defines Kconfig options for the button driver, allowing users to enable or disable the driver and configure its features at build time.
workspace/modules/button/drivers/button/button.c
Contains the primary implementation of the button driver logic. It handles button initialization, reading button states, and returning state information to the rest of the system.
workspace/modules/button/drivers/button/button.h
Provides the public interface for the button driver, including function prototypes and data structures. Other parts of the code include this header to interact with the driver’s functionality.
workspace/modules/button/drivers/CMakeLists.txt
Uses a Zephyr-specific function to call the button/CMakeLists.txt file only if the CONFIG_CUSTOM_BUTTON Kconfig symbol is defined.
workspace/modules/button/drivers/Kconfig
Sources the button/Kconfig file.
workspace/modules/button/dts/bindings/input/custom,button.yaml
Describes the hardware properties for the custom button in the Device Tree. This file tells the Zephyr build system how to interpret button-related Devicetree nodes and map them to the driver. It also acts as an interface that defines how the user/developer should work with the Devicetree nodes and properties.
workspace/modules/button/zephyr/module.yaml
Provides metadata and configuration that tells Zephyr how to treat this directory as a module. It defines module-level information like build settings, dependencies, and how this code integrates into Zephyr.
workspace/modules/button/CMakeLists.txt
Serves as the top-level CMake build file for the button module. It includes or references subdirectories (such as drivers) and sets up module-wide build rules.
workspace/modules/button/Kconfig
Sources drivers/Kconfig.
Let’s take a moment to talk about the macro magic in the button.c driver source file. At the top of the file, you’ll find this line:
#define DT_DRV_COMPAT custom_button
The Zephyr build system looks for this line at the top of the driver source files when it tries to match the appropriate “compatible” string in the Devicetree and bindings file. Because macro symbols cannot have dashes or commas, we change the string to “custom_button,” and Zephyr knows it should match to “custom,button” in our bindings file (and Devicetree node). This is how Zephyr knows which driver code to use.
The bulk of the file provides functions for working with the button, but at the end, you will find the following:
// Define the public API functions for the driver
static const struct button_api button_api_funcs = {
    .get = button_state_get,
};

// Expansion macro to define driver instances
#define BUTTON_DEFINE(inst)                                                 \
                                                                            \
    /* Create an instance of the config struct, populate with DT values */  \
    static const struct button_config button_config_##inst = {              \
        .btn = GPIO_DT_SPEC_GET(                                            \
            DT_PHANDLE(DT_INST(inst, custom_button), pin), gpios),          \
        .id = inst                                                          \
    };                                                                      \
                                                                            \
    /* Create a "device" instance from a Devicetree node identifier and */  \
    /* registers the init function to run during boot. */                   \
    DEVICE_DT_INST_DEFINE(inst,                                             \
                          button_init,                                      \
                          NULL,                                             \
                          NULL,                                             \
                          &button_config_##inst,                            \
                          POST_KERNEL,                                      \
                          CONFIG_GPIO_INIT_PRIORITY,                        \
                          &button_api_funcs);                               \
// The Devicetree build process calls this to create an instance of structs for
// each device (button) defined in the Devicetree
DT_INST_FOREACH_STATUS_OKAY(BUTTON_DEFINE)
This section uses a set of Zephyr macros (DT_INST_FOREACH_STATUS_OKAY and BUTTON_DEFINE) to automatically generate a separate driver instance for each matching node in the Device Tree. In other words, if you define multiple custom,button nodes in your Devicetree, these macros will expand once per node, creating a unique config struct (with its GPIO pin configuration and ID) and registering a device instance (via DEVICE_DT_INST_DEFINE) for each button in the system.
When Zephyr’s build process runs, it looks through all Devicetree nodes that match DT_DRV_COMPAT = custom_button and have status = "okay". For each one, it calls the BUTTON_DEFINE(inst) macro, which compiles into code that sets up a static button_config struct and then declares a new device object with the provided initialization function. This ensures you can have multiple buttons, each recognized and initialized by the same driver logic, but with their own configuration data (pin assignments, IDs, etc.).
To save on space in this blog post, the application code can be found here: https://github.com/ShawnHymel/introduction-to-zephyr/tree/main/workspace/apps/06_demo_device_driver.
We will create the usual boilerplate file/folder structure that we have been using for previous projects:
workspace/modules/button/
├── boards
│ └── esp32s3_devkitc.overlay
├── src
│ └── main.c
├── CMakeLists.txt
└── prj.conf
Here are summaries for each of the application files:
workspace/apps/06_demo_device_driver/boards/esp32s3_devkitc.overlay
Defines board-specific hardware configuration overrides for the ESP32-S3 DevKitC, ensuring the correct pins and properties are associated with the custom button driver in Zephyr’s Device Tree.
workspace/apps/06_demo_device_driver/src/main.c
Implements the main application that initializes and exercises the button driver, reading button state and providing feedback to confirm correct operation.
workspace/apps/06_demo_device_driver/CMakeLists.txt
Serves as the build script for the test application, linking the source code and the button driver module, and controlling how the final binary is generated.
workspace/apps/06_demo_device_driver/prj.conf
Holds configuration options for the Zephyr project, enabling the button driver and other required settings to properly test button functionality.
Build the demo application with:
cd apps/06_demo_device_driver
west build -p always -b esp32s3_devkitc/esp32s3/procpu -- -DDTC_OVERLAY_FILE=boards/esp32s3_devkitc.overlay
Once done, activate the virtual environment on your host computer:
Linux/macOS:
source venv/bin/activate
Windows:
venv\Scripts\activate
Flash the binary to your board. Change <PORT>
python -m esptool --port "<PORT>" --chip auto --baud 921600 --before default_reset --after hard_reset write_flash -u --flash_mode keep --flash_freq 40m --flash_size detect 0x0 workspace/apps/01_blink/build/zephyr/zephyr.bin
Open a serial port for debugging. Change <PORT>
python -m serial.tools.miniterm "<PORT>" 115200
Press the buttons on your breadboard, and you should see the 0s change to 1s for each of the buttons.

Your challenge is to work through the workshop given here: https://github.com/ShawnHymel/workshop-zephyr-device-driver
The workshop walks you through the process of creating an I2C driver that talks to the MCP9808 temperature sensor on our breadboard.
Device drivers in Zephyr provide an efficient, modular way to interface with hardware in a consistent and maintainable manner. By leveraging Devicetree and the driver model, you can create flexible software components that scale easily across multiple platforms. This approach ensures that hardware interactions remain reliable, standardized, and straightforward to configure.
To learn more about device driver development in Zephyr, I recommend the following content: