制造商零件编号 SC0193(9)
SBC 1.5GHZ 4 CORE 2GB RAM
Raspberry Pi
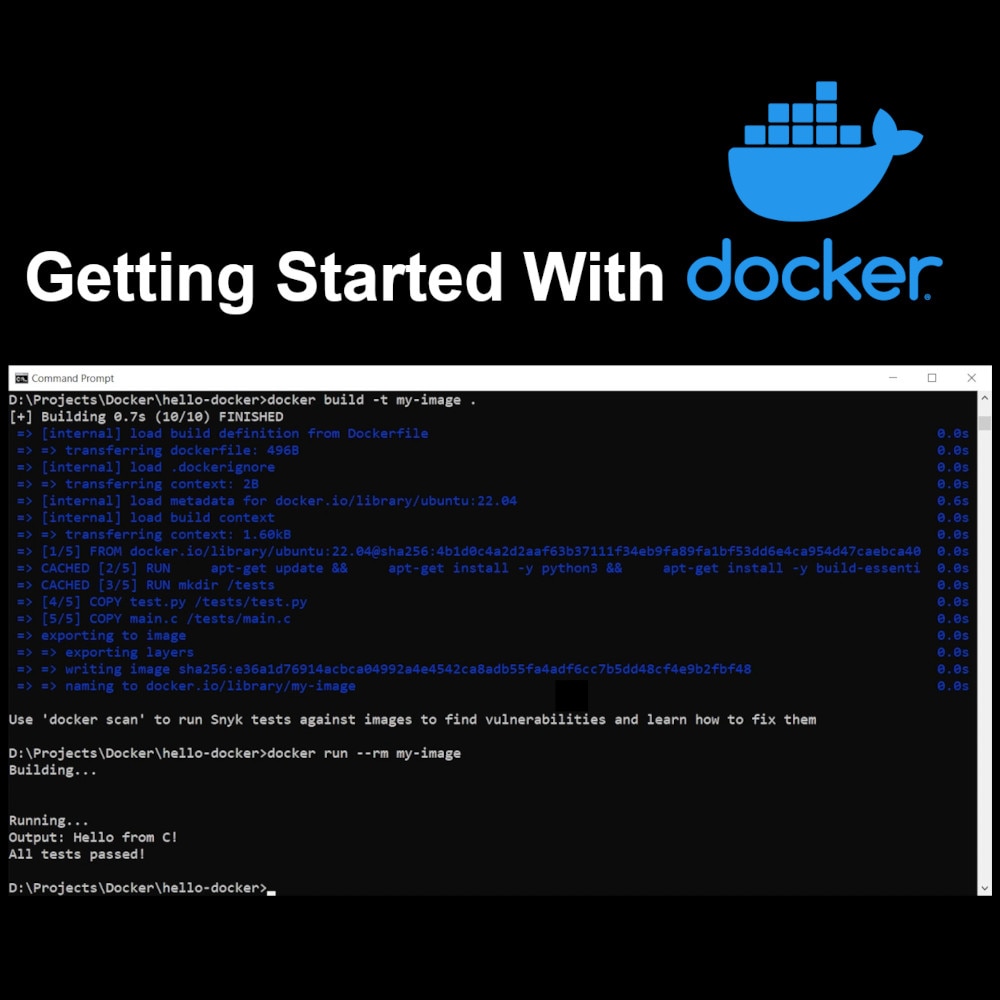
Docker is one of the most popular solutions for automating application deployment, scaling, and management by encapsulating each item into portable, lightweight containers. A recent article explored why you should be using Docker and how you can install it on a Raspberry Pi. This article will provide an overview of how to get started using Docker by explaining how you can perform the six most typical tasks using the Docker command line interface (CLI) and graphical user interface (GUI).

While developers can publish their docker containers in numerous locations, the Docker Hub is an excellent place to start searching for containers. Here, use the search bar to find available containers, such as the official Ubuntu container:
 You can use the Docker Hub website to find popular images.
As the screenshot outlines, the website also displays the command necessary for downloading the most recent version of the container using the CLI. Click the highlighted icon to copy that command to the computer’s clipboard. Then, paste it into a terminal window to begin the installation. Tags let you select a specific version to install, and when omitted, docker downloads and installs the most recent version. However, you can also specify one with the pull command, for example:
docker pull ubuntu@latest
The Docker hub also lists all available tags for each container:
 The Docker Hub also lists all available versions of an image.
When using the Docker GUI, click the search bar on the top edge of the window:
 In the Docker GUI, use the search bar to find images in the Hub.
Then, enter the container name and click the images tab. Finally, find the correct image in the list of search results. In the GUI, you can select a specific tag using a drop-down menu and then click the pull button to install a container:
 From here, you can also install images and select the version to download.
You can type the following command to create a container and run it using the Docker CLI. For example, enter the following line to run the httpd web server image:
docker run httpd -d
Note the added -d flag that starts the container in detached mode, meaning it runs in the background and doesn’t take up the current terminal window. Docker offers numerous additional flags you can utilize to configure the behavior of containers and Docker. Some essential ones are the aforementioned -d flag, the --name flag (note the two dashes), which allows assigning the container a name for easier management, and the --restart option, which changes the container’s restart behavior, discussed below. In addition, images can offer custom options. Take the -p option of httpd, for example:
docker run -d --name my-web-server --restart no -p 1234 httpd
In the Docker UI, you can find all previously downloaded images in the images section. Navigate there using the menu on the left-hand side of the window, and then press the play button to start a new container hosting the selected image:
 Click the play button to run an image in the Docker GUI.
The previous section highlighted assigning a name when creating containers from images. These names make identifying running containers easier when checking their status. Docker automatically provides a random name when omitting that option, which might become confusing when many containers are running on a system. Either way, use the following command to list the status of all running containers on the system:
docker ps
In my case, the output looks as follows:
 By default, ps lists all running containers.
To show all containers, even the currently inactive ones, add the -a flag:
 The -a flag makes ps list all containers, even inactive ones.
In the previous example, the hello-world container powered down without errors about one minute ago. This image also illustrates a random, Docker-generated name, as I didn’t enter one when creating the hello-world container.
In the Docker GUI, navigate to the containers tab on the left-hand side of the window to show all containers:
 The GUI’s containers tab lists all active and inactive containers.
Similar to starting containers, stopping a currently running one is equally as effortless in Docker, as it only involves typing a single command in the CLI. For instance, type the following to stop the previously started httpd container named my-web-server:
docker stop my-web-server
You can then use the ps command again to verify that the container stopped:
 Use ps to verify that the stop command works as intended.
In the GUI, navigate to the containers page and then click the stop button next to a running container’s name:
 Click the stop button next to a running container to stop it in the GUI.
Note that the GUI and the CLI are two different methods of interacting with the Docker engine running in the background. Therefore, stopping a container in the CLI stops that container globally, and the UI will reflect the container's new status. Vice-versa, any action in the GUI will also appear in Docker's CLI interface.
As mentioned above, Docker can automatically restart stopped containers in certain situations — when the container stopped due to a fault or after rebooting the OS, for example. You can configure this behavior using the restart flag in combination with one of the following values:

Use the rm command in combination with a container’s name to delete a container:
docker rm my-web-server
Note that you can only remove stopped containers by default. It’s good practice to always let a container shut down gracefully before deleting it, as otherwise, open networking ports or file handles may remain blocked until restarting the OS. While this can potentially cause errors in other programs, you can also enforce the removal of a container by adding the -f flag:
 An error message lets you know that you shouldn’t remove a running container.
Similarly, you can also remove previously installed images or certain versions of an image using the following command:
docker image rm <<image_name>>
Note that you can only remove images when they are not in use by any container.
In the GUI, navigate to the containers section and click the trashcan icon to remove a stopped container:
 Click the highlighted icon to remove a container in the GUI.
Similarly, use the trashcan icon to delete previously installed images in the Docker GUI:
 Use the trashcan button to remove any previously downloaded images.
Getting started with Docker is incredibly easy once you understand the basics of how the popular containerization engine functions. You can find containers in many different ways. However, most legitimate, and trustworthy sources publish official versions of containers in the Docker Hub, which you can access via a website or the Docker GUI. Once you find an interesting image, you can install it using Docker pull. This command also supports installing specific versions of an image by referencing its tag.
Next, you can run a container that hosts the previously installed image using Docker run in the CLI. Here, the -d, --name, --restart are amongst the most commonly used ones. The -d option starts a container as a background task, name assigns it a name, and restart controls its restart behavior. Running an image in the GUI is as simple as clicking a single button.
You can check on your running containers using the ps command or via the GUI, which lists all containers on the containers page. You can also stop running containers on this page and delete them while they are not running. In the CLI, the stop command exits a container, and rm removes it.
Similarly, you can delete previously installed images using a single click in the GUI or the image rm command in the Docker CLI.