制造商零件编号 SC0194(9)
RASPBERRY PI 4 B 4GB
Raspberry Pi
Node-RED differs from regular programming environments and most flow-based program editors, like Scratch or various online Arduino block editors. It doesn’t focus on logic and program flow — instead, Node-RED focuses on messages, passing values between nodes, and processing data. Therefore, the message-based node programming tool has all the functions built-in commonly needed for IoT and data-based projects. However, as exciting as the development environment may be, it requires some getting used to. With that in mind, this article covers how to get started with receiving and parsing data in Node-RED.
The first aspect in which Node-RED differs from most other programs is that the tool is not a standalone program. Instead, it comes as a web application that runs in NodeJS, a JavaScript runtime environment. This means you’ll have to install NodeJS before getting started with Node-RED. Luckily, this step is as easy as downloading the installer package for your operating system from the official website and following the installation process as you’d do with any other software.
Once the NodeJS installer finishes, open a terminal or console window and type in the following command:
sudo npm install -g --unsafe-perm node-red
Next, wait for the node package manager (npm) to finish its work. Omit “sudo” when using Windows, as it is only needed on Unix-like operating systems, such as Linux and macOS.
Note that there are alternative ways to install Node-RED - for example, by utilizing Snap or running it in a docker container. However, the approach presented here will probably be more intuitive and easier to follow for most readers. In addition, Node-RED can also run on an external web server, and you can access it from any computer in the same network using a web browser without having to install anything on your local machine.
When the installation finishes, you can launch Node-RED using a command-line interface (CLI) window:
 Start Node-RED using a command-line window.
Next, use a web browser to navigate to the address that hosts Node-RED. In most cases, which will be the address displayed in the command line window, as shown in the image above. When Node-RED runs on an external server, use that server’s address to access the web application. Either way, the interface should look similar to this:
 This image shows the main dashboard of Node-RED.
The main working area, outlined in orange, should already have an empty project ready for you to start. However, you can use the small plus icon in the top-right corner of the area to create a new flow. The red area on the left-hand side of the window contains the nodes you can place in your project. The blue area on the right side of the window shows your project structure, and the buttons marked with the green box let you deploy your flow and access additional options.
Drag one inject and a debug node into the main working area. Then, connect the two nodes using the gray handles:
 Use the toolbox to place an output and an input node. Then, connect the nodes using the gray handles.
If the handle is on the right side of a node, it indicates that this node acts as an output. The left-hand side handle, conversely, indicates an input. Double-click the inject node (labeled timestamp) in the main working area to open its properties panel:
 Double-click the node to change its properties.
Here, you can change the JSON object this node passes on to the following nodes in the chain. In this case, I changed the names of both variables (highlighted in red) as well as their values (in the blue box). You can add and remove fields as you like. Click the red done button to save your changes. Then, double-click the green debug node in the main editor:
 Make the debug node output the entire message rather than a single field.
Change the output, so the node displays the whole message object it receives rather than a single field. Then, click the done button to save your changes. Next, navigate to the debug window, click the deploy button, and then use the light-blue button left of the inject node to create a message. Finally, the inject node passes that message to the green debug node, which then displays it using the console window:
 Follow these steps to start the flow and output a debug message.
As small as this example seems, it already illustrates the most basic concept of Node-RED.
This simple example demonstrates the most basic concept of Node-RED: passing data and messages between nodes. However, the tool shows its true power in fetching data from external APIs and parsing the results returned by those endpoints.
Node-RED is not only node-based, as it also allows users to define custom functionality using JavaScript. Here, we can manually modify messages, build custom logic, and define global variables allowing the flows to exchange data. While working with variables seems uncommon initially, it’s relatively easy to get used to working with them within Node-RED. In addition, nodes can have multiple outputs, which may come in handy in various situations.
Finally, Node-RED offers various plug-ins that let users fetch data from external sources, for example, a serial port connected to an Arduino board. In addition, the tool offers exceptional tools for building beautiful and intuitive dashboards that display aggregated data.
Node-RED is quite different from what most of us might be used to from working with various development boards, such as Arduino devices. Instead of focusing on the nitty-gritty details of program logic, Node-RED hosts an array of useful high-level features for quickly requesting data from external endpoints, such as web APIs, and processing the inputs received.
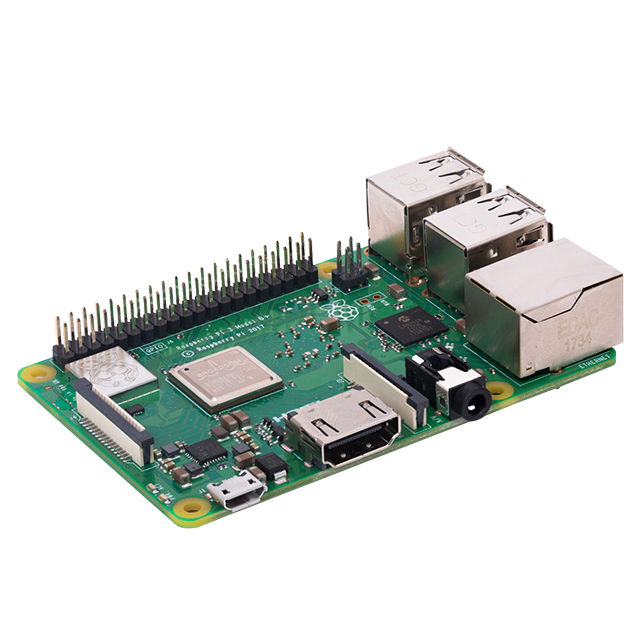
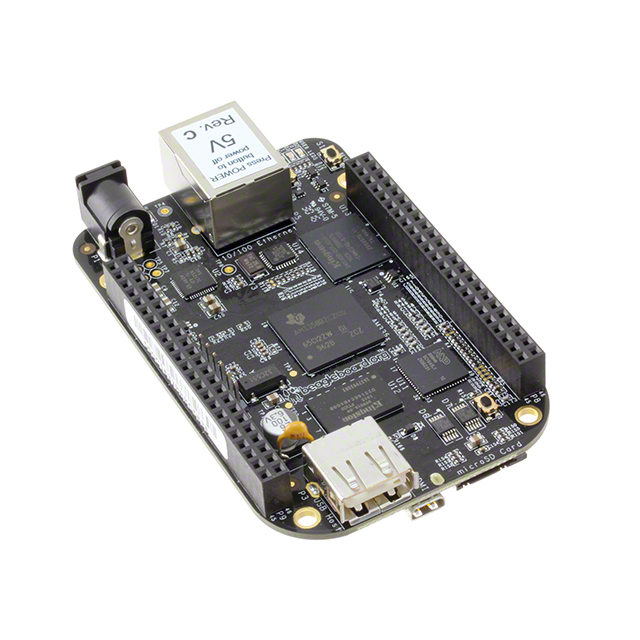
Therefore, you can’t compile and upload Node-RED programs to development boards. Instead, the tool includes a variety of nodes that can receive, parse, aggregate, and display data. In addition, more advanced features and plug-ins allow us to build beautiful and intuitive dashboards to display data and values. These dashboards can be run on low-cost single-board computers, such as a Raspberry Pi or BeagleBoard.
Node-RED still allows its users to write custom program logic in the form of JavaScript nodes. Here, we can also employ global variables, enabling flows to exchange data. Stay tuned for a future article that will further explore this idea!