How to Install Eclipse on a Raspberry Pi
2018-09-14 | By Maker.io Staff
Eclipse is a very useful IDE for programming in languages such as Java, Python, and even C++. In this how-to article, we will learn how to install Eclipse on Raspbian.
Things You Will Need
To properly install Eclipse on your Raspberry Pi, you don’t need much in the way of supplies. Altogether, you will need the following:
- Raspberry Pi 3 Model B Running raspbian operating System
- A stable internet connection, either very stong Wifi signal or using the wired Ethernet connection
Install the IDE
While the terminal may be daunting to some, it is a lot easier to use than most may think. Since we will be using the terminal, we have to go ahead and load it up.

We can do that from the desktop using the tool bar.
With the terminal window open, we need to run an instruction that will update our Raspbian packages. Enter the following:
“sudo apt-get update” make clear that this is command
The next step is the instruction that will actually install Eclipse. I’ve included the instruction below.
“sudo apt-get install eclipse” make clear that this is command
During installation, the terminal window will prompt you, asking whether or not you want to install Eclipse. At this point, enter Y and then hit enter. Eclipse is a somewhat large program (in excess of 300 MB), so the installation process may take a while.

A Basic Example of Setting Up Eclipse
With the installation finished, you may see some errors in the terminal window, but these should not cause any issues. To load Eclipse, navigate to the Raspbian Icon > Programming > Eclipse.

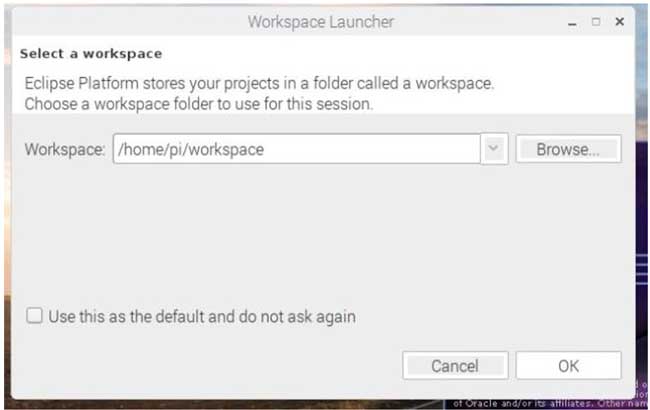
When Eclipse starts, you will be asked where the default workspace should be located. Leave it as the default value and click “OK”.
Now that Eclipse is ready to go, we will learn how to make a simple “Hello World” program. Start by clicking File > New > Project.

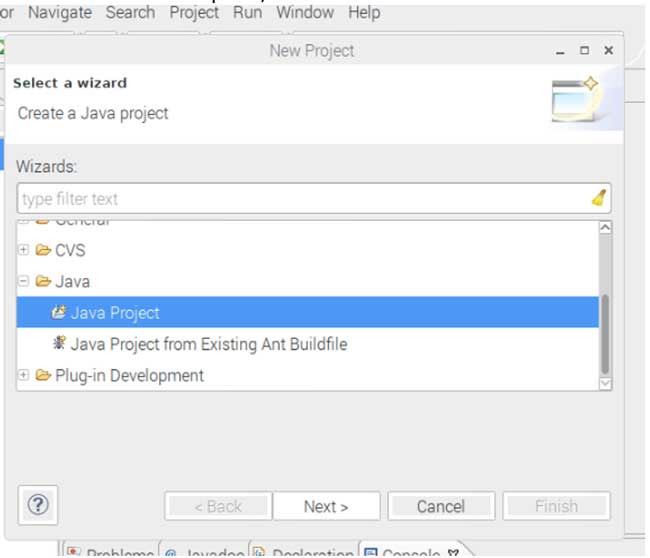
In the window that opens, scroll down to the Java folder and select “Java Project”.
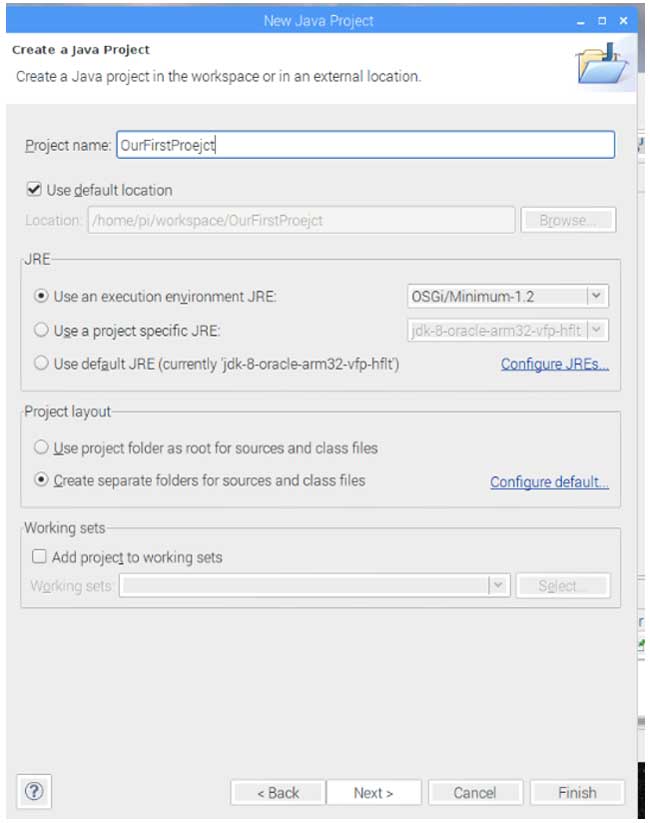
In the next window, give the project a name. In my case, I called the project “OurFirstProject”.
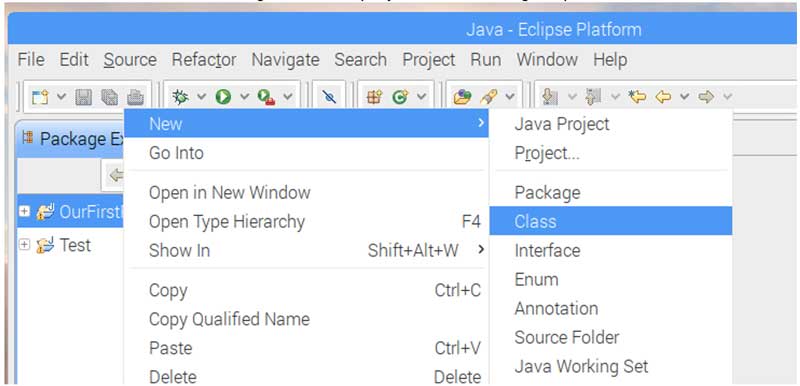
Now that our project has been created, we need to make the main class that will hold our code. We will execute this class. To do this, right-click the project in the Package Explorer and then click New > Class.
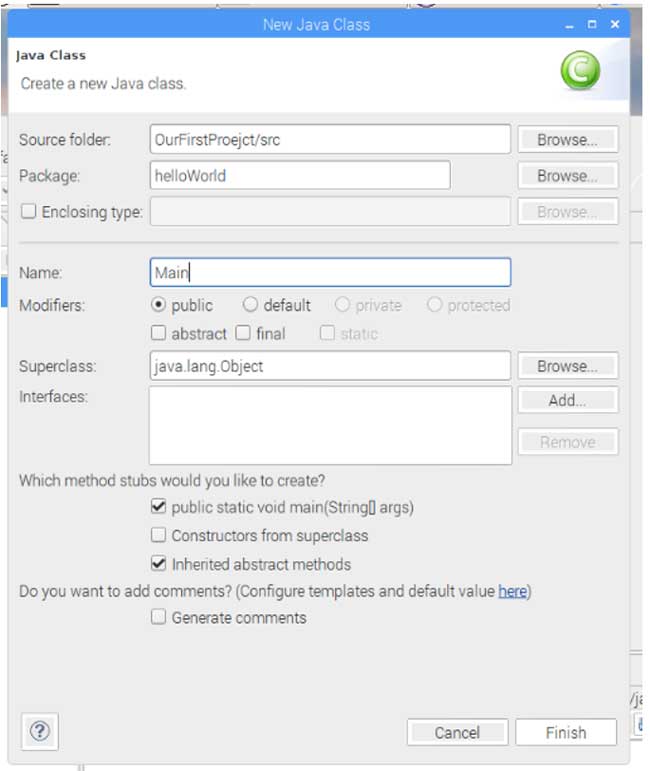
The first field that we need to fill out is the “Package”. For our Java project, we will call the package “helloWorld”. The second field that needs filling in is “Name”. For this example, we will call the class “Main”. Packages in Java should start with a lowercase letter, and classes should start with an uppercase letter.
Now that we have our class and package made, we will need to put in a line of code that will print “Hello World” on the console window. To open the main class file, expand the project in the Package Explorer, expand the “src” folder, and then double-click “Main.java”.
System.out.println(“Hello World”);
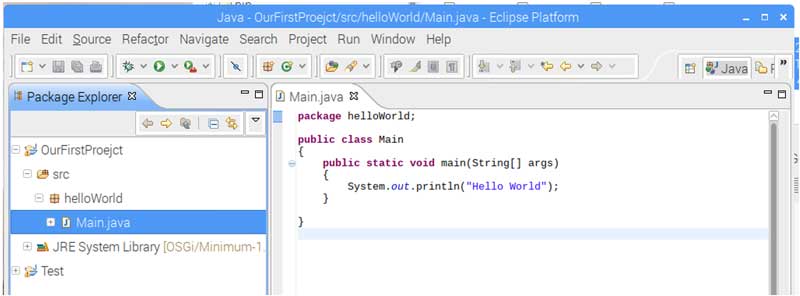
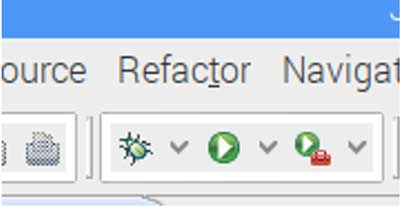
Finally, we need to go ahead and test the program. You can do this by clicking the green run button found in the toolbar. If all goes to plan, you should see the text “Hello World” in the console window at the bottom of the IDE.


 中国
中国