制造商零件编号 A000066
ARDUINO UNO R3 ATMEGA328P BOARD
Arduino
The Arduino IDE is a useful tool for making simple Arduino projects. However, more complex projects require workspaces with external files, as well as debugging capabilities. In this how-to article, we will learn how to use the Arduino with the Eclipse IDE.
Before we can install the Eclipse IDE, we need to download the installer (naturally) from the Eclipse website.
The best option at this point is Eclipse Oxygen, and the website should be clever enough to detect your operating system and, hence, provide the correct installer. Since I am using Windows 7 64-bit, the website points me to a .exe file.

Once downloaded, run the installer, and the first menu option that shows is the specific type of IDE. Since we code the Arduino in C/C++, we will select “Eclipse IDE for C / C++ Developers”.

Leave the defaults as they are and then click install.

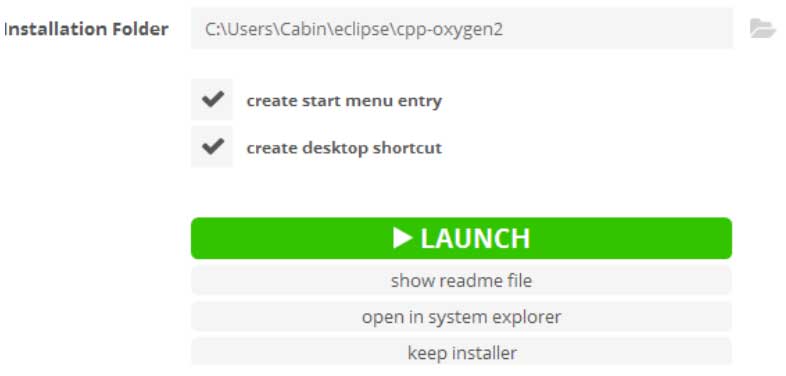
Once installed, launch the IDE.
When the IDE loads, you should be presented with the eclipse welcome screen, and, near the bottom, you should see an option labeled “Launch the Eclipse Marketplace”. Click this, and a separate window should appear.

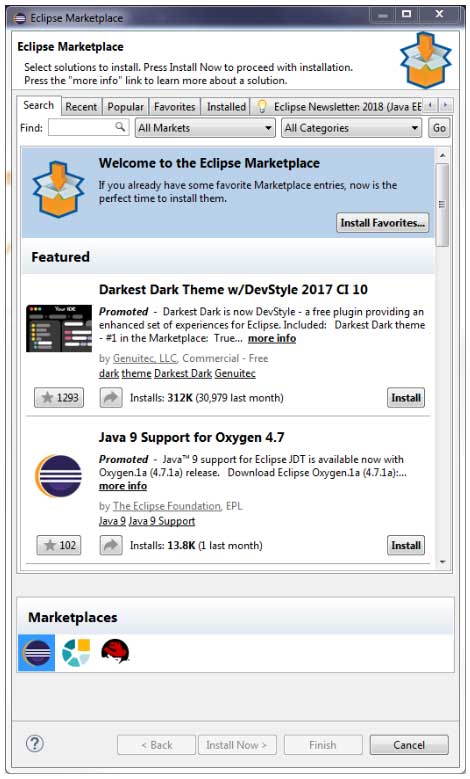
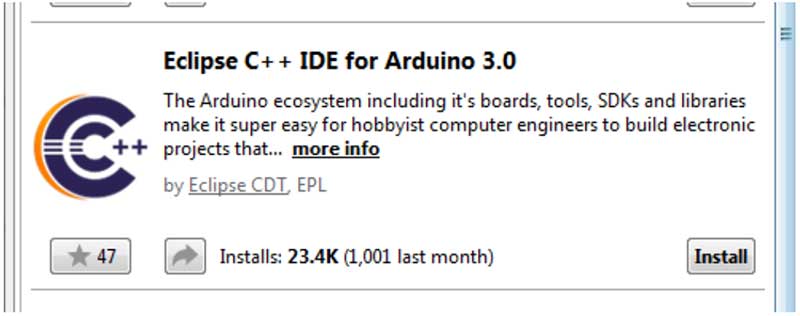
In the search bar, enter “Arduino” and then click the search icon. In the newly populated list below, you need to look for “Eclipse C++ IDE for Arduino 3.0”, then the press the install button. You may be prompted with a license agreement. For now, click “I agree”.
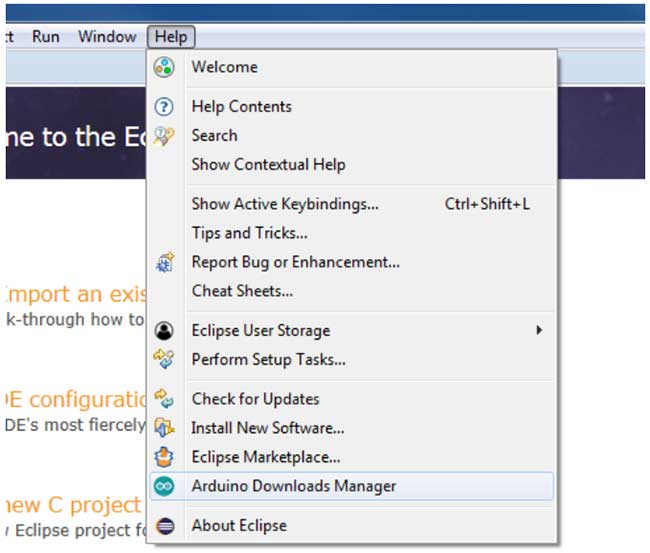
Lastly, open the Arduino Download Manager and select the packages that we need. For now, we will only be downloading Arduino Uno package. To do this, start by navigating to “Help” on the top menu bar and then click “Arduino Download Manager”.
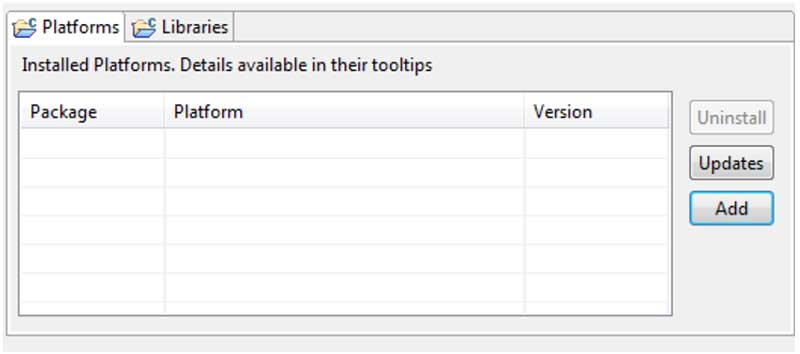
In the window that opens up, click “Add”.
In the next window that appears, select “Arduino AVR Boards” and then click “OK”.
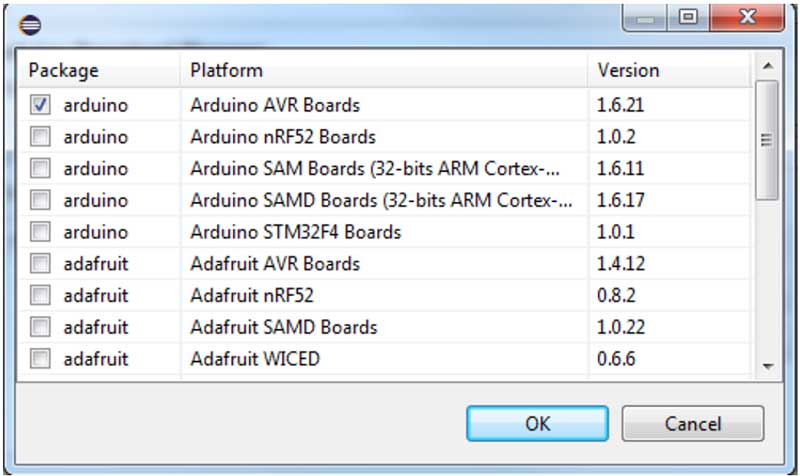
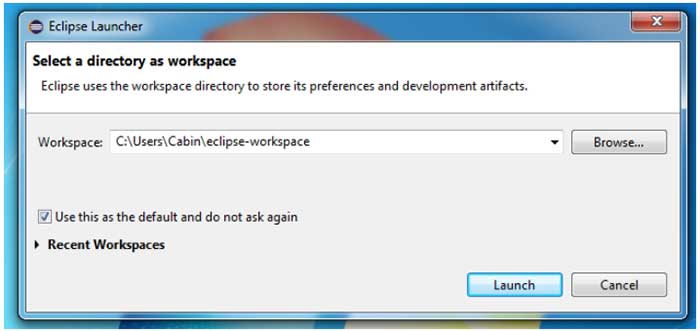
This will automatically install the AVR-GCC toolchain and all other requirements for using the Arduino Uno board. At this point, it would be a good idea to restart the Eclipse IDE, and, if asked about default project locations, just leave them as they are. Note, your Arduino projects MUST BE LOCATED in the DEFAULT PROJECT LOCATION. Otherwise, the IDE cannot find the Arduino files.
When the IDE has loaded, you will need to plug your Arduino into the PC and find out its COM port. The easiest way to do this is to load up your device manager and look at the list of ports available. COM1 is always reserved for the operating system, so, unless you have other serial devices, there should only be one other COM port.

In the IDE click File > New > Project.

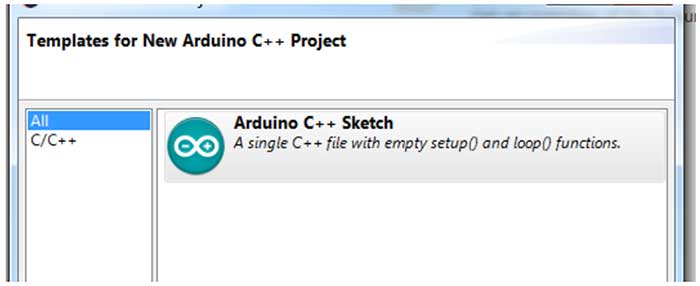
In the project wizard, select “Arduino Project”, and, in the next window, select “Arduino C++ Sketch”.

Next, you must define the project name and location. For now, we will call our project “ArduinoProject” and leave the location as its default.
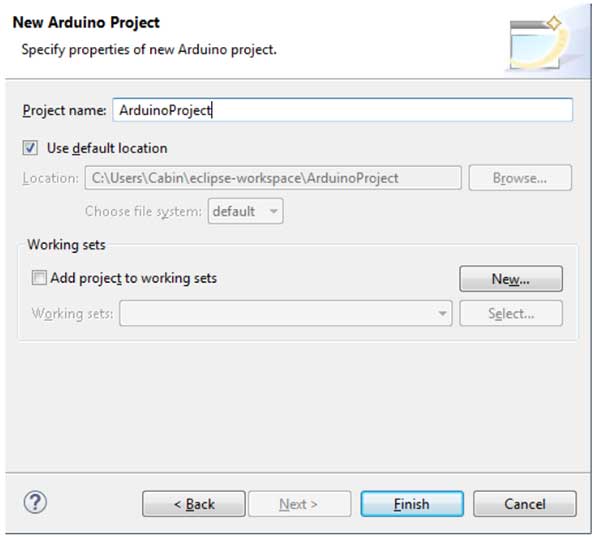
You must then set a target, but this only has to be done once (as it is global to all projects). To set up our target, click the box next to “on:” and select “New Launch Target”.

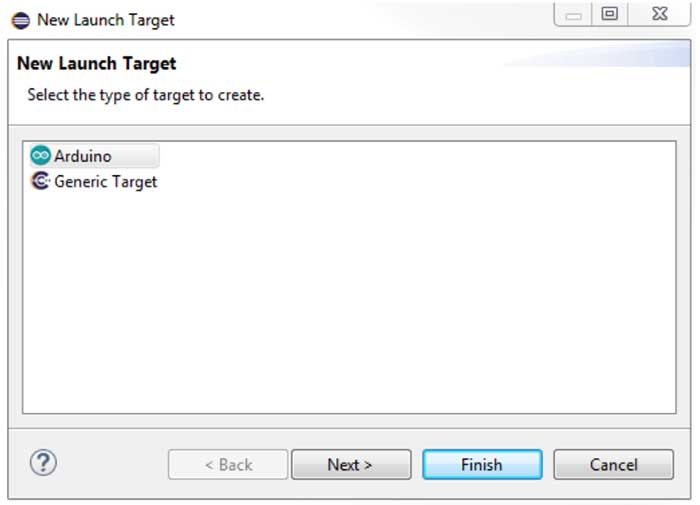
The first window asks what type of target you are using, so, in this case, we will select Arduino.
The next window asks for specific details about the target, including the target name (which you can choose yourself), the serial port (which we got from the device manager earlier), the board type, and the programmer. For now, use the details shown in the screenshot below (this will work for the Arduino Uno).
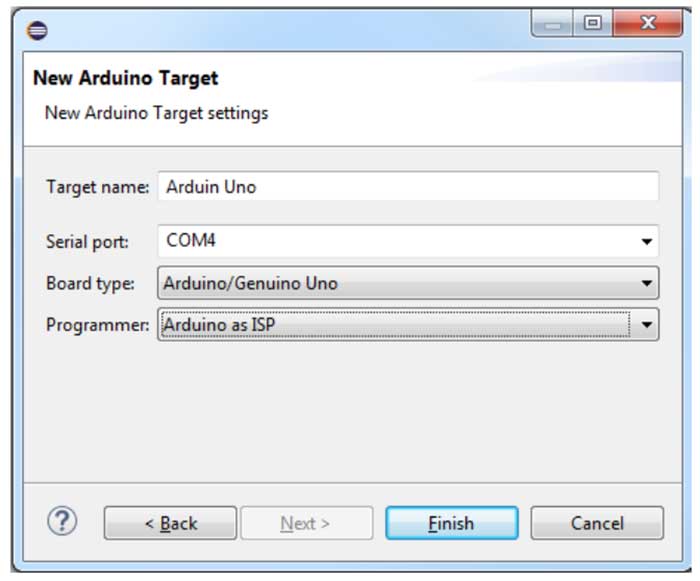
With our target done and selected, copy the following code into the main code file:
#include <Arduino.h>
Now the code needs to be built. This is done by clicking the build icon (the hammer). Once built, click the run tool (the green circle with the white arrow).

If all goes to plan, your Arduino should now be flashing its LED once every second!