Arduino-Powered Rat Diorama: Electronics and Taxidermy
2024-08-16 | By bekathwia
License: See Original Project Arduino
Electronics and Taxidermy! That’s what’s on the menu for this diorama project collaboration between Emily Graslie and me. In this project, we will build a plywood diorama box and fill it with cityscape features like a brick wall with a dryer vent and LED lighting. Oh, and rat taxidermy. You’d be surprised how much overlap in tools there can be. Check out how many of the tools we needed are carried by DigiKey!
[DK list https://www.digikey.com/en/mylists/list/7XKTVCR5D6 ]
- Scalpel blades
- Scalpel handle
- Scissors
- Plastic tweezer kit
- Spatula kit
- 50cc syringe
- 10cc syringe
- Diamond file kit
- Bent-nose pliers 4.5”
- Bent-nose pliers 6”
- Fine tweezer kit
- Black electrical tape
- Double-sided foam tape
- Masking tape
- 5V 4A AC adapter
- Arduino Uno
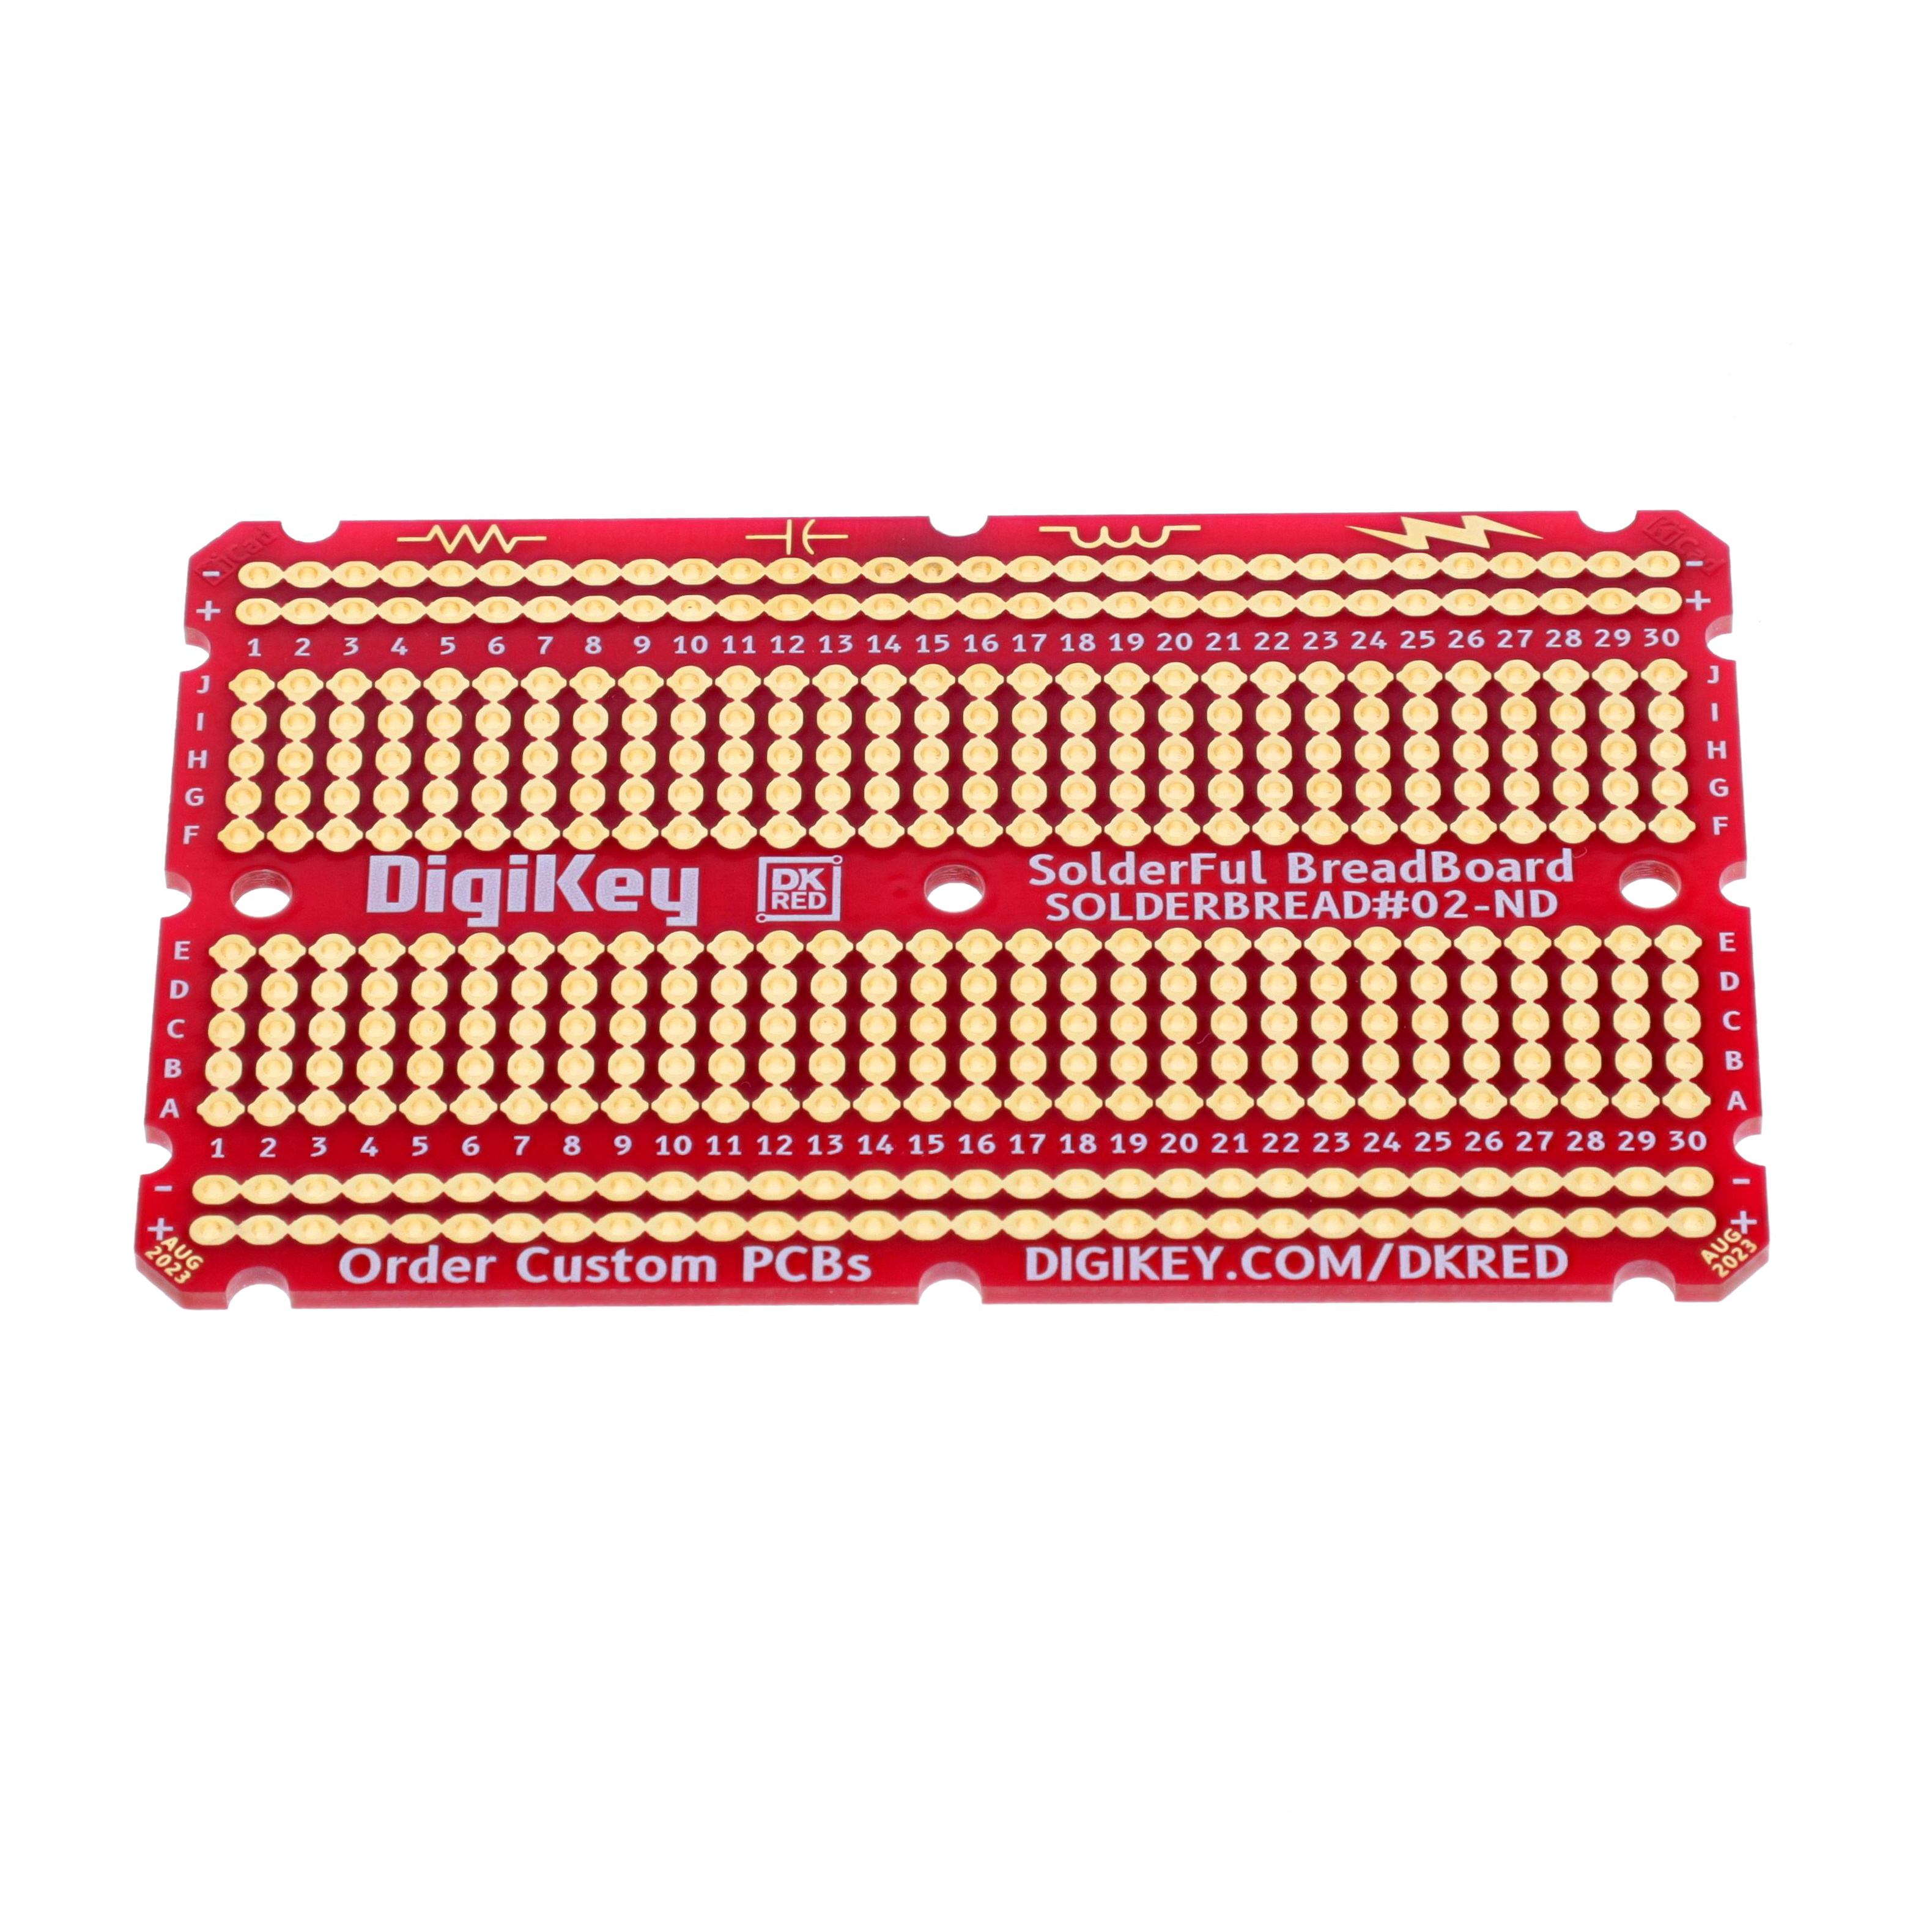
- Solderful Breadboard
- Extension cord with 2X USB ports
- Warm white LED 5mm
- Air pump DC motor
- NeoPixel strip 144/m density
- Vape device
- Vape fluid 0mg nicotine PV/PG 30/70
- Silicone adhesive
- E6000 adhesive
- Plastic sheeting
- Nitrile gloves
- ¾” plywood
- Air-dry clay
- Silicone tubing
- Toothed tweezers
- Sewing pins
- Sewing needles
- Thread
- Leather needles
- Dryer vent
- XPS foam ½”
- Polystyrene foam 1”
- ⅛” plywood
- XPS foam 2”
- Expanding foam insulation
- Glass eyes
- Brain scoops
- Mammal filling
- Paint
- Brushes
- Copper wire brush
- Wood wool // excelsior
- Chinchilla dust bath
- Fleshing tools
- T-square
- Pencil
- Circular saw
- Electric screwdriver
- Drill
- Paint markers
- Pocket hole jig with screws
- Hot glue gun
- Sandpaper
Recycled Vape Steam Feature
For this project, I was squarely in charge of any electronic elements going into our diorama. We brainstormed a steam feature, so I got to work on that first.
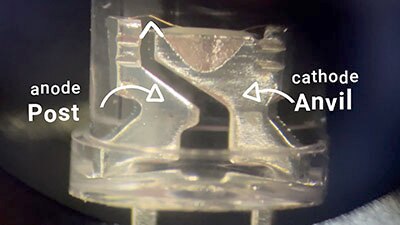
To turn an old disposable, vape into a mini fog machine, I hooked it up to an air pump using bits of silicone tubing. These things are activated by negative air pressure from the user inhaling through it, so the pump can do the same thing.
I picked up some flavorless 0% nicotine e-juice and used it to refill the spent vapes I got from a friend. I drilled out the mouthpiece to make the tubing fit and used silicone adhesive for an airtight seal.
Note that even though these things were “empty” - they still stunk. So, I wrote a simple Arduino program to activate the pump for a few seconds every minute, simulating a human user, with the exit tube out the window to flush out the stinky vape juice left in the sponge.
I soldered wires onto the pump to make the connections more permanent. This setup was the first thing I mounted to my control board - a piece of plywood I set upright in my vise with a plan to install it inside the diorama later. I used bits of nylon strapping and some screws to secure the pump to the wood.
The relative positioning of the vape device and the pump matters because of the condensation that forms in the tube, and the vape works best upright, so I wanted to figure out a way to mount it (and a few backups) just below the pump. I could have used more strapping, but I wanted to make them easily removable for refilling, so I 3D printed a little holder and mounted it and a power strip to the board as well.
I figured out that one of my vapes could operate while charging, so I kept it plugged in. Usually, they can’t charge and run at the same time, and the others in this set certainly don’t.
Making the Flashlight
I wanted to try to make my rat hold a tiny flashlight, so I modeled one in Tinkercad, my favorite free 3D modeling software, and printed it out in grey PLA filament on my 3D printer. A single 5mm LED fits inside, and the wires come out of a hole in the handle.
The wires from the flashlight, the air pump transistor circuit, and the LED strip all converge on the control board, where an Arduino Uno and solderless breadboard host all the connections.
Control Board Refinement
Once everything was working, I made a new, more permanent circuit using a Solderful breadboard. I made ID tags for each one with my label maker.
In the days and weeks leading up to this build, I couldn’t help but start collecting some authentic city trash for our diorama. I also shellacked some pizza crust in case we want to depict our taxidermy rats having a snack.
Preparing Specimens
We loaded up the van with the in-progress parts and drove to Emily’s place in Chicago. There we built the plywood box that will contain the diorama, then we spent the next day at the Peggy Notebaert Nature Museum learning how to prepare the rat specimens for taxidermy. This was an entirely new experience for me. Emily’s friend and fellow YouTuber Rob Scallon also joined us at the museum, where Rob Kelsey taught us to skin and flesh out our rats.
Go over to Emily’s channel to watch the full gory process.
Diorama - Faux Bricks
Our diorama centerpiece is the corner of a brick building, so I carved bricks from some foam insulation and then textured them with a piece of aluminum foil, which is a trick I picked up from Nerdforge. When I wanted to make a double-height block for the concrete footer, I used air-dry clay to fill in the gaps. Emily painted the bricks.
Diorama - Plywood Box
The plywood box needed to have an opening at the back for installing the electronics, and its floor needed to be elevated from the bottom edge so that forms could be fixtured from the underside– basically, you need to be able to get your hands under it. We used scrap plywood and pocket holes to make our basic shape, then used a thinner piece of plywood to create a curved backdrop that Emily would later paint.
Diorama - Installing the Electronics
The next morning, we installed the control board in the back corner of the box.
Then I cut a hole for the dryer vent cover, and we installed the brick wall into the diorama box. I used a plastic sandwich bag to act as a funnel for the water vapor by taping the silicone tube into one corner. The bag is squished in the space between the vent and the foam. I think it came out great.
I also added pixel strips to the upper edge to simulate city lighting.
3D Scanning and Printing of the Heads
We used an app called Polycam to 3D scan our rats’ heads so we could then 3D print them for use inside the taxidermy. We heard that sculpting the face is one of the more challenging parts of mammal taxidermy so hopefully, this would give us a leg up.
The process involved putting the heads on wires so that I could move my phone all around it to capture images for the photogrammetry.
I left Chicago with a rat skin and a bunch of files.
Making and Revising the Taxidermy Form
To contrast the technology, we used for the head, I made the rest of my form the old-fashioned way, using some stiff wire wrapped in slightly dampened wood wool, held in place with strong thread.
This is where the tracings and reference photos of the carcass would be useful, but I didn’t have those for this particular skin which was prepared ahead of time so we could “cooking-show” everything during the limited time of my visit.
Taxidermy, like many other skills, takes practice to get good at, so please be gentle with your feedback as this is my first time. We’re following Allis Markham’s tutorials - she’s a super expert who makes pieces for museums. I highly recommend taking one of her classes and appreciate her sharing resources with us to get started with this fun and strange hobby.
Wiring Form for Flashlight
While building, I discovered that the flashlight I wanted my rat to hold couldn’t be assembled already before wiring up the form. We want the hole for the flashlight wires to be as small as possible, so I added the wires to the form first.
To see the final diorama, subscribe to Emily’s channel so you’ll be notified when it comes out!

Have questions or comments? Continue the conversation on TechForum, DigiKey's online community and technical resource.
Visit TechForum


 中国
中国