制造商零件编号 130-35000
KIT ROBOTICS ARDUINO SHIELD
Parallax Inc.
As the students working on the Detector Building Project have been speeding along, the Robot Tour students have been watching along to pick up some coding skills and get familiar with Arduino. Finally, with some dedicated build time, they've been able to make some significant progress of their own, which will be documented in this blog!
For context on the projects that we're working on, check out the first installment of the blog here! In short, I'm teaching some Pearl City High School students (located in Hawaii!) about embedded systems by coaching them for robotics events they'll compete in for the Science Olympiad. The other project is an ORP (or Redox probe) that will measure conductivity and eventually PPM/concentration. This project will be on creating a rover that can traverse a certain course and earn points based on its navigation time and if it can reach some special areas! The name of the event we're working on for this project is Robot Tour!
Of course, the first thing to do with any coding project is to get on the grind with getting familiar with...code! On the first day, we did a little overview of our plan, we reviewed the basics involving syntax, loops, and the basic functions that students need to know. As we haven't had a build day yet for the Robot Tour project, the students on this event have just been piggybacking on the coding worktime with the Detector Building (the other event) students to get familiar with libraries and more.
With that, today the first thing that we did was start up the Arduino IDE and test out all of our components to make sure that they work before we put everything together. This included the servo motors, ultrasonic sensor, the Arduino shield, and a couple more misc. components. They all ended up working fine, so we immediately got to work on the build!
For this part, we used a Parallax kit that included everything.
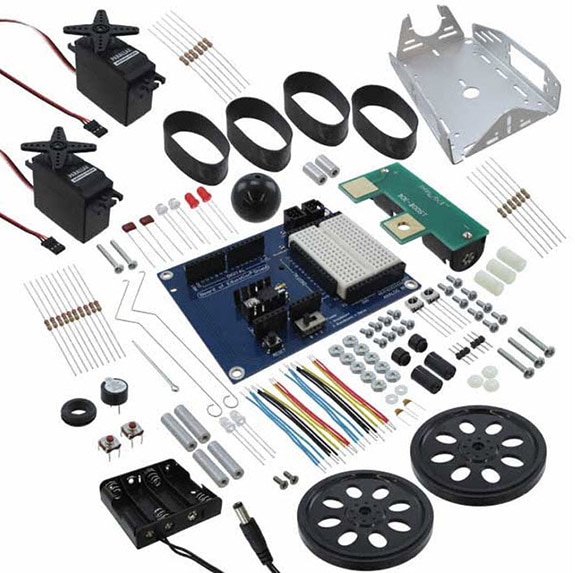
If you're interested in nabbing one for yourself or your students, I've linked it below. It comes with battery holders, a Parallax Arduino shield, multiple circuit components, wheels, motors, and more. Namely, it doesn't come with an Arduino R3 (the specific Arduino that it is compatible with) nor the USB-A to USB-B cable, so ensure that you have those ahead of time. It also doesn't come with any sensors, so be sure to get that on the side as well. However, outside of that, the kit is all-inclusive and perfect to get started with.
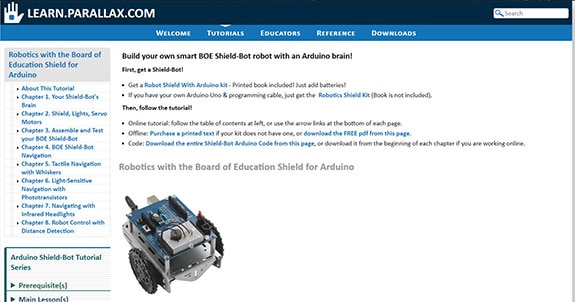
The Parallax website has an entire tutorial that guides the students through some basic circuitry and building the rover from the ground up. This was great news to me as it meant that I had a crutch to rely on when teaching the content, and also a step-by-step guide on using the kit. We covered the first two chapters with ease and got through all the initial testing and set-up.
Now, it was time to build.
The students got to work on assembling the robot utilizing the instructions on the website through Chapter 3.

The instructions were very easy to follow, and the students only required minor guidance here and there to ensure that they were utilizing the right part or when they didn’t know how something worked. Of course, we all agreed that the most satisfying part of any shield build was sandwiching the shield to the Arduino Uno R3.
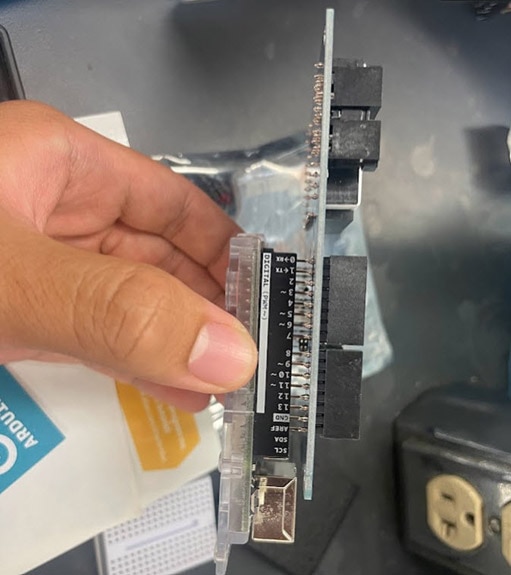
Just super cool how everything lines up!
In no time, we were almost done hooking everything up.
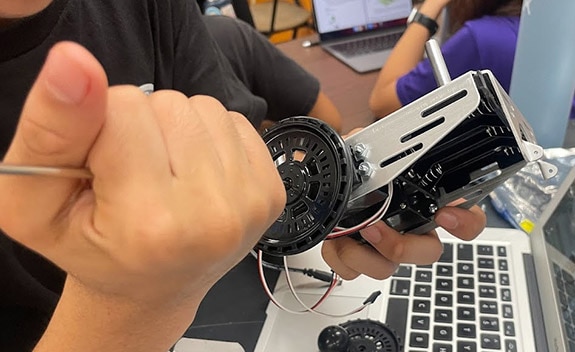
The hardest part ended up being threading some of the wires through, but we got it done and, in less than an hour since we started assembling the robot, we were done!
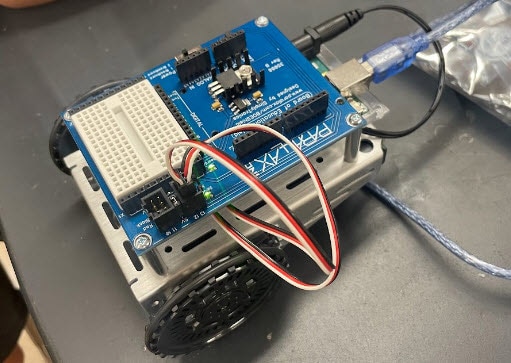
The entire process was stress-free, and although we forgot the AA batteries, we were able to get some code and power in directly through the USB-A to USB-B adaptor, testing the rover by itself for the first time.
Needless to say, the first order of business is getting some AA batteries to have the rover move without a wired attachment. The students have also got some homework: start some test code for a basic obstacle course. In the next blog, I'll talk more about the course and the coding process since that'll end up being more of an intensive process. We also have plans to add an ultrasonic sensor and some extra components that'll make the rover competitive.
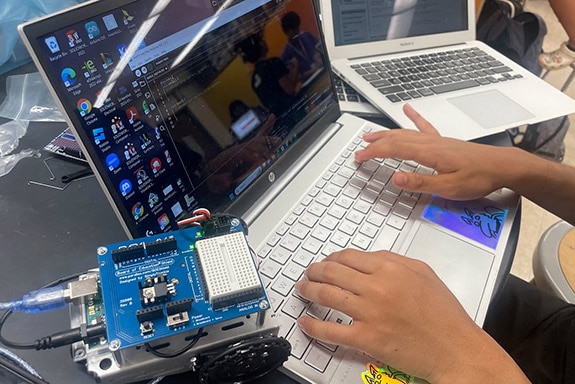
For now, though, we've made some excellent progress, and I'm excited to see what comes next!
Check out the other Robotics Education Projects below!
Robotics Education: The Basics