Fix or Toss? How to Know If Your Electronics Are Worth Fixing
2024-10-29 | By Zach Hipps
When you spend as much time as I do making things, you end up with a lot of broken stuff. My workshop is full of broken things. I even have a broken chair. Today, we're talking about when to fix a gadget and when to toss it.

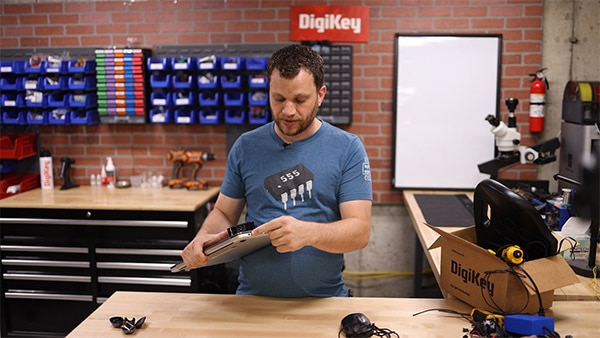
In front of me, I've got three broken items: a laptop, some wireless earbuds, and a gaming mouse. The question is, should I fix these? Is it worth my time? Is it worth the money? More importantly, if you have things like this at home, is it worth your time to fix them? I'm going to go through all three of these items and decide which is worth fixing. As an engineer, you know, I will try to open them up and fix them.

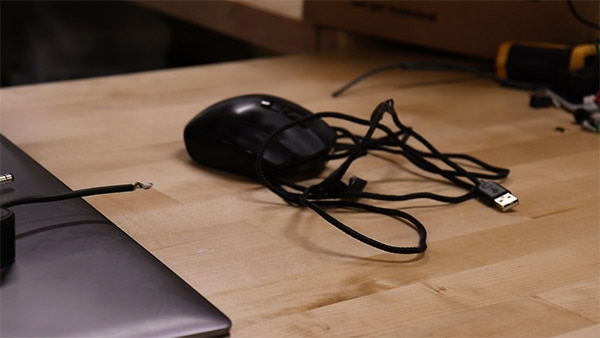
That's precisely what I did with my laptop. All of a sudden, it wouldn't charge. I tried a few things and thought it was the charging port on the side. So, of course, I got my tools out, stripped it down, opened it up, and looked at the circuit board. I decided that the problem was the charging port. I took the time to order a replacement part. When it came, I got out the soldering iron, desoldered the old port from the circuit board, put the new port on, and guess what? It didn't work. After spending all of that time working on the power port, and still not having a working computer, I decided that I was already in too deep and that I needed to continue further. I fell victim to the sunk cost fallacy.
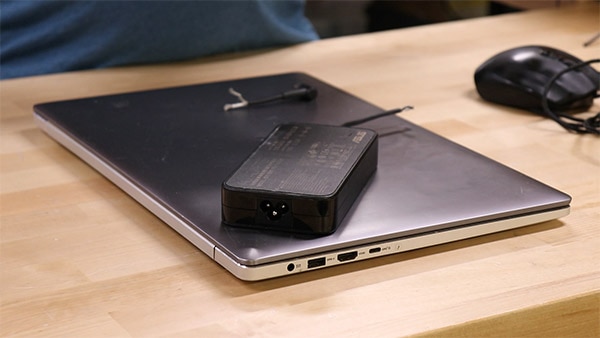
I noticed the power cable had some kinks, so I thought there was probably a short. I pulled out my wire cutters, cut out the short, stripped it back, and soldered it together, expecting I had fixed the problem. But when I plugged it in, still no dice. I kept looking for parts in the power cable with little kinks or possible shorts and would cut them out. I kept cutting the cable shorter and shorter and shorter until I ended up with a cable about six inches long. And I still couldn't get it to work. I was so frustrated at this point. I still didn't have a working laptop, and I discovered through a lot of troubleshooting and more and more of my time that the problem was actually in the overmolding of the power cable connector, which is not something you can easily fix. You would have to bust it open, and there's no guarantee it would be repairable. I decided to go online and order a replacement power supply. Of course, that fixed the problem, and now I have a working laptop. That was a huge lesson learned. I spent way too much time trying to fix this laptop. I should have just spent a few extra bucks initially and bought a new power supply.

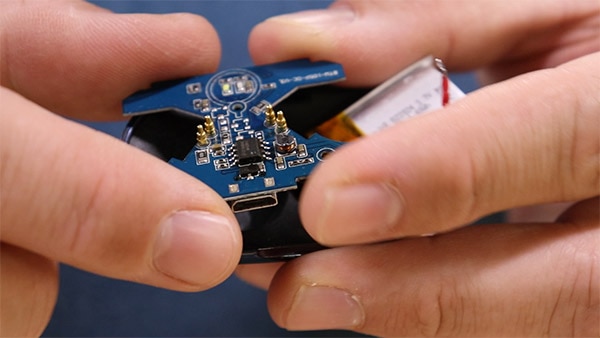
Next, I want to look at the set of wireless earbuds. There's a bit of an embarrassing story behind these. The earbuds went through the washing machine, and after that, they stopped working. They wouldn't take a charge. Being an engineer, of course, I had to open these up to see if I could fix it. The first thing I discovered was that there’s an IC that controls the charging for the earbuds. And I thought, if something's broken, that's probably it. The only way to fix that is to find a replacement part, remove it from the board, and replace it. So, I went online to find a replacement part for this particular chip, and I couldn't find it. At that point, I remembered the lesson I had learned with the laptop cord and knew I was starting to get too deep. I said, “You know what? I'm going to cut my losses, and I'm just going to order a new set of earbuds.” The cost of the earbuds stung a little bit, but it was nothing compared to the amount of time I would have spent trying to fix them with no guarantee that they would work in the end. So, I decided that it was time to toss them.
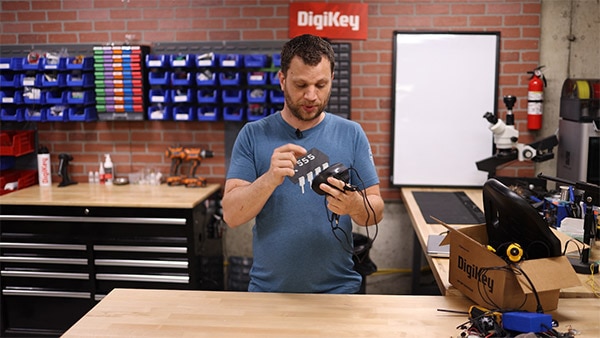
That brings us to our last item. I have a gaming mouse that has 20 programmable buttons on the side. I don't use it for gaming, but I do use it for 3D modeling and doing circuit board design. This particular mouse has a special meaning to me. It's the mouse I bought in college, when I was learning how to do 3D modeling and circuit board design. I've had it for a long time, and I like the way it feels in my hand. I've gotten used to it. I've programmed the buttons just the way I like. I was devastated when one day it just stopped working. One of the mouse buttons had given out. So, I'm ready to open this thing up and do the same thing I did on the first two items and see if I can fix it. I really, really hope that I can fix this mouse.
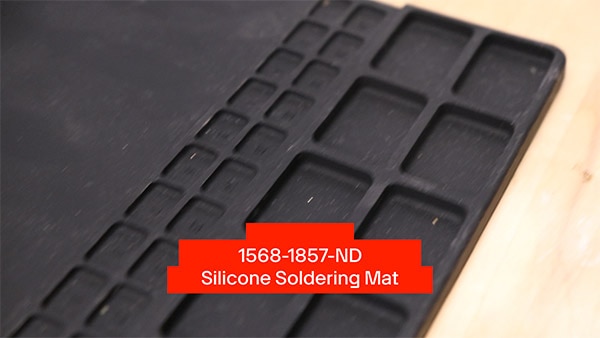
I've been taking stuff apart for a long time, but I've been missing out on something. I love these silicone mats that I found on DigiKey because they have these little compartments that are numbered. Any time I'm taking screws out or different parts, I will place them in the numbered compartments. That helps me when it's time to reassemble it because I can just go in reverse order, and it cuts down on the confusion.
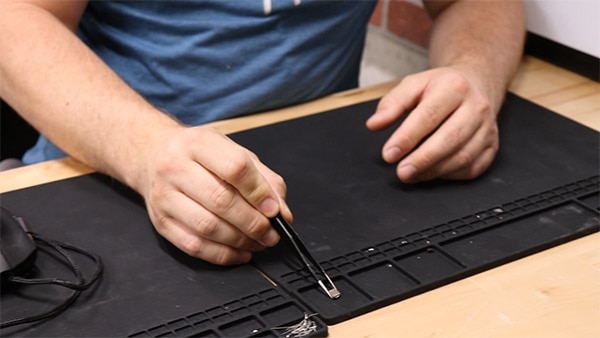
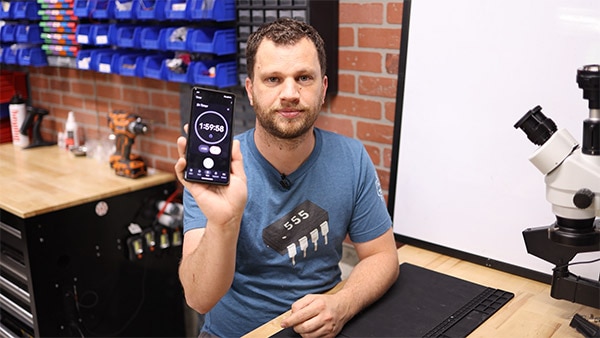
Now that I've got the mats all set up, I'm ready to get started. To make things a little more interesting, I'm going to start a timer for two hours. If I can't fix this computer mouse within that two-hour limit, it's not worth it, and I'm going to throw it in the trash can. Ready, set, go!
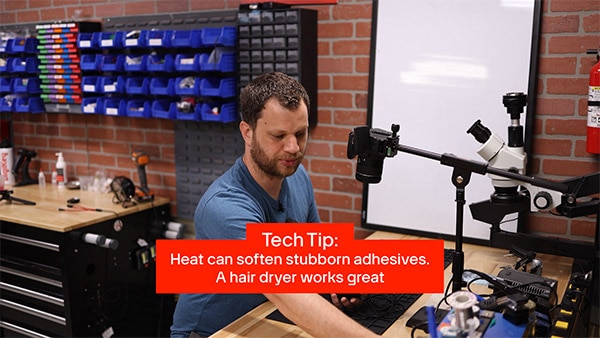
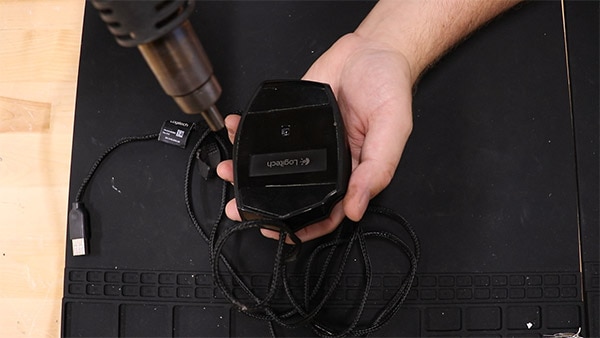
As I flip over the mouse, I don't see any screws right away. But manufacturers are clever, and they usually try to hide their screws. My first thought is that these two adhesive pieces are hiding some screws. When you're taking apart electronics, and there is adhesive holding something together, one of the tips that I have learned over the years is to apply heat. I've got a heat gun, and I'm going to turn it to a very low temperature, and I'm going to warm up the adhesive. If I try to skip this step and brute force the adhesive, then it's just going to tear everything up, and it's not going to look good. The heat makes the adhesive soft, and it is much easier to peel these things up. It's best to go slow and not try to rip everything off all at once. I will use a little pry tool to assist. The first one came right off, and now I can see the screws underneath. Now it's time to do the bottom one, and that one came right off as well!
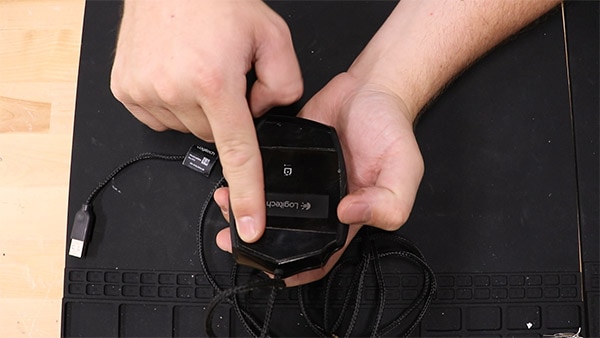
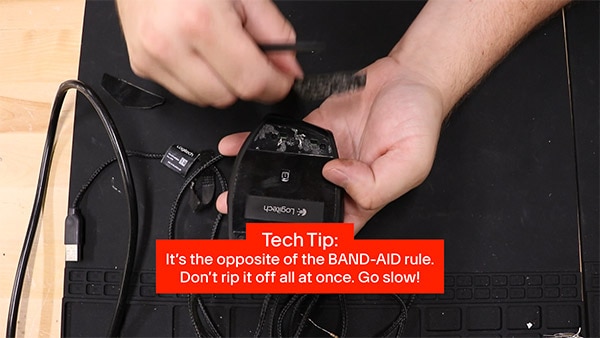
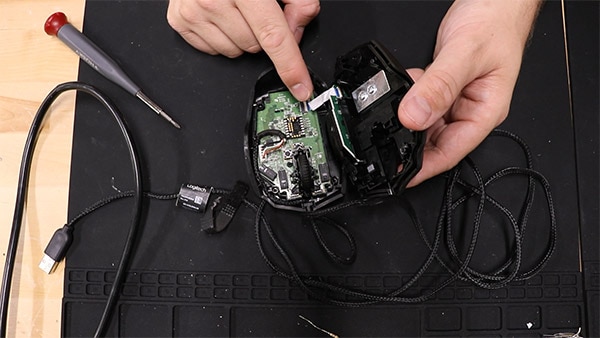
Now I will use a screwdriver to remove the four screws. Like I said earlier, I'm going to use the little slots in the mat to hold my screws. If the mouse is still being held together, that means you missed a screw. Don't try to force anything. Go gentle, go slow, and ensure you don't damage the thing you're trying to fix. As I open this up, I'm careful because there's a little ribbon cable here. I'm going to use my tweezers and gently open up that flat flex connector and will put it on my mat. Okay, I can see a couple of clips holding the circuit board into the enclosure, so I will unclip those and carefully remove the PCB. So far, so good. I'm 5 minutes into my two-hour challenge. I anticipate everything going smoothly, but I also don't want to jinx myself because those are always famous last words, right?
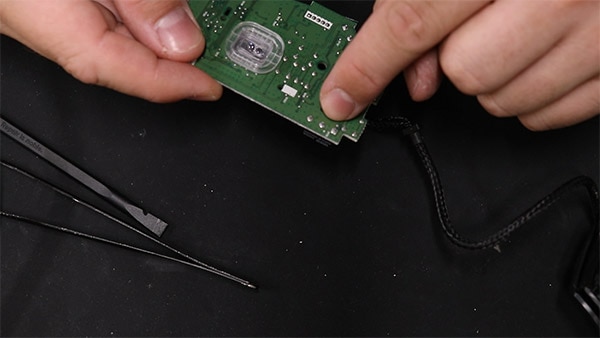


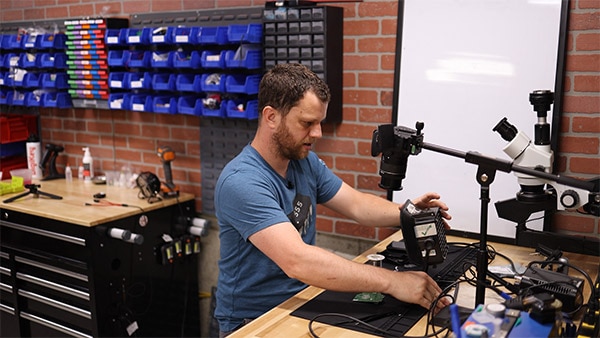
Oops well, there goes the mouse wheel on the ground. Let's pick that up. I guess it's just sitting there. There's no electrical connection. It appears to be an optical encoder, and the sensors look through the holes in the mouse wheel to track the position. I don’t think I damaged anything when the wheel popped off, but I'll need to be careful as I set that back. This is the PCB, and here's the switch I need to remove. In this case, I'm going to replace the component on the board. I need to know what part number it is. Most of the time, the part numbers are just written on the component itself. If I look closely at the switch, I can see the marking D2FC-F-7N (20M). I'm going to look that up on the DigiKey website to see what I can find.
On the DigiKey website, I will type the part number into the search field. There they are! Now I need to find the correct variant, 20M. It looks like these cost around $0.60 each, which is fantastic because I was expecting it to be a lot more. I went ahead and ordered 25 of those switches just because it was a little bit cheaper to get them at a quantity of 25. And also, I may have other switches on this mouse break, and so it's good to have these components on hand, just in case.
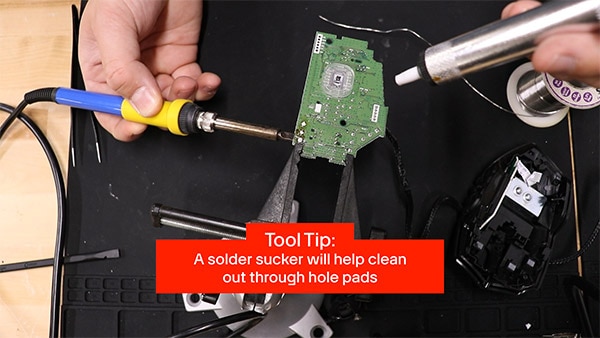
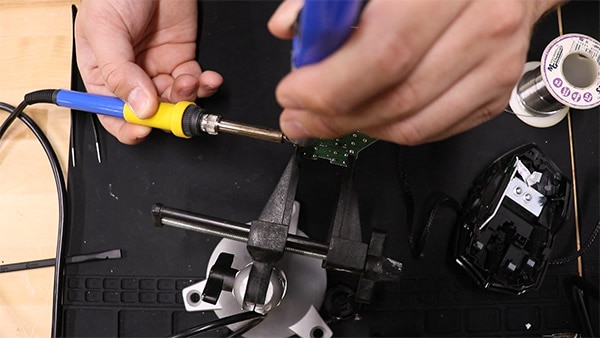
I'm going to show you a couple of different tools and techniques that I use to remove through-hole components from circuit boards. If only two leads are going through the PCB, what I'll do often is use two soldering irons. As long as I have both solder joints heated up simultaneously, the part should come right out. In this case, I have three leads, so that's more tricky. I don't have three soldering irons and more importantly, I don't have three arms. So, I'm going to have to get creative here. What I think I'm going to do is try to create a big solder ball that will bridge two of those through-hole pads so that I can heat it using one soldering iron. Then, with my second iron, I'll heat the third pad. When you have larger pads, and you need to apply a lot of heat, it's often really a good idea to change out your soldering iron tip for something a little bit bigger that can transfer more heat. This is going to be a frustrating process if you use a skinny tip that is not able to transfer a lot of heat. What I do because I'm fortunate enough to have two soldering irons, I leave a large tip on one of them for jobs just like this, and then my regular everyday iron has a smaller tip because I usually work on smaller things.

I'll take my solder spool, turn my iron, and get all of the oxidation off. I’ll also turn on my fume extractor because I'm generating a lot of fumes here that I don't want to breathe in. I've created a big solder bridge between two pins. Now I’ll be able to heat both of those pads simultaneously. Sometimes I'll even get some flux and add that in there because it just helps kind of reflow the solder a little bit. It also makes it a little bit cleaner and transfers the heat better. I've got all three pads, heated up. I wish I had some help getting this out because it started to fall out but got caught. Maybe what I ought to do is lift it off of the workbench so gravity can help me out, or I could give it a little jiggle or a slight tap.
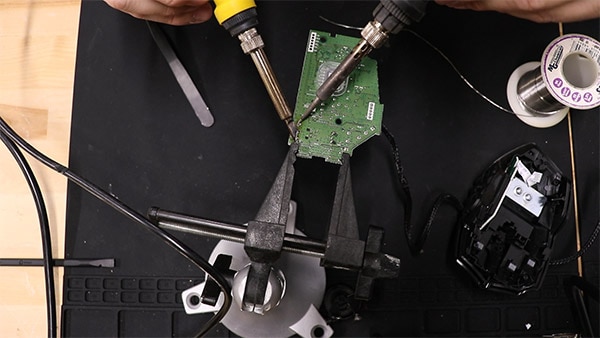
I tapped it and it came right out. I got lucky. That came out much easier than I was anticipating; sometimes giving it a little bit of a tap or a small nudge and letting gravity help you out works wonders. What's even better is just having somebody lend you a hand and pulling it out after you get the pins heated up, but I'm working alone today, so I've got to do the best I can.
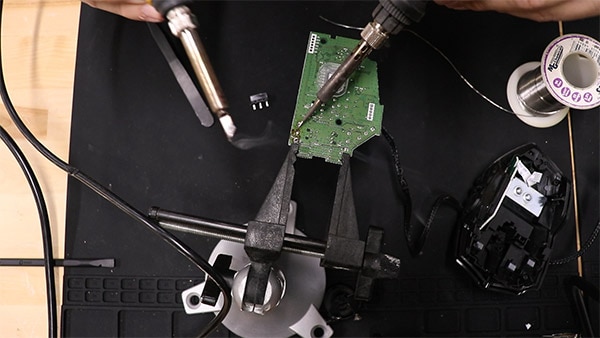
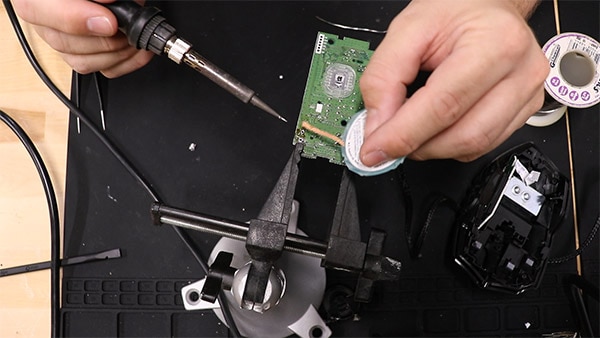
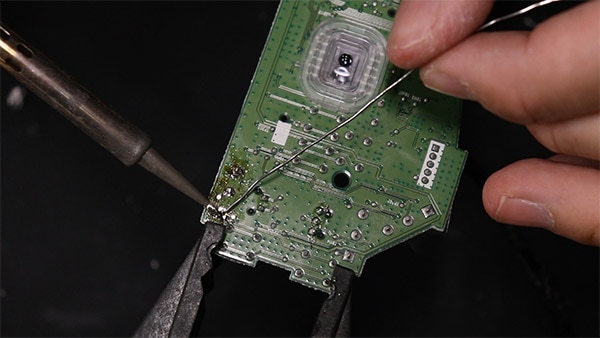
Now that I’ve removed the part, it's essential to clean out those through-hole pads using a solder-sucking tool. I'm going to take my iron, heat the pad from the bottom side of the board, and from the top I can see that it has reflowed. I'll have my solder sucker ready, place that over the pad, and suck out all that solder. Then, we'll go for round number two. It's important to clean out the little bits of solder that get inside the solder sucker every time. Just give it a few little clicks and that cleans it out. Finally, place it down flat, get a good seal, push the button. That's looking pretty good. Now, I will switch over to some solder wick to try to clean up these pads a little bit more. Installing the new switch will be so much easier with clean and clear holes. The new component should just slip right in, and I’ll be able to install it as if it were a fresh board.
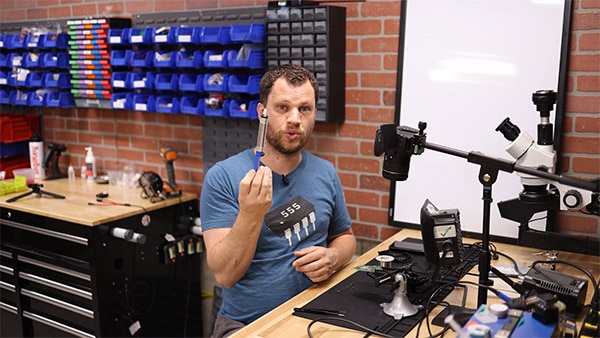
The new part went right in! Now I can solder it into place. I'll hold the part in, take my iron, add a bunch of solder to the tip of the soldering iron, and tack the center solder pad into place. This is not going to be a reliable solder joint, but it will work to hold the switch in place temporarily, and then I can come back and fix the joint. I'm picking the center pin because I think that the first pad with a square footprint is probably a ground plane, which means it's connected to a lot of copper. That means it's going to take a lot more heat to heat up. If I'm trying to tack something quickly, I don't want to pick the pad that is connected to the copper plane, then I have to add a whole bunch of heat to get it to reflow.
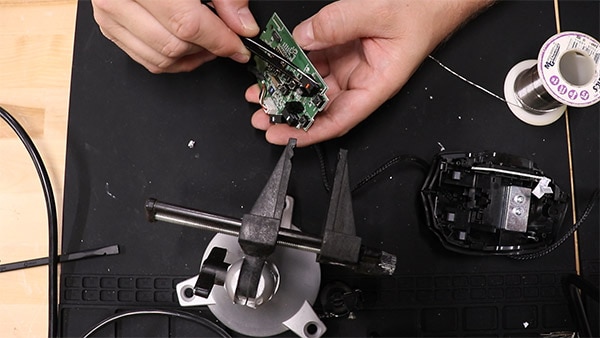


That worked. I’ll check my part and make sure it's flush with the circuit board. Everything looks good, it's in the correct orientation, and I’ll solder the other two joints. Now I can go back, and fix that first joint just in case it was a cold solder joint. I'll add a little bit more solder and reflow that just to get a good solid joint.
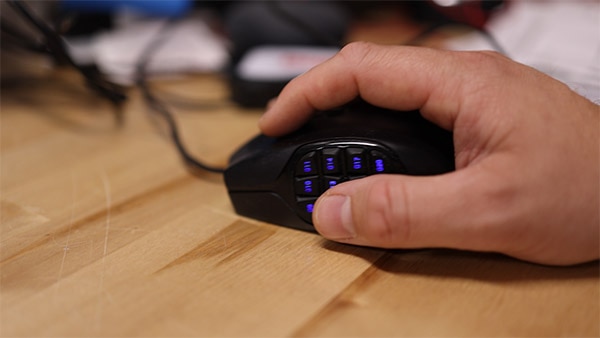
It took me a few minutes, but I’ve reassembled the mouse. I haven’t tested to see if it works yet, but let's see how we did on time. It looks like I have about one hour and 20 minutes left! That means that it only took me about 40 minutes to do this repair. The question is, does it even work? Let's head over to the computer and find out.


I need to plug this into my computer and see if my repair worked. Here's the moment of truth… Check it out. It works! I'm so excited about this, and I did it within the two-hour time limit. I'm excited about all the things that I'm going to be able to do now that my mouse is fixed. This mouse is working great, and it was totally worth my time. Now that I think about it, this whole process has been therapeutic. I had a pile of junk that didn't work, and through all this, I've come up with two key takeaways.
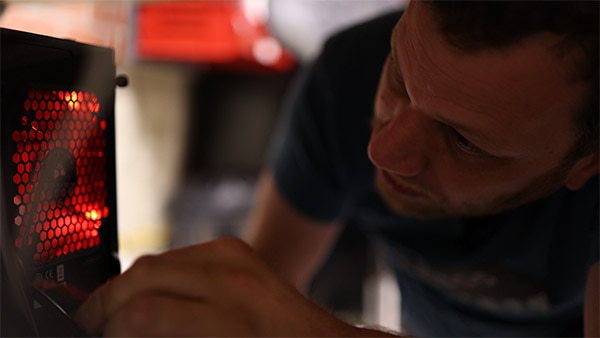

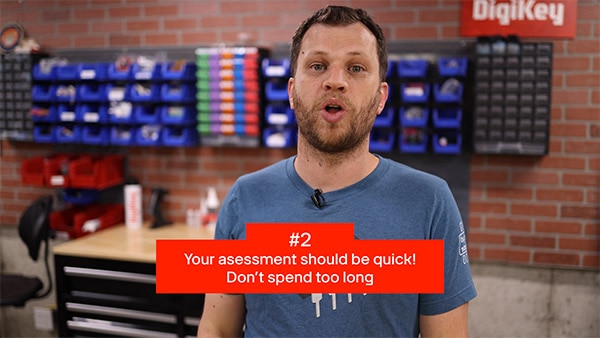
Number one is that you need to take your item apart. You're a tinkerer like me, so you're comfortable with taking things apart. Always start by taking the thing apart. Number two is to give it a quick assessment. Don't spend too long trying to figure out what's wrong. If you spend two hours trying to troubleshoot or even attempting to fix it, you've already wasted too much time. Maybe it's not worth your time. Make your assessment quickly. After your quick assessment, the answer might be one of two things: It might be time to throw that thing in the trash, or you may have figured out what's wrong with it, and you're well on your way to fixing it.
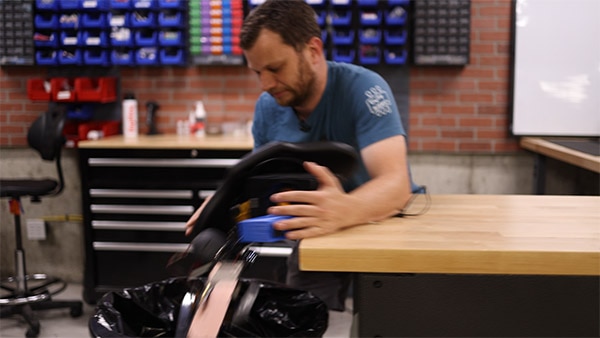
Let me tell you, there is nothing more rewarding than taking something that was broken and making it work again. You breathe new life into that item. To complete my therapy session with you today, it's time to get rid of this pile of broken electronics by throwing them into the trash can.
