制造商零件编号 KT-PR0058-BS1MLRP
TAZ SIDEKICK LE RED EDITION
LulzBot
At The FIRST Robotics World Championship 2024, one of the highlights of our booth was an oversized XRP that drew a lot of attention. We initially brainstormed this idea and created a scaled-up version of the XRP in Tinkercad, with dimensions of roughly 1000mm x 1000mm or just over 39” x 39”. The final product was about 500% larger than the original XRP, and it proved to be a huge hit at the event. We were thrilled to see that our creative idea was received so well by attendees.
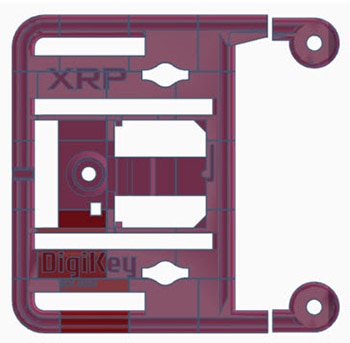
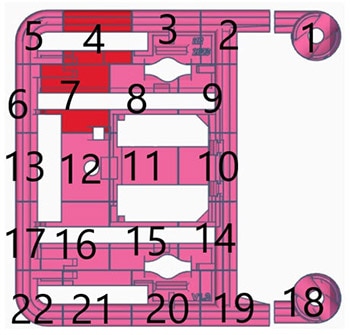
To create the XRP, I divided it into small sections that could fit onto the print bed of our Lulzbot Sidekick 747s. After dividing the chassis into 22 pieces, I used Lulzbot Cura to slice each piece. During the slicing process, I realized that some pieces would require a lot of support to print, making them difficult to create. To solve this issue, I decided to divide some of the more complicated pieces into smaller sections that could be assembled later. For example, I split piece number 10 into a top and bottom half, just below a bridge, so that it would rest on the build plate instead of being suspended in the air. By splitting the pieces, the total number of parts that needed to be printed increased to 26.
From January through March, we put our two Sidekick 747s through the paces of printing. Each of the prints was anywhere from 16 to 24 hours of print time, so the printers were constantly churning away.


.gif?la=en&ts=c6d2f965-0f77-41ae-b98c-71c97c320173)
.gif?la=en&ts=044b7a35-f965-4e8a-8c52-a14556908ac2)
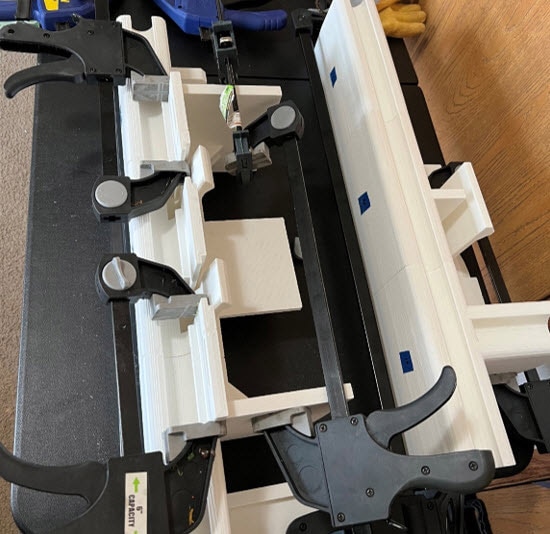
After printing all the pieces, the next step was to assemble them. I began by marking each print with a small piece of painter's tape and labeled each connection so that I could easily identify where each piece went. Once all the pieces were marked, I brought them home and started gluing and clamping them together. The adhesive we used for this project was something I had not used before, so I decided to start small by gluing one piece together at a time. As my confidence in the adhesive grew, I began gluing as many pieces as I could fit in my clamps. Over the course of a week, the giant XRP slowly came together.



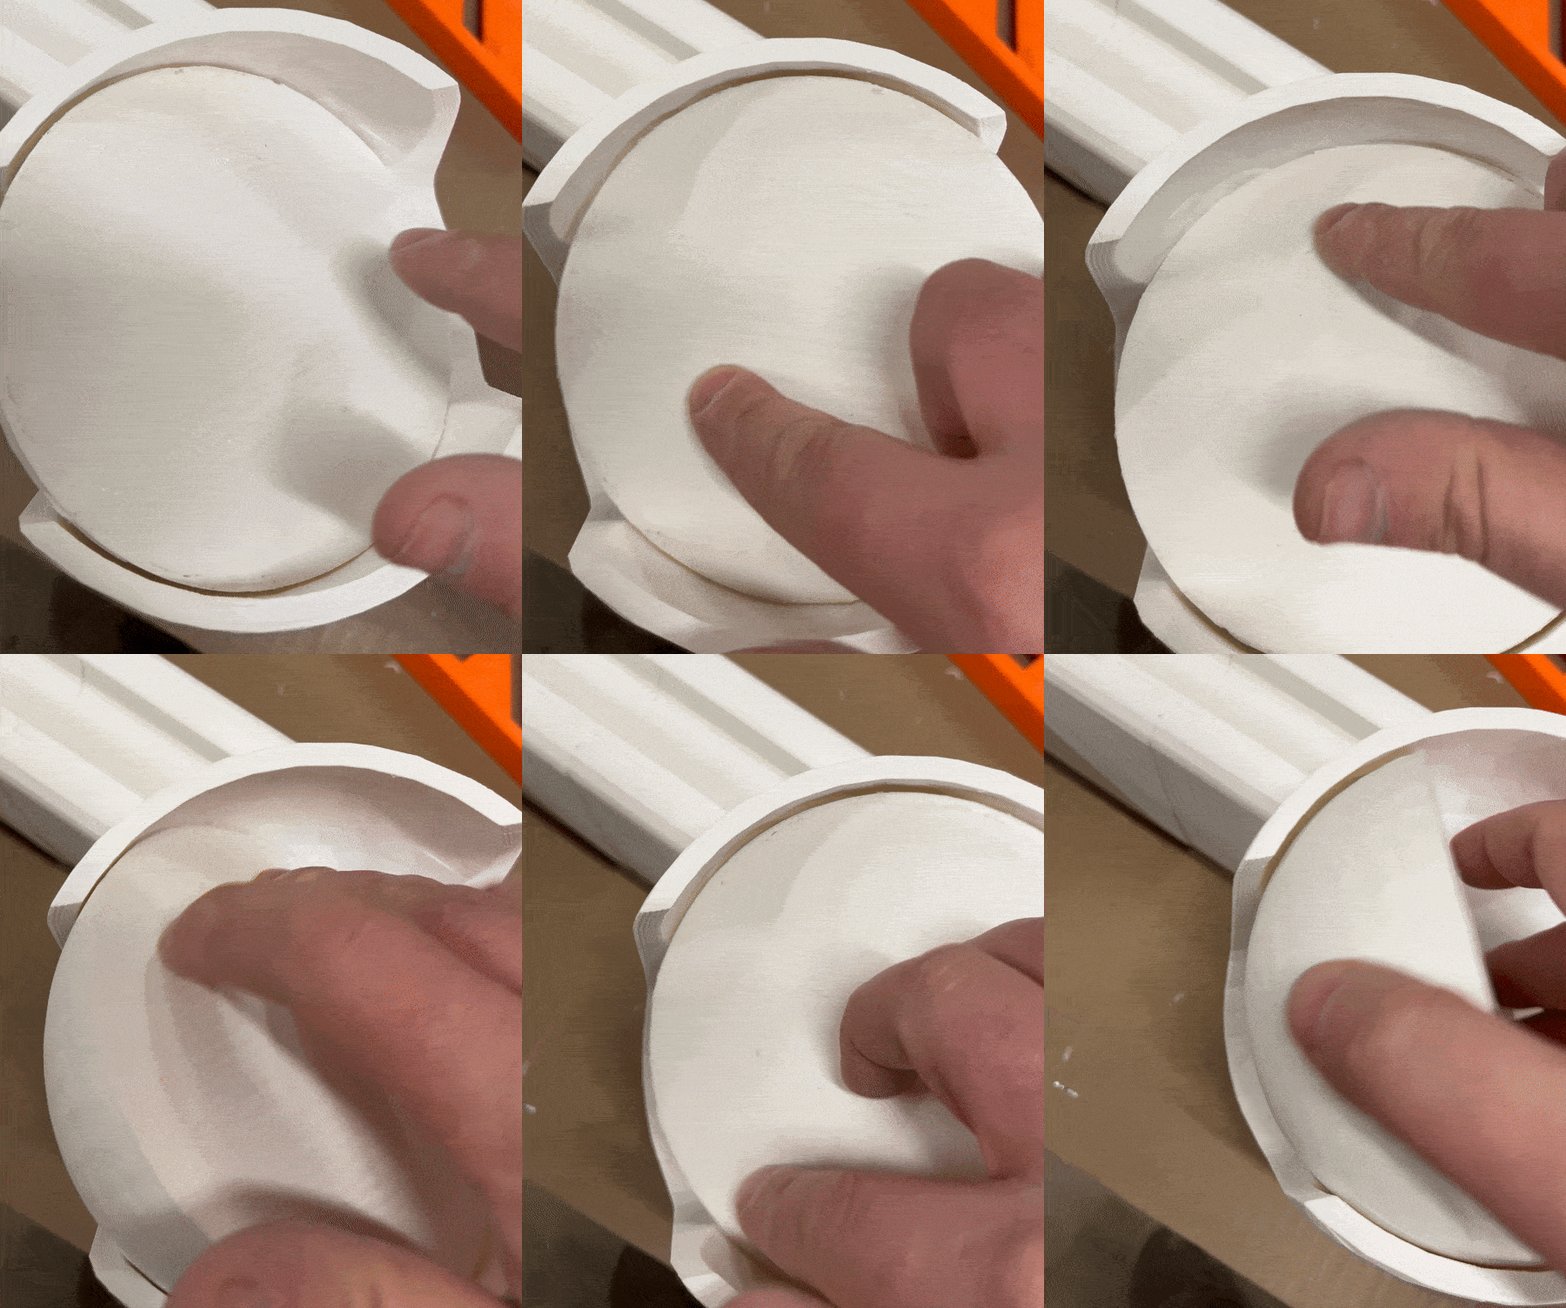
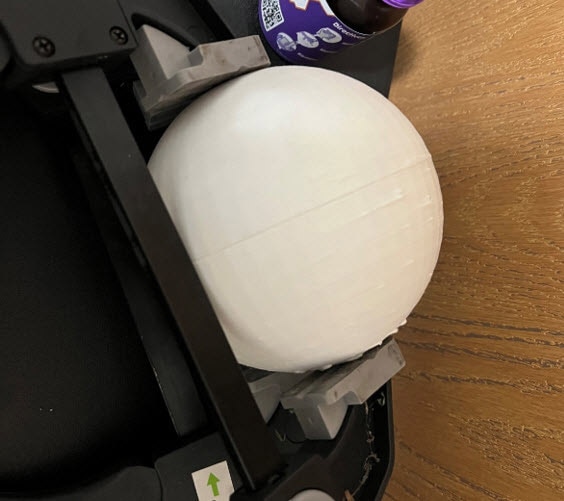
While assembling the XRP, I was brainstorming different options for the caster rollers in the front. Since we had already printed the full frame, I thought it might be worth trying to print them as well. I used Tinkercad to focus on one of the caster brackets and added a sphere to the drawing. Gradually, I increased the size of the sphere until it seemed like a good fit. Then, I split the ball into two halves and saved one of the halves as an STL file for printing. After printing, I tested the fitment of the first half of the roller ball, and it was a perfect fit. I then proceeded to print the second half of the first roller and another two halves for the second roller ball.

We managed to complete the entire build just in time to ship it to Houston, ensuring its timely arrival. If you were not able to attend this particular event, don't worry. We will be featuring the oversized XRP at some of our upcoming events, so keep an eye out for it. It's possible that at those later events, the XRP may even be able to move around on its own.
