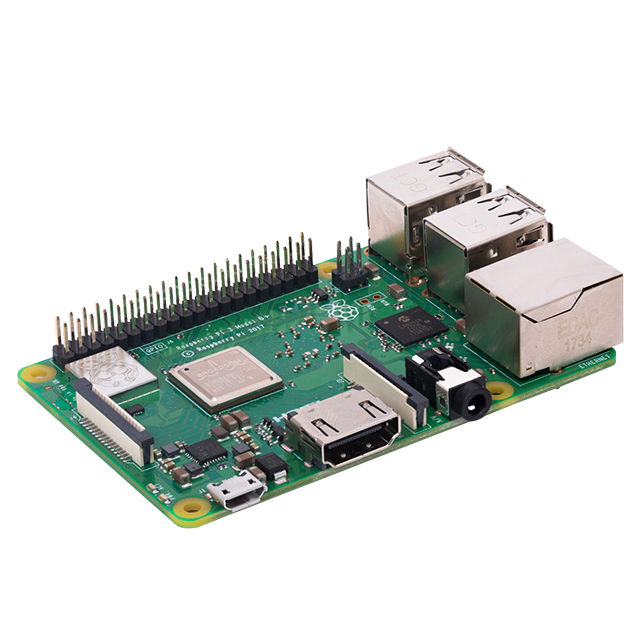
制造商零件编号 SC0022
SBC 1.2GHZ 4 CORE 1GB RAM
Raspberry Pi
While most Raspberry Pi single-board computers handle large SD cards just fine, many RPi-based projects still benefit from additional external storage for permanently storing data. Such projects include personal media-streaming servers, custom network-attached storage (NAS) devices, and homemade game consoles.
Data-intensive applications are not the only ones benefiting from external storage, however. For example, constantly reading and writing data, such as log files, can quickly wear out the Raspberry Pi’s micro SD card. Therefore, you might consider adding some external memory to a project that needs to be reliable. This project explains how to add external storage to a Raspberry Pi and configure Linux so that the OS registers and mounts the storage devices automatically when the computer boots.
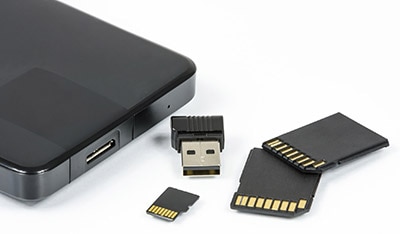
Today, most modern home computers let users connect internal storage media devices via SATA or NVMe. In addition, users can often also utilize external storage devices that interface a computer via USB. Unfortunately, the Raspberry Pi doesn’t offer the option to connect internal storage devices directly. Therefore, you will either have to utilize external storage with a built-in USB interface or buy an adapter that converts the storage device’s SATA or M.2 interface to USB. Luckily, many such devices are readily available, and some even offer connecting multiple HDDs in a raid configuration for redundancy.
 to a Raspberry Pi or Other Linux Computers") This simple two-bay HDD docking station converts the standard SATA interface of common consumer HDDs and SSDs to USB so that the Raspberry Pi can access the storage devices. Image source: https://www.digikey.com/en/products/detail/tripp-lite/U339-002/4896330
This simple two-bay HDD docking station converts the standard SATA interface of common consumer HDDs and SSDs to USB so that the Raspberry Pi can access the storage devices. Image source: https://www.digikey.com/en/products/detail/tripp-lite/U339-002/4896330
Assemble your chosen adapter and then plug it into the HDD port of your Raspberry Pi before powering on the SBC. Then, let the Pi boot up and ensure that the system runs as usual. Try using a different power supply if you notice the Pi crashing or rebooting. Depending on your external storage medium and adapter, the external devices might significantly increase the power consumption of the Raspberry Pi. I recommend using the official Raspberry Pi power supply to be on the safe side.
Before you can mount your external storage medium, you need to create a partition and format it. Note that you can perform these steps on any other PC using a different operating system, and you only need to perform these steps once. Furthermore, you can skip these steps if the drive already contains data. Lastly, be aware that deleting the partitions on the device and formatting the disk erases previously stored data on the device. Therefore, only perform these steps when using a new drive or when you want to delete all files on an HDD or SSD.
Start by using fdisk to list the storage devices currently connected to the Raspberry Pi:
sudo fdisk -l
Here, you see right away whether Linux detected your external hard drives. Ignore the first few devices and scroll to the bottom. The following image shows that my Raspberry Pi correctly detects the internal SD card and the external storage medium:
 to a Raspberry Pi or Other Linux Computers") The Raspberry Pi detects the internal SD card and the external storage medium. Note that both already contain two partitions.
The Raspberry Pi detects the internal SD card and the external storage medium. Note that both already contain two partitions.
Take note of the device you want to format. In my case, the device is /dev/sda, and the two partitions are /dev/sda1 and /dev/sda2. Make sure not to mix up the devices, as formatting the wrong device can lead to data loss. Then, launch gdisk by writing:
sudo gdisk /dev/sda
Again, make sure to replace /dev/sda with the device label that Linux created for the device you want to format. Then, in gdisk, type D to delete and delete all existing partitions. Once done, type W to write the changes to the disk and confirm the operation using the Y-key:
 to a Raspberry Pi or Other Linux Computers") You can use gdisk to delete all existing partitions on the external drive. Note that deleting the partitions will delete all data on that drive.
You can use gdisk to delete all existing partitions on the external drive. Note that deleting the partitions will delete all data on that drive.
Next, use gdisk again to create the new partition:
sudo gdisk /dev/sda
Next, use the N-key to create a new partition. The program then asks you to assign a few parameters. You can set the default values by hitting the enter key until the program creates the new partition. Then, use the W-key to write the changes to the disk:
 to a Raspberry Pi or Other Linux Computers") Create a new partition using the default values suggested by gdisk. Then, write the changes to the disk.
Create a new partition using the default values suggested by gdisk. Then, write the changes to the disk.
Lastly, you need to format the newly created partition so that the operating system can write data to the disk. Use the following command to format the newly created partition /dev/sda1:
sudo mkfs.ext4 /dev/sda1
Use the partition name here, not the disk (Note the one at the end of the path). Press the Y-key when prompted and then wait for the program to finish:
 to a Raspberry Pi or Other Linux Computers") The program automatically formats the entire partition and assigns it a label.
The program automatically formats the entire partition and assigns it a label.
Many people who are used to working with operating systems like Windows and macOS may be surprised to learn that connecting an HDD to a Linux computer is not a simple plug-and-play task. In addition to connecting the storage medium to their computer, users must actively mount the HDD or SSD before the OS can access it. Luckily, mounting an HDD or SSD is an easy task requiring only a single command. So, use the following commands to mount your external disks in the filesystem once you’re done creating a partition and formatting the drive:
sudo mkdir /mnt/external-drive
sudo mount /dev/sda1 /mnt/external-drive
You only need to type the mkdir command once to create the mount point. However, you’ll have to run the mount command after every system reboot. Typing that command lets you access the /dev/sda1 partition by navigating to the /mnt/external-drive folder. Make sure to use the correct partition name that you created earlier or that the OS assigned to your external drive. Please make sure to unmount any disks before unplugging them from the Raspberry Pi by typing:
sudo umount /dev/sda1
Lastly, you typically want the operating system to automatically mount HDDs that are permanently connected to your computer. To accomplish this, you first need to find the UUID of the filesystem you want to auto-mount when the system reboots:
 to a Raspberry Pi or Other Linux Computers") Use blkid to find the UUID of the filesystem you want to auto-mount.
Use blkid to find the UUID of the filesystem you want to auto-mount.
Copy the UUID (without the quotation marks) of the partition you want to auto-mount, and then use your favorite text editor to edit the following file:
sudo nano /etc/fstab
Linux might assign a different name to your drives whenever the system boots up. However, the UUID of a partition will not change unless the partition changes. Therefore, using the UUID allows the system to identify the drive you want to mount on startup unambiguously. Either way, add the following line to the file you just opened in the text editor:
PARTUUID=6dd(...)f7be /mnt/external-drive ext4 defaults 0 0
Make sure to replace the UUID and the file system type so that they match your drive. If you followed all steps in this tutorial, the file system type is ext4. Otherwise, it could also be NTFS, FAT, or a different value. The resulting file should look like this:
 to a Raspberry Pi or Other Linux Computers") The /etc/fstab file should look similar to mine once you add the last line. Again, make sure to use the UUID and file system type that matches your drive.
The /etc/fstab file should look similar to mine once you add the last line. Again, make sure to use the UUID and file system type that matches your drive.
Adding external drives to a Raspberry Pi might initially seem complicated, especially when you’re used to working with Windows or macOS. However, the process only involves using a few straightforward terminal commands in Linux. First, you need to delete the disk, create a partition, and then format it when using a new drive. Note that you only need to perform these steps once, and you can use any other OS to format the drive. Also, skip these steps if your drive already contains data, as creating new partitions will delete existing files on the HDD.
You need to mount a partition before the OS can access it. Use the mount command to create a mount point in the local file system. You can then access the data on the disk by navigating to that mount point. Make sure to unmount a partition before unplugging the disk. Lastly, you can auto-mount disks on startup by editing the /etc/fstab file. Use the UUID of a partition so that the OS can uniquely identify the disk you want to mount.