制造商零件编号 ESP32-WROOM-32E-N8
RF TXRX MOD BT WIFI PCB TH SMD
Espressif Systems
License: Attribution-NonCommercial-ShareAlike Displays LED Matrix Arduino ESP32
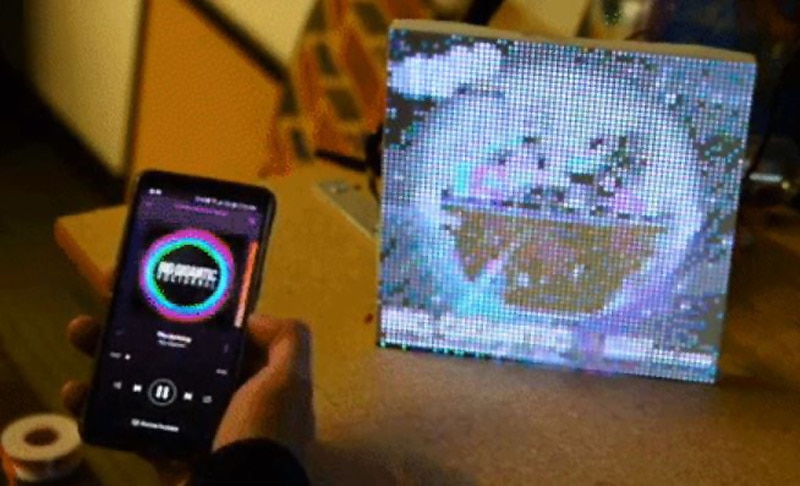
In this guide, we'll learn how to create a cool POV display using an ESP32 module. It's all about using something called Persistence of Vision to make pictures and animations appear in the air. We're going to make our display show not just simple shapes, but also detailed images and animations. This project is perfect for anyone interested in electronics and cool visual effects. Let's dive in!
Features of our POV Display
Components Required:
Circuit Diagram
The POV Display circuit diagram integrates various components to facilitate smooth operation. A Type C USB port serves dual purposes of charging and programming, with a power path controller circuit managed by a P-Channel MOSFET and diode. Voltage regulation is ensured by an AMS1117 3.3V LDO, while a TP4056 charge controller handles battery charging. The programming circuit employs a CH340K chip and a dual MOSFET for auto reset. An ESP32-WROOM module serves as the brain, coordinating LED displays via 74HC595D shift registers and hall effect sensors for RPM measurement and position sensing.
PCB for POV Display
For this project, we have decided to make a custom PCB using KiCad. This will ensure that the final product is as compact as possible as well as easy to assemble and use. The PCB has a dimension of approximately 210mm x 60mm. Here are the top and bottom layers of the PCB.
The PCB accommodates all components, ensuring efficient utilization of space. Once assembled, the PCB seamlessly integrates with 3D-printed parts and mounting screws to form the complete POV Display unit.
Working Principle
The POV Display harnesses the Persistence of Vision to create seamless visual experiences. By dividing images into radial segments and employing trigonometric calculations, the display manipulates LEDs to generate images and animations. Precomputed values optimize image processing, enhancing refresh rates while minimizing response times. Additionally, image storage optimization reduces memory usage, enabling efficient utilization of code space.
Image Conversion and Code Implementation
Converting images to polar coordinates ensures compatibility with the POV Display. Our web app simplifies this process, generating optimized data arrays for easy integration into the Arduino code. The Arduino code orchestrates LED displays, animating images and sequences with precision. By adjusting parameters like animation speed and repetition, users can customize visual experiences to their liking.
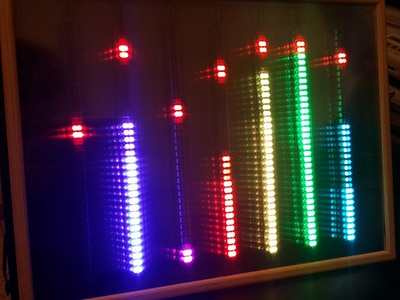
Building and Testing
With components assembled and code uploaded, it's time to build and test the POV Display. Ensure proper connections and power supply before initiating display operations. Test different images and animations to verify functionality and fine-tune parameters for optimal performance.
Exploring Further Possibilities
Once the POV Display is up and running, we can explore further possibilities for customization and enhancement. Experiment with different images, animations, and code modifications to unleash creativity and maximize visual impact. Additionally, consider incorporating additional features or functionalities to expand the capabilities of your POV Display.
To learn more detailed information about the project please check out Building a High-Resolution POV Display using ESP32.