LulzBot Tool Head Swap, Calibrating E-steps, and Z-offset
2022-04-18 | By Nate_Larson
Swapping tool heads is a quick and easy way to expand the capabilities of a 3D printer. LulzBot makes this especially easy with recent models of printers and tool heads incorporating a universal mount design. Additionally, if you have an older LulzBot printer and would like to upgrade to a newer style tool head, LulzBot offers a universal tool head adapter for the TAZ 5 or TAZ 6, or an adapter for the first generation Mini printer.
In this project, we will be upgrading the LulzBot TAZ Pro S, which is outfitted with a single extruder M175 tool head, to the TAZ Pro Dual Extruder that is offered on the standard LulzBot TAZ Pro 3D printer. The TAZ Pro dual extruder features two active lifting hot ends with hardened steel 0.5mm nozzles, allowing multi-material printing with 2.85mm filament. This is a mechanically simple process that requires minimal tools, mainly a 2.5mm hex key and a ruler.
Step 1: Positioning the Tool Head for Easy Access
Power on the printer. Using the printer’s touchscreen display, select “Menu.”
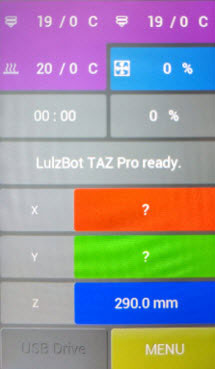
Then “Auto Home” to home all axes.
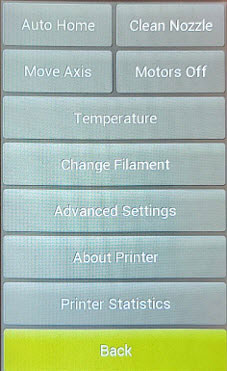
Then tap “Move Axis” and adjust the X-axis to approximately 100mm, so the tool head is roughly centered above the print bed.
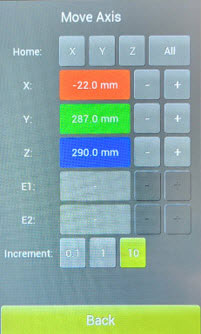
Next, lower the Z-axis to approximately 150mm to allow sufficient room above and below the tool head for the following processes. The printer may now be powered off. It is recommended to also disconnect the power cord and the USB cable from the printer at this time.
Step 2: Removing the M175 Tool Head
Begin by removing the filament guide tube from the quick connect fitting on the top of the M175 tool head. Cut the filament about an inch above the quick connect fitting and remove the filament spool from the printer. Leaving this short filament tail in the extruder will ensure nothing becomes lodged in the tool head and allow for easy filament removal if you decide to use the tool head again in the future.
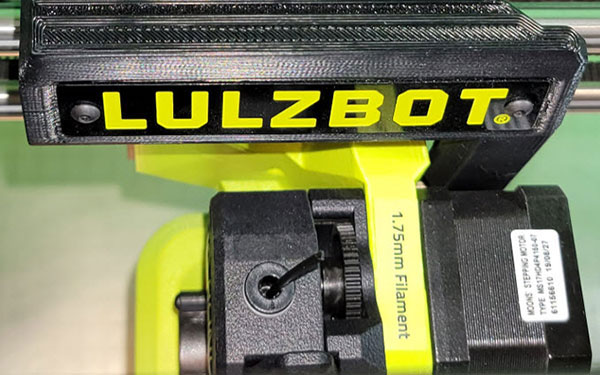
Next, remove the single screw holding the tool headcover in place.
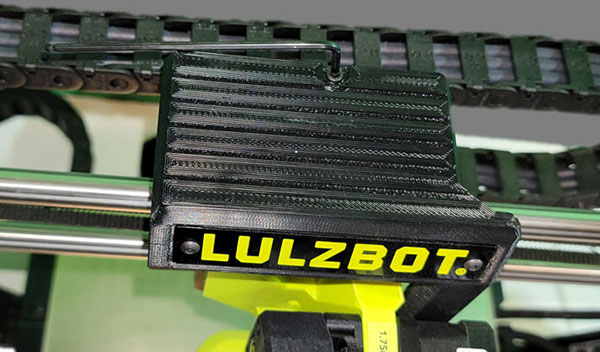
Once this screw is removed, the cover will lift out of place, providing access to the cable and tool head mounting screws.
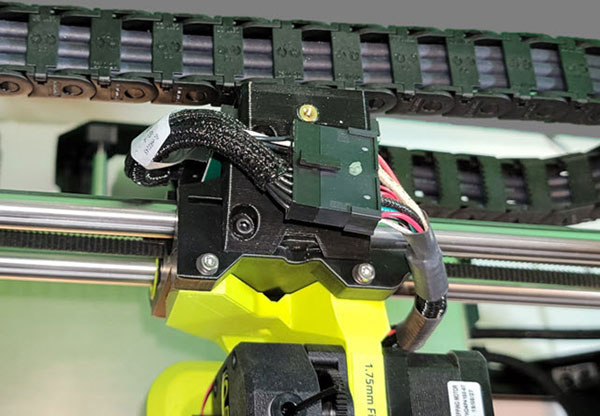
Follow the cable to the back of the tool head carriage and carefully depress the release tab to unplug the cable from the connector on the carriage, as shown below.
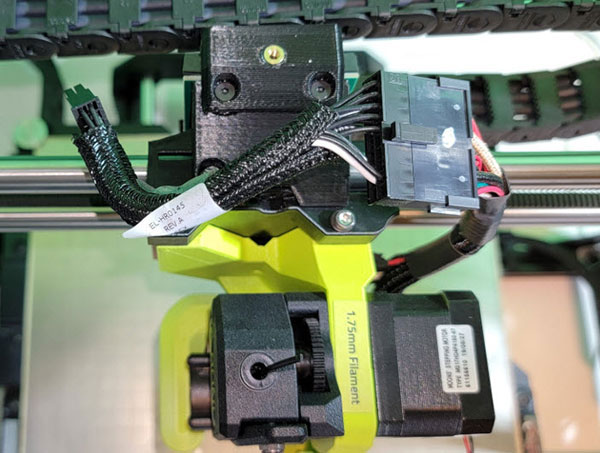
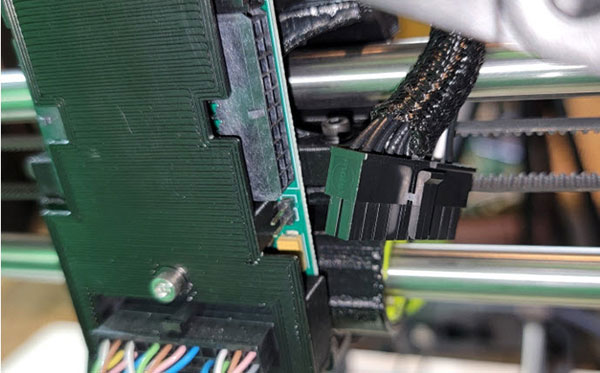
Remove the screw from the lower back of the carriage.

Next, loosen but do not completely remove the two screws located at the top of the tool head mounting plate shown below.
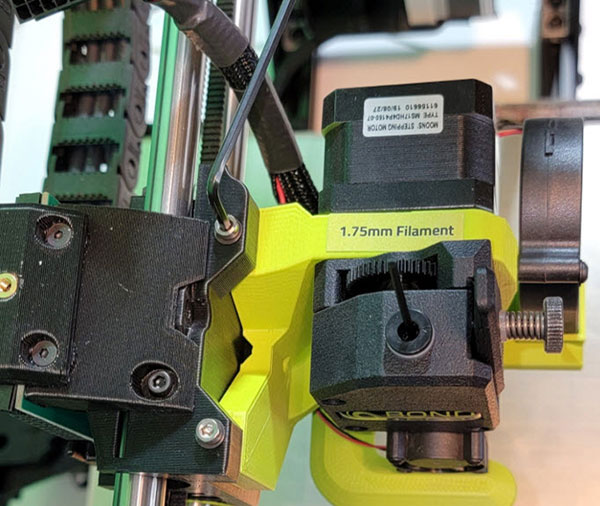
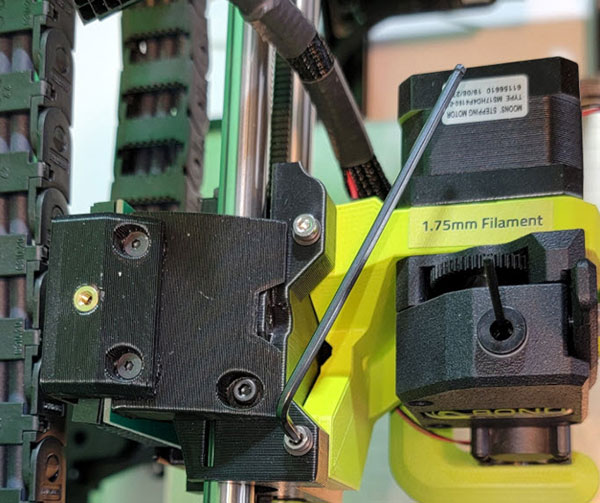
Use your free hand or an assistant to support the tool head from below and completely remove the two screws that were just loosened. The tool head should now come free from the printer.

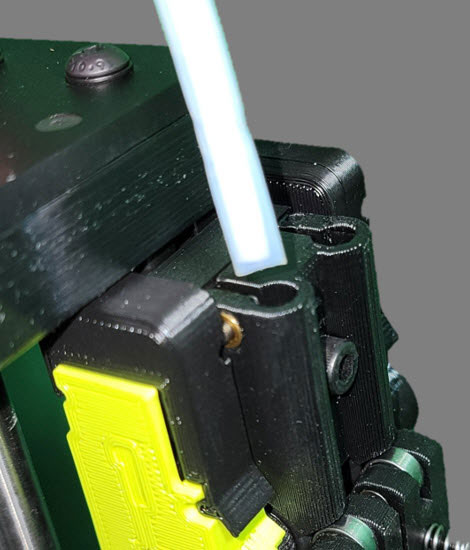
Finally, gently pull the filament feed tube from the filament runout sensor assembly.
Step 3: Install the Dual Extruder Tool Head
The TAZ Pro Dual Tool Head is supplied with two filament feed tubes with extruder indicators along with the tool head.
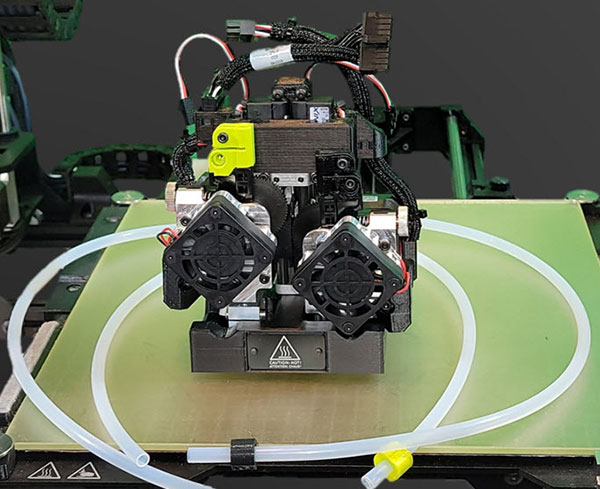
Begin by inserting one end of each filament feed tube into the filament runout sensor assembly, matching the indicators on the tubes to the respective sensor.
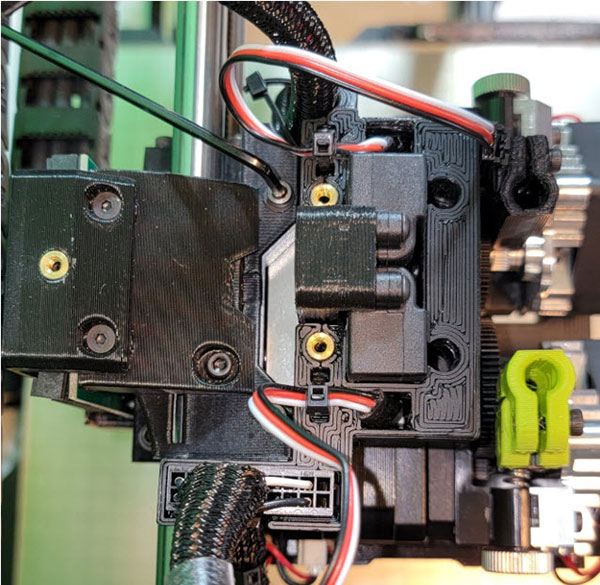
Gently place the dual tool head into position against the tool head carriage. The carriage has three small protuberances that match indents on the tool head mounting plate to help align the tool head. Once aligned properly, install the two screws from the top of the carriage into the tool head assembly, but do not tighten yet.

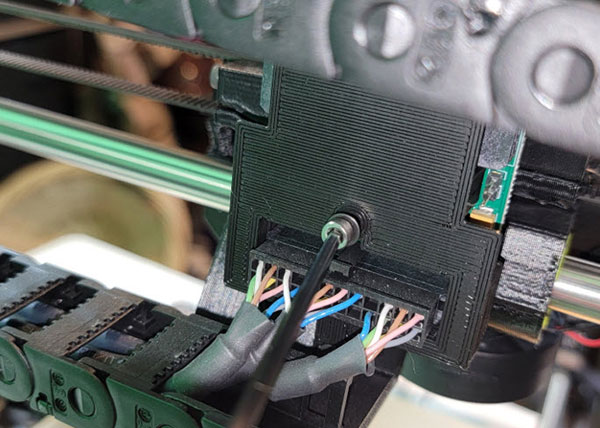
Reinstall the screw through the back of the carriage into the tool head assembly and tighten.
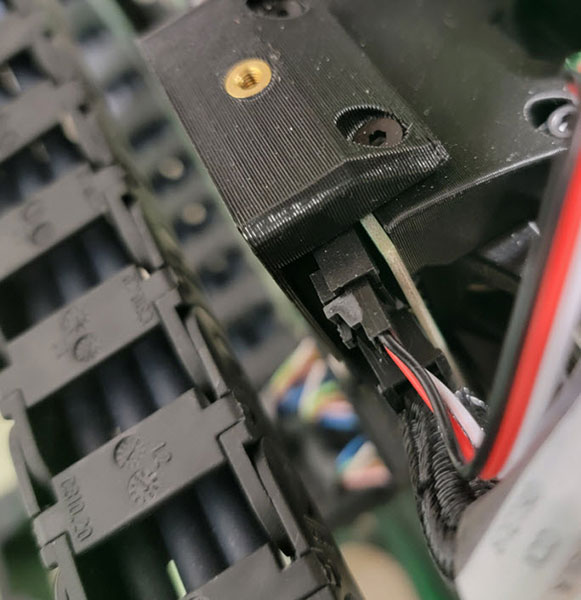
Now return to the two screws in the top of the tool head assembly and tighten those as well.
Connect the cables for each extruder on the respective sides of the tool head carriage, ensuring the connector is oriented with the release tab facing the rear of the printer.

Then connect the cable for each of the 3-pos lift cables to the connectors on the matching side of the carriage, again ensuring the release tab is oriented to the rear of the printer.
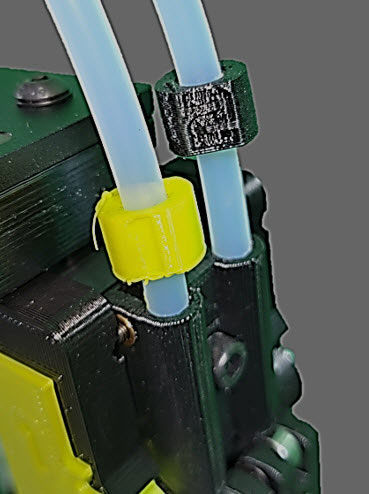
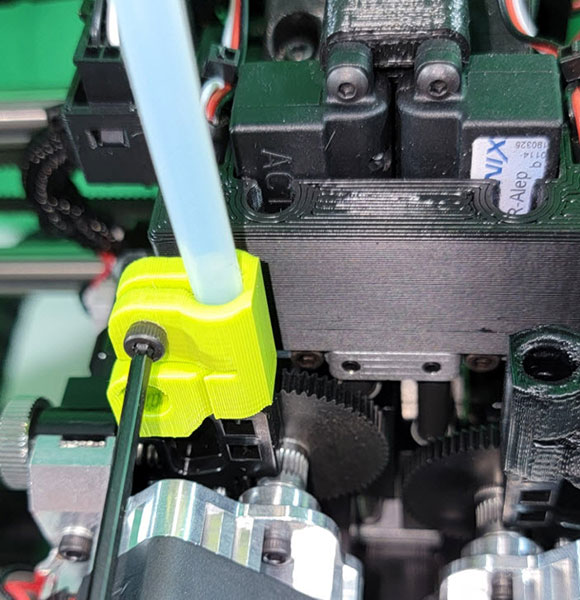
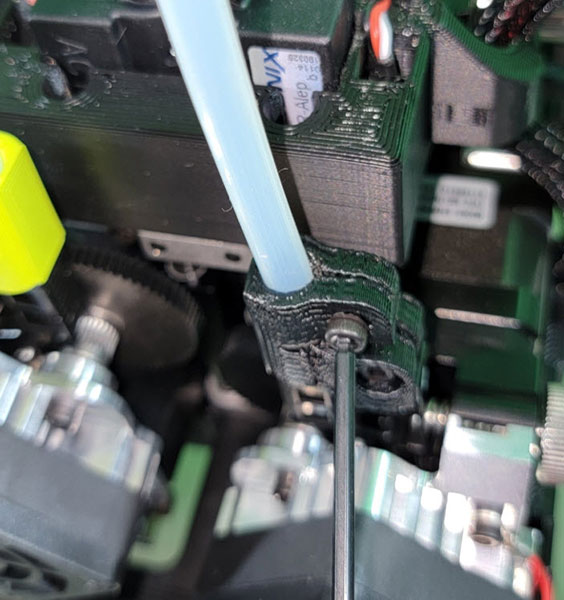
Finally, insert each of the filament guide tubes to the correct hot end assembly and lightly tighten the screw to snug it into place.
Step 4: Firmware Update
Reconnect the power cable and power on the printer, then connect a USB cable from the printer to a PC with the latest version of Cura LulzBot Edition installed.
Launch the Cure LE application. Select “Settings,” “Printer," “Add Printer” from the menu bar.

Select “LulzBot TAZ Pro” in the printer column and “TAZ Pro Dual Extruder” in the tool head column and click “Add Printer.”
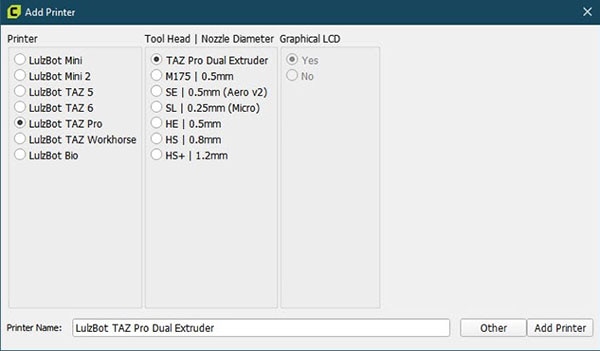
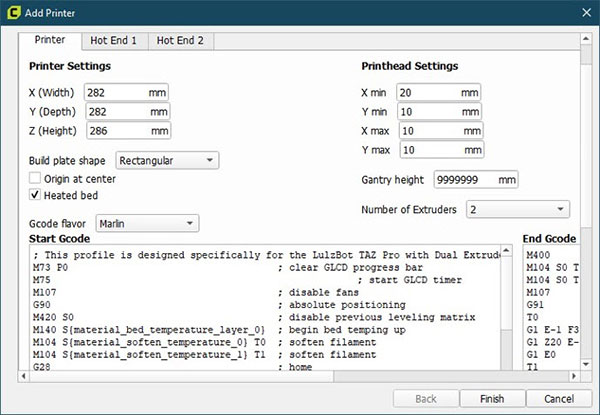
Click “Finish” when the following window pops up.
Next, from the menu bar, select “Settings,” “Printer,” “Manage Printers…”
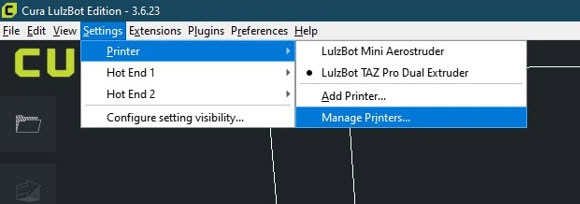
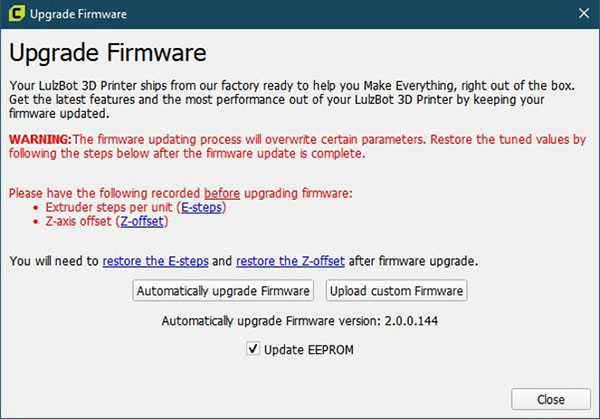
Ensure the correct printer is selected, then click “Upgrade Firmware.”

Select “Automatically upgrade Firmware” and allow the process to finish before moving on to the next step.
Step 5: Calibrating Nozzle Offset
Ensure that no filament is loaded into the extruders, and if filament is loaded, remove it before proceeding.
Using the printer’s touchscreen, select “Menu.”
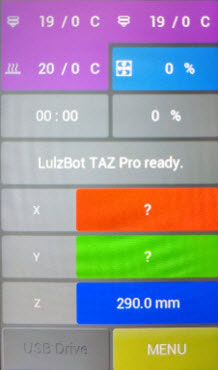
Select “Auto Home.” Once the printer has finished homing, select “Advanced Settings.”

Select “Nozzle Offset.”
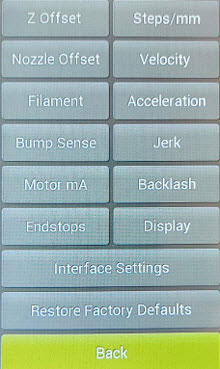
Select “Measure automatically” and your printer will begin the nozzle offset calibration process using the calibration cube affixed to the front of the print bed. This process will take a few minutes to complete.
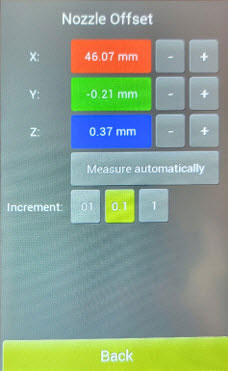
Step 6: Calibrating E-steps
With the nozzle offset calibrated, load a spool of light-colored PLA filament into the number one extruder. Ensure the filament is fed through the correct filament sensor and feed tube since the filament sensors detect not only the presence of the filament but whether the filament is moving properly during extrusion.
Once the filament is loaded, adjust the filament tension knob so there is proper tension applied between the hobbed bolt and the filament. If too loose, the filament could slip during extrusion, and if too tight, the teeth of the hobbed bolt could tear away at the filament, creating a cavity and preventing the filament from feeding properly.

Next, download the lasted version of Pronterface, also referred to as Printrun. This application will provide direct and easy control of the 3D printer during the E-step calibration process.
Extract the Printrun Zip file and launch the Pronterface application. Verify your printer is powered on and connected to your computer via USB.
From the printer’s touchscreen, select “Menu.”
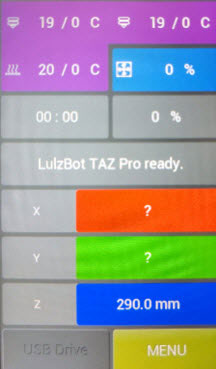
Then select “Auto Home” to home all axis of the printer.
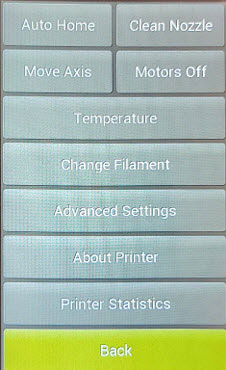
Move the Z-axis down until the tool head is at about 70mm.

Within the Pronterface application, in the upper left-hand corner, select the port your printer is connected to and click “Connect.”
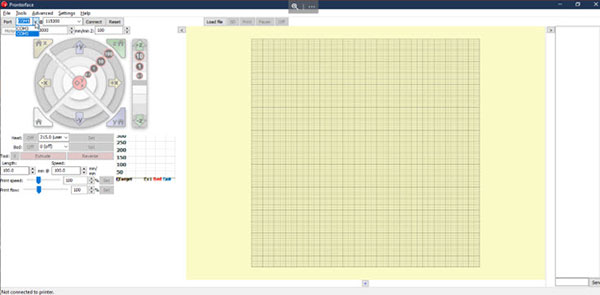
If you are unsure of the correct port for your printer connection and you are using a Windows PC, you can open the Windows Device Manager and scroll down to the Ports section. Look for a GCode 3D printer connection in the list of ports, COM5 in the example below.

Once Pronterface is connected to the printer, ensure tool 0 is selected. Note that while LulzBot labels the extruders as 1 and 2, Pronterface addresses them as tool 0 and tool 1, so tool 0 in Pronterface is extruder 1 on the printer.

Set the “Heat” temperature to 215 and click “Set” to send this command to the printer. This temperature may seem a bit high for PLA, but keep in mind we just need to purge filament, we will not actually be printing at this temperature.
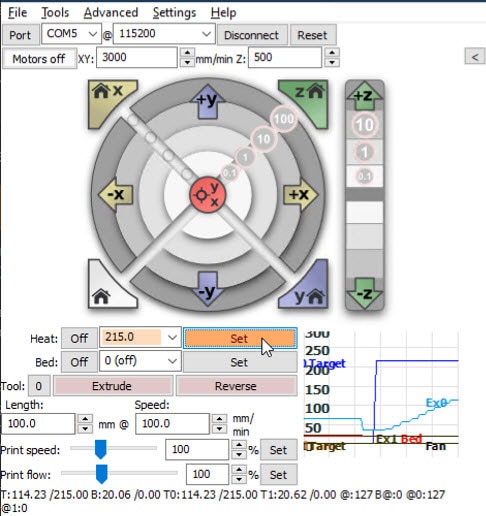
WARNING: Keep in mind that for the rest of this step the hot end will be extremely hot, and you should take care to avoid touching the nozzle area of the extruder!
While the extruder is heating, remove the filament feed tube from the filament guide on the top of extruder 1 and slide it up along the filament so you have at least 130mm of exposed filament above the extruder.
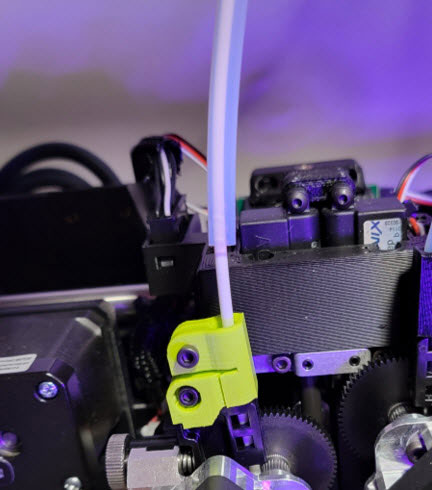
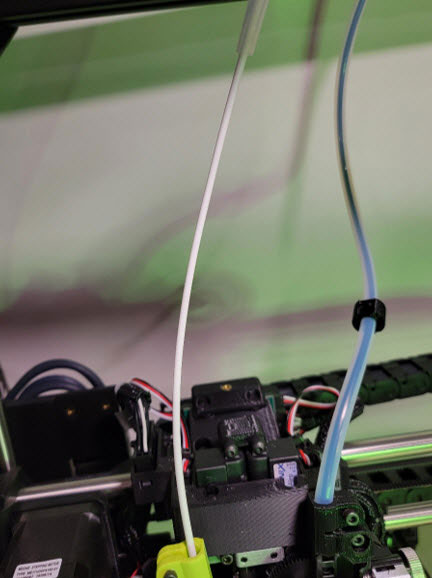
Next, use a ruler to measure 120mm along the filament from the top of the extruder and use a marker to place a small mark on the filament at this spot.

Back in Pronterface, set the “Length” value to 100.0 and the “Speed” value to 50.0. This will instruct the printer to extrude what should be exactly 100mm of filament at a slow, steady speed that will allow the filament to soften and extrude easily.
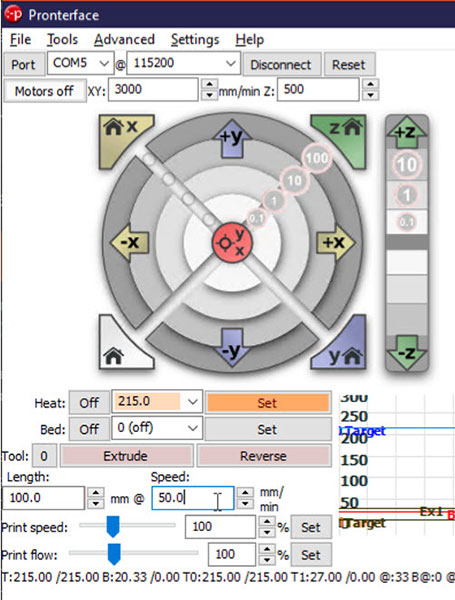
Now click “Extrude” to send these instructions to the 3D printer and wait for it to finish extruding the defined amount of filament.
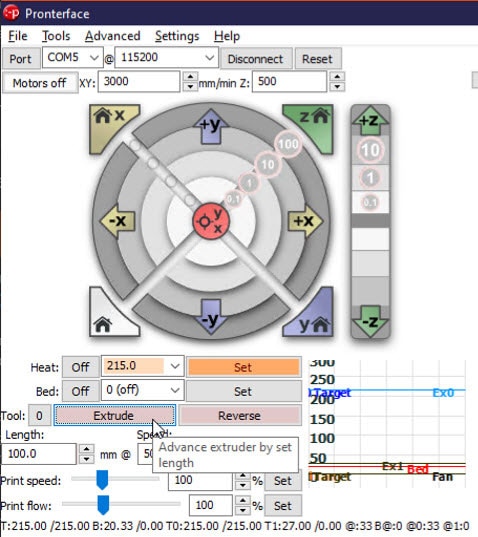
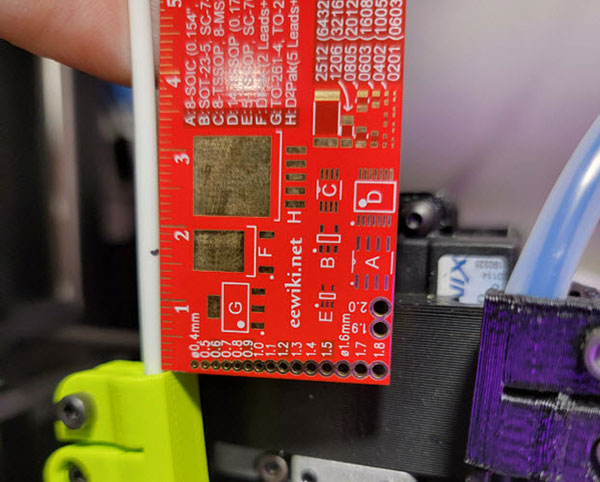
When the printer has finished extruding, measure the distance from the top of the filament guide to the mark you placed on the filament earlier. If your mark is at 20mm, you do not need to make any adjustments to your e-steps.
As you can see in the image below, my printer was instructed to extrude exactly 100mm of filament, but it actually extruded 103mm of filament (120mm – 17mm). Therefore, I will adjust the e-step setting.
Using the printer’s touchscreen, tap on “Menu,” “Advanced Settings,” and “Steps/mm.” Here you will find your current e-step setting. In the image below you can see my printer is currently set to 425 steps/mm.

To determine the correct e-step value, we will use the following formula:
(Current Steps per mm x Desired Extrusion Length) / Filament Length Actually Extruded
In this example,
- Current Steps per mm = 425
- Desired Extrusion Length = 100mm
- Filament Length Actually Extruded = 103mm
So, our equation would be:
(425 x 100) / 103 = New e-step Value
which gives us 412.6 as our new e-step value.
Using the printer’s touchscreen, adjust the e-step setting to the value calculated.

Once set, use the “Back” button to return to the home screen. You will be asked if you want to save the settings as defaults, to which you can tap “Yes,” and you will be presented with a confirmation the changes were saved.

Step 7: Adjusting Z-offset
Setting the z-offset tends to be a bit more of a trial-and-error process than the other calibration processes mentioned here.
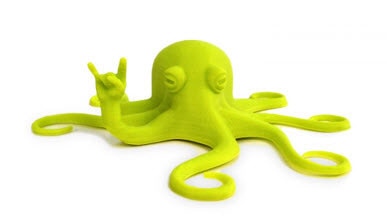
Start by selecting a test STL file to 3D print. I recommend something low in height but with a decent sized first layer, such as the LulzBot Rocktopus.
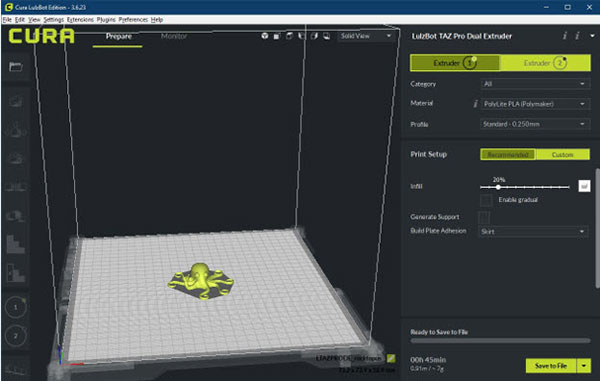
Open Cura and load your STL model. Select the correct material for the filament you will use and choose the “Standard” profile. Ensure that “Build Plate Adhesion” is set to “Skirt” as this is really the only part we need to print to tune the z-offset value.
For this process, keep in mind the z-axis zero point is where the nozzle zero’s out when it touches the corner bed washers during the bed leveling process. Therefore, you should expect your z-offset to be a negative value, with a larger negative value being closer to the bed and a value closer to zero being further from the print surface.
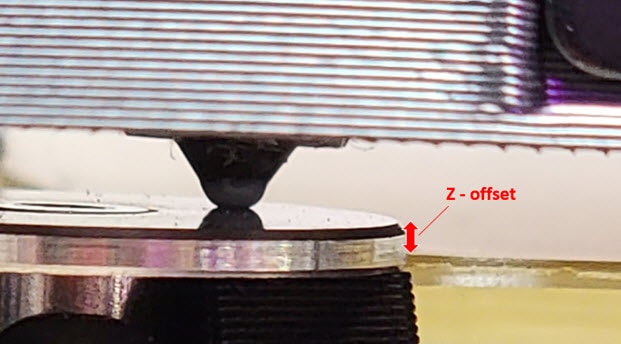
Ideally, the z-offset should be tuned to create a mound of extruded plastic that lies flat against the print surface and is only slightly flattened on top. If the z-offset is too high, the plastic will not adhere well to the print surface, and your print is likely to come loose during the printing process, resulting in lifted corners or edges, or failed support structures.
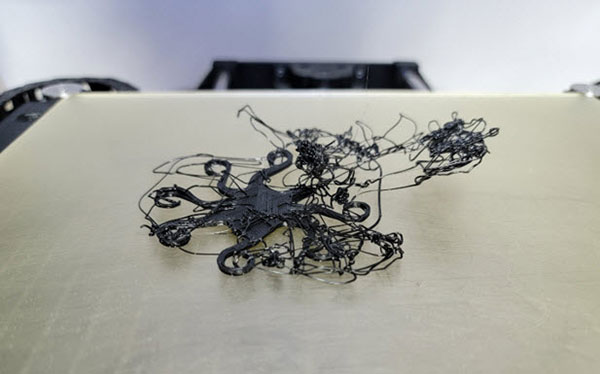
Contrarily, if the z-offset is too low, it may be difficult to remove prints from the bed when completed, especially objects that have a larger surface touching the print bed. Additionally, the over-extrusion of plastic flowing out from the sides of the nozzle will result in a wavy pattern in your first layer, which may propagate through subsequent layers of the print.

Additionally, when z-offset is too low, the increased backpressure against the molten plastic being extruded from the nozzle may cause the teeth of the hobbed bolt to tear into the filament because it is trying to feed it into the hot end faster than it is allowed to escape, causing additional extrusion issues. Finally, if the z-offset is extremely low, the nozzle may come in contact with the print surface, potentially causing additional wear and damage to both the nozzle and the bed.
The below graphic provides a cutaway example of what to look for in your first layer extrusion.

Once you see how your first layer is printing, if you need to make adjustments, simply cancel the print. Then make the necessary adjustments to the z-offset in the advanced settings menu using the printer’s touchscreen, clear the failed print from the bed and start the print over.

Now you have your new dual extruder tool head installed and the printer firmware updated to match the hardware configuration. You have completed calibration of the nozzle offset, e-steps, and z-offset. Your LulzBot TAZ Pro 3D printer is tuned and ready to begin printing. The only question left is, what will you print first?


