How to Use an E-Ink Display in Your Arduino Project
2022-10-12 | By Maker.io Staff
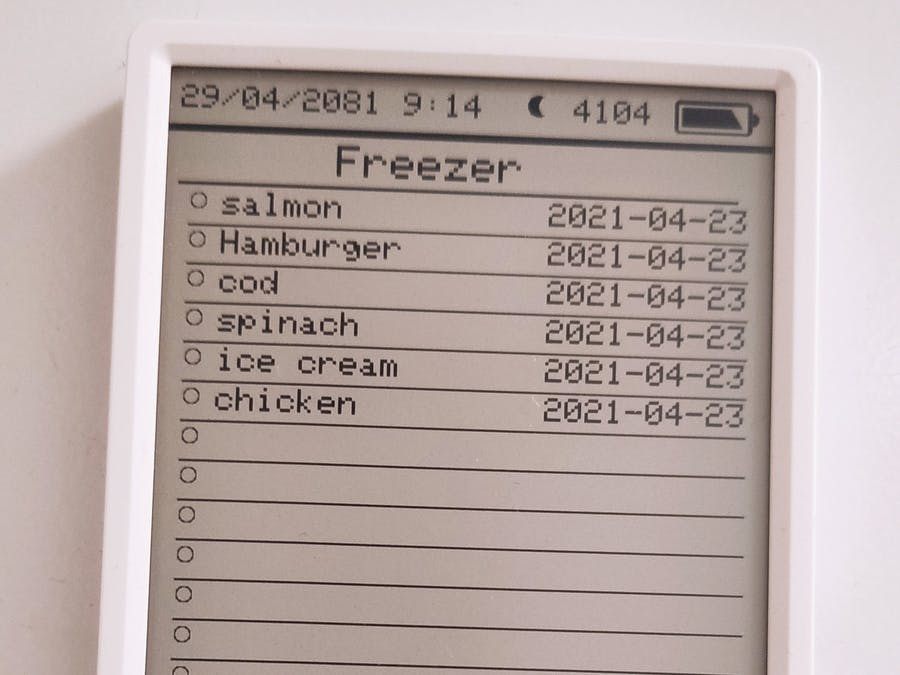
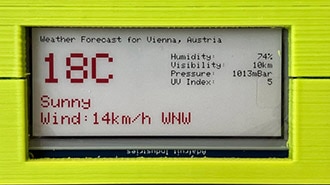
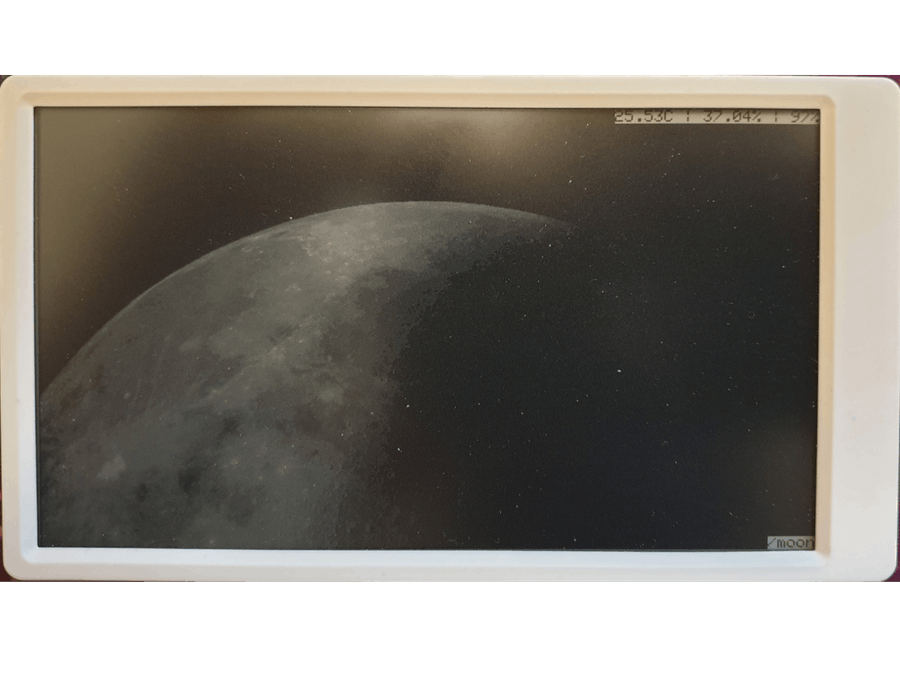
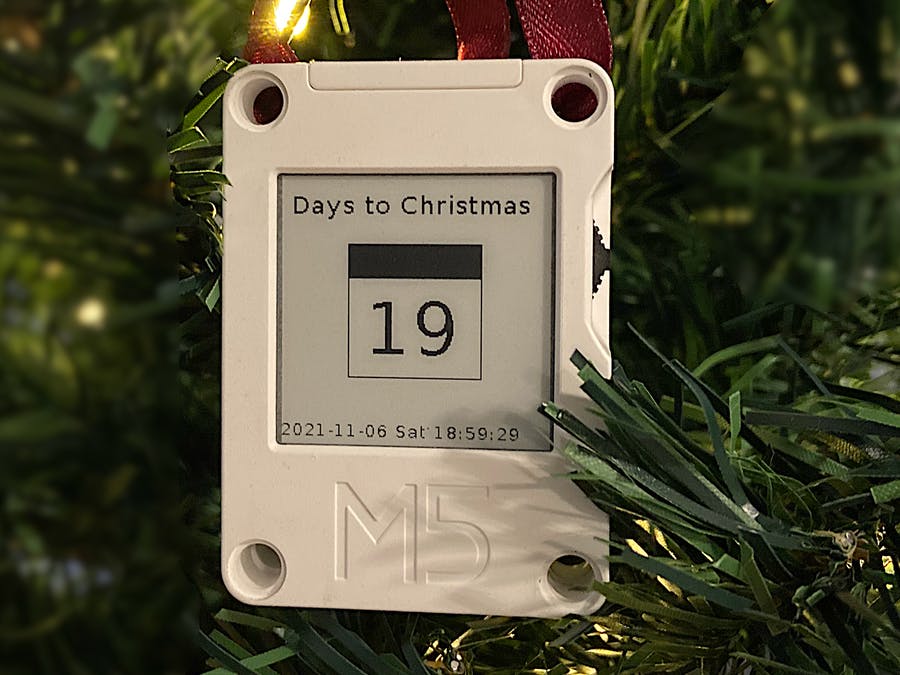
E-Ink displays have a few unique benefits, such as low static power usage and high contrast images. These features make them perfect for various applications, like e-book readers and status displays that don’t update very often. Unfortunately, using one of these displays in a project is often a hassle. However, maker-friendly e-ink screens work well with all standard development boards and microcontrollers. This article discusses such displays and how you can interface them with an Arduino development board.
Introducing the Adafruit 2.9” Tri-Color E-Ink Display Module
One display offers a 2.9” tri-color screen that can display black, red, and white pixels. The module comes with 32K of SRAM and all the control circuitry needed for sending pixel data from an Arduino to the screen. In addition, it also includes an SD card reader that lets you store images and other external files on the display module.
 You can choose from monochrome and multi-color displays, some of which support up to seven colors.
Like all E-Ink displays, this screen’s benefits include low static power usage, image retention even when powered down, and high contrast output. However, updating the screen contents takes a few seconds, and the process requires considerably more power than other display technologies. In a previous article, you can learn more about e-ink displays, how they function, and their unique benefits and drawbacks.
The module used in this article is 3V and 5V compatible, and it includes a high-precision 3.3V regulator that can supply 100mA, which you can use to power other parts of your project. Finally, the device can also enter a low-power state which disables the SD card reader, SRAM, and display to conserve energy without affecting the display contents.
Connecting the Display to an Arduino
This particular module uses SPI to communicate with an external development board. Therefore, you only need to connect three wires for sending data to the display and an additional CS pin for each feature you want to utilize (SRAM, display, SD reader). In addition, the display requires one more connection to switch between command and data mode, similar to the register select pin on character LCDs. Next, there is a display reset pin and the aforementioned low power enable pin. Finally, the display also offers an optional busy pin that lets the MCU know the display is still updating the pixels. In addition to these communication wires, you’ll also have to connect power and ground (GND):
 Connect the display as shown in the schematic diagram above.
Using the E-Ink Display
You will need to install three Arduino libraries before you can start using an Adafruit e-ink display in your DIY projects. For that purpose, use the Arduino IDE’s built-in library manager and install the “Adafruit EPD”, “Adafruit ImageReader Library”, and “Adafruit GFX Library” packages. Also, install all other libraries the IDE suggests during this process:
 Install all other libraries that either of the three packages require.
Next, upload the following sketch. Note that the PINs are the same as in the schematic above, and they also apply to the e-ink friend breakout board described below:
#include "Adafruit_ThinkInk.h"

#define EPD_CS 9
#define EPD_DC 10
#define SRAM_CS 6
#define EPD_RESET 8
#define EPD_BUSY 7

ThinkInk_290_Mono_M06 display(EPD_DC, EPD_RESET, EPD_CS, SRAM_CS, EPD_BUSY);

void setup()
{
  display.begin(THINKINK_MONO);

  display.clearBuffer();
  display.setTextSize(2);
  display.setCursor((display.width() - 180)/2, (display.height() - 24)/2);
  display.setTextColor(EPD_BLACK);
  display.print("Hello maker.io!");
  display.display();
}

void loop()
{ }
The first few lines include the Adafruit e-ink library and then define which pins of the Arduino interface with the display. Then, the program creates a display object with specific parameters that are different for each screen. Therefore, take a look at the examples provided with the Adafruit EPD library and grab the parameters that match your display. The ones used in the example above refer to the flexible monochrome display explained below.
The setup method then initializes the display object using the monochrome option. It then clears the display, sets the text size, and calculates the desired text position, which should be centered in this example. Next, the sketch sets the text color and sends the character data to the display.
Note that updating the display takes a few seconds, and the screen will flash multiple times during this process. In addition, you should not update the display contents more than once every three minutes, as these tiny displays could get damaged otherwise. Finally, your program should refresh the display contents daily to retain the sharp contrast offered by multi-color displays.
Using Other E-Ink Displays
Most small off-the-shelf electronic paper displays nowadays use the same 24-pin connector. Therefore, you can often use other screens that don’t come as a maker-friendly breakout module in your DIY projects. For that purpose, Adafruit designed a small companion board that serves as a bridge between a development board, such as an Arduino Uno, and most standard e-ink displays up to 4.2” and three colors. The small breakout board has the same pinout as the breakout module described so far, and it offers the same features, excluding the SD card reader. Therefore, you can follow the same steps outlined above and achieve the same effects on non-maker-friendly standard displays, such as a range of flexible screens:
 The small e-ink display friend breakout module lets you interface other e-ink screens with common maker-friendly development boards.
There are a few things to keep in mind when using flexible displays. First, be extremely careful when removing the display from the package, as it is very easy to damage it. Next, make sure never to bend the display at sharp angles. Finally, these displays are typically not meant to be bent constantly. You should mount it to a rigid surface (for example, a cylindrical enclosure) as soon as possible to prevent damaging the delicate component.
Summary
E-Ink displays offer a few benefits and unique drawbacks, and modern, small, cost-effective digital paper screens let makers utilize this technology in their custom DIY projects. In addition, using such a display is as easy as connecting any other breakout module, thanks to specific maker-friendly boards.
However, there are a few things to remember when working with these inexpensive screens. First, try not to update them too frequently (once every three minutes should be safe). Next, make sure to update the screen contents once every day. While this is not critical, it helps the display retain its sharp contrast.
When working with flexible displays, make sure not to bend them too much, and be careful when removing the part from its packaging to prevent damaging the fragile component.


