制造商零件编号 3942
ULTRASONIC SENSOR SONAR DISTANCE
Adafruit Industries LLC
After the build day and worktime, the students working on the Robot Tour project went full steam ahead. Since the initial build from the kit was now done, everything from here on out would be "freestyle," or by our own design.
The first thing to do was add on some sensors, the first being an Ultrasonic Sensor. I talked about Ultrasonic Sensors in a previous blog and was able to use said blog to explain how it works and what to use it for. The students opted for the Ultrasonic Sensor over the IR sensor in this case as it allowed a further view and made more sense for the course we're working with.
The course is essentially like a mini rat maze, except with much fewer walls. The idea is that it'll be like a checkerboard, with barriers on some of the edges of the course. Having an IR sensor wouldn't be as efficient as you need to be relatively close to the object for it to activate, and in this case, we're not so keen on following lines as we are barriers.

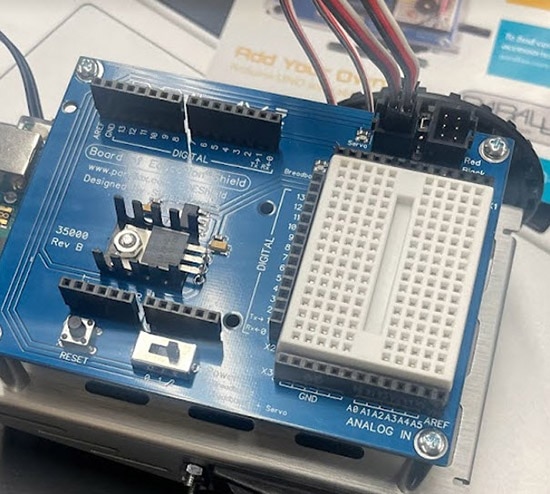
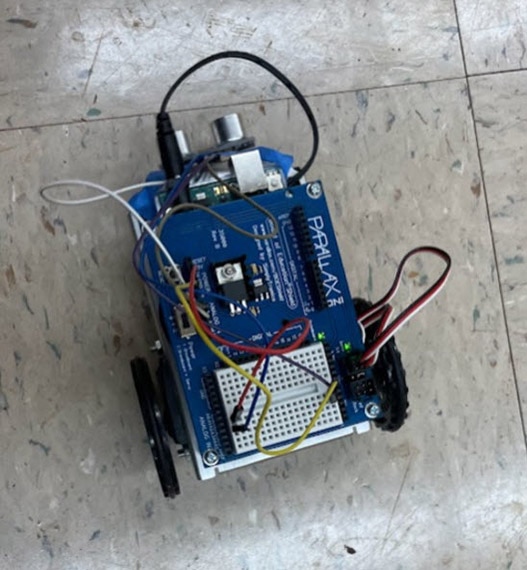
The Ultrasonic Sensor was easy to add on, thanks to the built-in breadboard on the Arduino Shield.

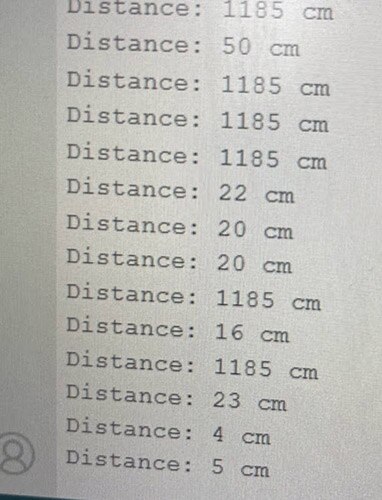
The students quickly tested the Ultrasonic Sensor, and upon getting some accurate distances, decided to work on the next part.

Now, with the inputs from the sensor, the students were able to code. Given documentation from the Parallax website and armed with the knowledge from doing some practice coding exercises throughout the previous weekend, they were able to get started on some basic movements.

It started off with very simple stuff: getting the rover to turn upon reaching a barrier or to simply just turn around. It took some tinkering with, especially with getting used to the motor's movements and controls, but eventually, they got the hang of it.

The next day, I assigned them to perform some fundamental maneuvers without relying on the sensor. This was to help them get familiar with the system and also to prepare them for situations where the course may not support the sensor. The goal was to enable them to hard code the course efficiently and effectively. We used the tiles as each square, and on a piece of paper, I drew out a path that I'd like the rover to go through.

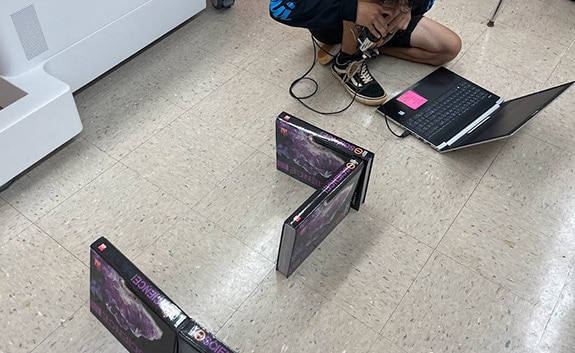
I then put up some books as a makeshift barrier for the sensor to interact with. We're currently building a more robust course on a white posterboard for the students to practice with, but for the purposes of getting the hang of it, this works nicely. The bigger issue that we'll have later is the fact that there'll be a lot of barriers for the rover to go around.
Overall, the process of working with the rover has been super painless and easy as the students have been very adept at learning how to code, and the Parallax Kit had all the instructions. The Ultrasonic Sensor was a breeze to add on, and so far, this project has had no major kinks. The biggest issue here will usually be through the coding, but hardware-wise, it seems to have gone all to plan. For now, the students will continue to work on playing with the robot to understand it more and construct a track to practice on. The competition starts in November, so with around two months to go, the students are in a great place.
Check out the other Robotics Education Projects below!
Robotics Education: The Basics