IoT & DIY Electronics Projects: How to Connect Your Project
2023-07-11 | By bekathwia
Arduino ESP32 ESP8266 Raspberry Pi SBC
Today, we're exploring some easy ways to bring your electronics project online to the Internet of Things!
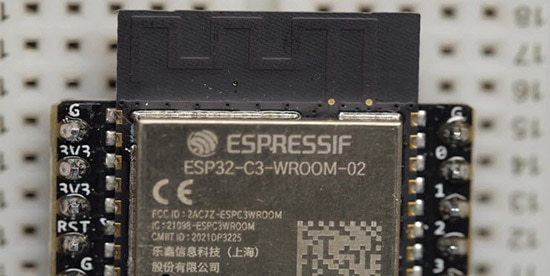
To get started with the Internet of Things (IoT), you'll need some Wi-Fi microcontrollers. Two excellent choices are ESP8266 and ESP32. These microcontrollers are fantastic for beginners because they're inexpensive and compatible with Arduino-based projects.
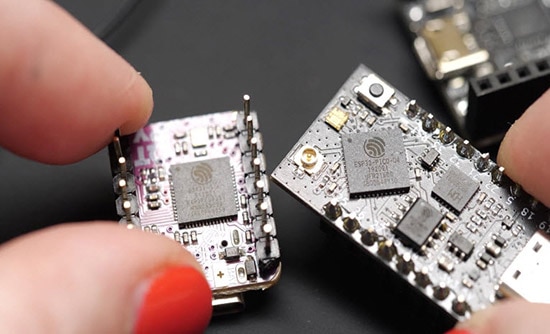
Arduino also has their own line of wifi boards, and there are a few other platforms worth mentioning, like Particle and Raspberry Pi Pico W. These help you easily connect your projects to the web, and you’ll find them on a huge variety of boards.

Let's start with something fun - controlling LEDs! One cool project you can try is connecting your LEDs to CheerLights, a global RGB LED color-sharing platform created by Hans Scharler in 2011.
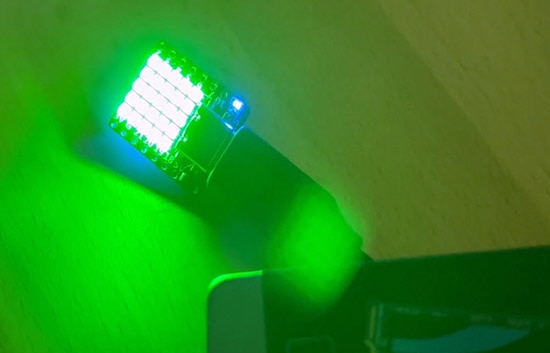
When a new color comes into the system, which happens when someone sends a new color on Discord, all the CheerLights projects in the world will update to that color. It’s a simple concept that makes for a great beginner project.
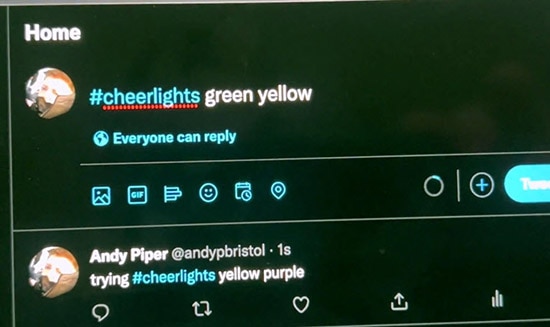
For your LED project to join the global CheerLights network, it just needs to read from the CheerLights API, which can be achieved using an Arduino program running on your wifi microcontroller, as well as several other methods detailed on the CheerLights site.
API stands for Application Programming Interface, and it’s basically a set of rules that allow different pieces of software to interact with each other. So, when the CheerLights API updates with a new color, your circuit’s program knows how to receive it.

WLED is another excellent platform for controlling LED animations over Wi-Fi. This open-source codebase has been around since 2016 and allows you to manage your lighting display from almost any device. It has a nice user interface on Android and iOS, for example, and several dozen sample effects are available. The project is well-maintained, with frequent updates and bug fixes.
WLED also supports integration with many home automation systems, including Alexa and Home Assistant.
Being able to control your LED project from anywhere in the world is a pretty fun experience. But if you want to go further and implement your own more complex project ideas, remember what we covered in a previous episode: it’s all about identifying your inputs and outputs. Some may be analog or digital sensor signals, like in your early Arduino projects, and some may be internet actions, like receiving a Tweet or saving data to a Google Spreadsheet.
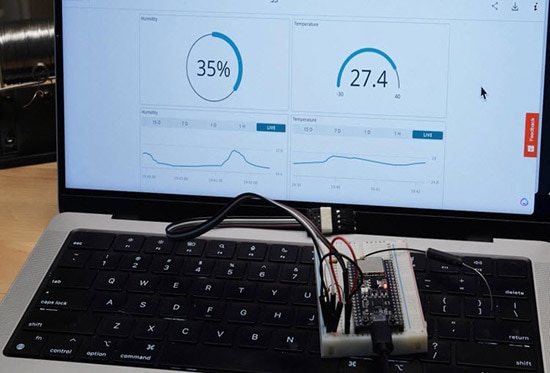
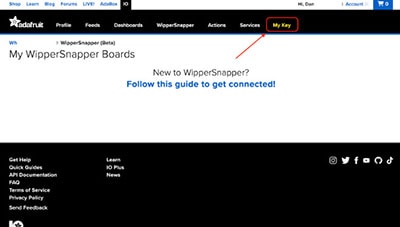
Next, let's talk about visualizing and logging sensor data. With cloud services like Arduino Cloud, Adafruit IO, and ThingSpeak, you can easily store, analyze, and visualize your project data for free.
For example, if you want to keep an eye on the temperature, you could set up a project to read from the temperature sensor, then send that reading to the cloud, on repeat at regular intervals.
When you check back in on the cloud service, you’ll be able to see a graph of the data over time. You can also set up alerts for different conditions, like if the temperature dips too low or rises too high.

Each one of these services has a slightly different setup procedure, and tutorials you can follow to get started, but the basic idea is that you create a variable to hold your data, and depending on what type it is, like an integer or a string, different dashboard elements will be available to you.
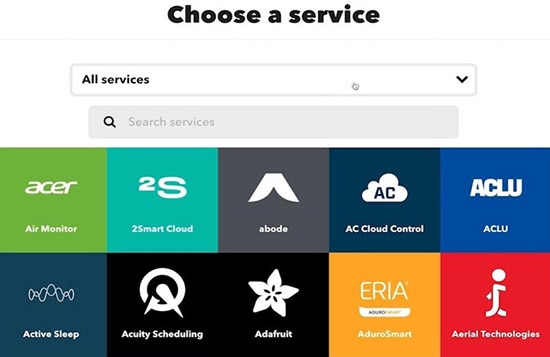
Interacting with your own sensor data is fun and setting up dashboards can be super helpful, but you can also connect your project to a huge collection of web services using the free API gateway called If This Then That, or IFTTT.
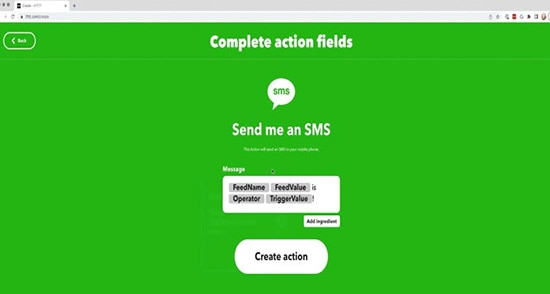
You can visually code workflows connected to your favorite web services and your existing cloud service using their applet system, for example, “If the temperature gets too high, then send me a text message.” For some of the services to work, you have to have the IFTTT app installed on your device.

You can also set up an applet to listen for a webhook callout from your board’s code directly, eliminating the cloud data site layer from the equation. The tradeoff is that you have to write your own trigger code.
For even fewer layers of other people’s services, you can work with APIs directly by installing an Arduino API library for your desired product, if there is one.

For example, my Slack Status Updater project uses the Arduino Slack API to update my status according to the position of this rotary switch. The library makes it possible to get authenticated and allows the board to control an app inside Slack.
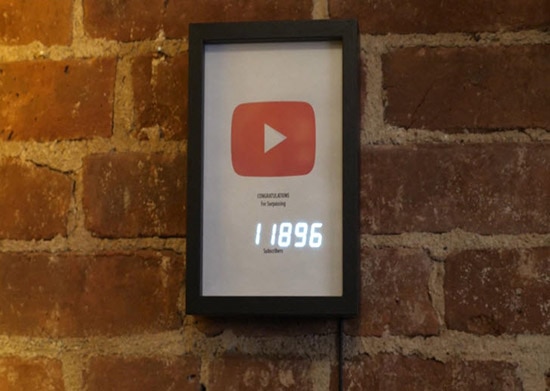
And this YouTube subscriber counter uses the Arduino YouTube API to update the display with my latest numbers. Brian Lough wrote both of these Arduino libraries and a bunch of others you might find useful. The examples included with these libraries are great places to start the code for your project. The maker community relies on intrepid contributors like Brian for the building blocks of our projects.
It can be a bit of a pain to set up access to some of these APIs directly, and some of them aren’t free, which is one of the reasons IFTTT is so handy.
When it comes to connecting your project to the cloud, you have lots of options. Remember that with each layer of abstraction, you may be sacrificing some control over how and when your project interacts with the internet.
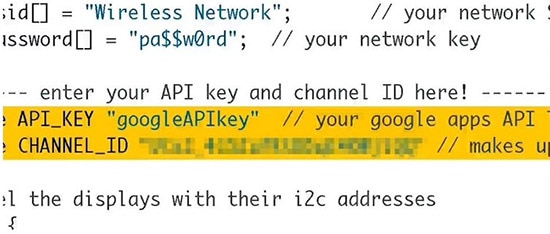
No matter which method you use, it's important to make sure that all your endpoints are secure. You don’t want a stranger getting access to or controlling your work. Most cloud services provide good security measures by default but be sure to never share your login credentials or private key.
I hope you’ve discovered something new to try. Check out the rest of this series for even more information on building with Arduino!


