制造商零件编号 11317
BREADBOARD TERM STRIP 3.29X2.15"
SparkFun Electronics
Solderless breadboards are perfect for those just starting out with electronic projects. These practical helpers are also suitable for quick experiments where you often want to swap out parts. However, breadboards are not the best choice when it comes to building a permanent circuit, as parts can quickly become loose from daily use and vibration. Therefore, we must look for another way to create permanent circuits, and perfboards offer such an opportunity. However, handling these perforated fiberglass boards also requires practice, and there are a few tips to keep in mind to make working with breadboards easier and result in better-looking and more reliable circuits.
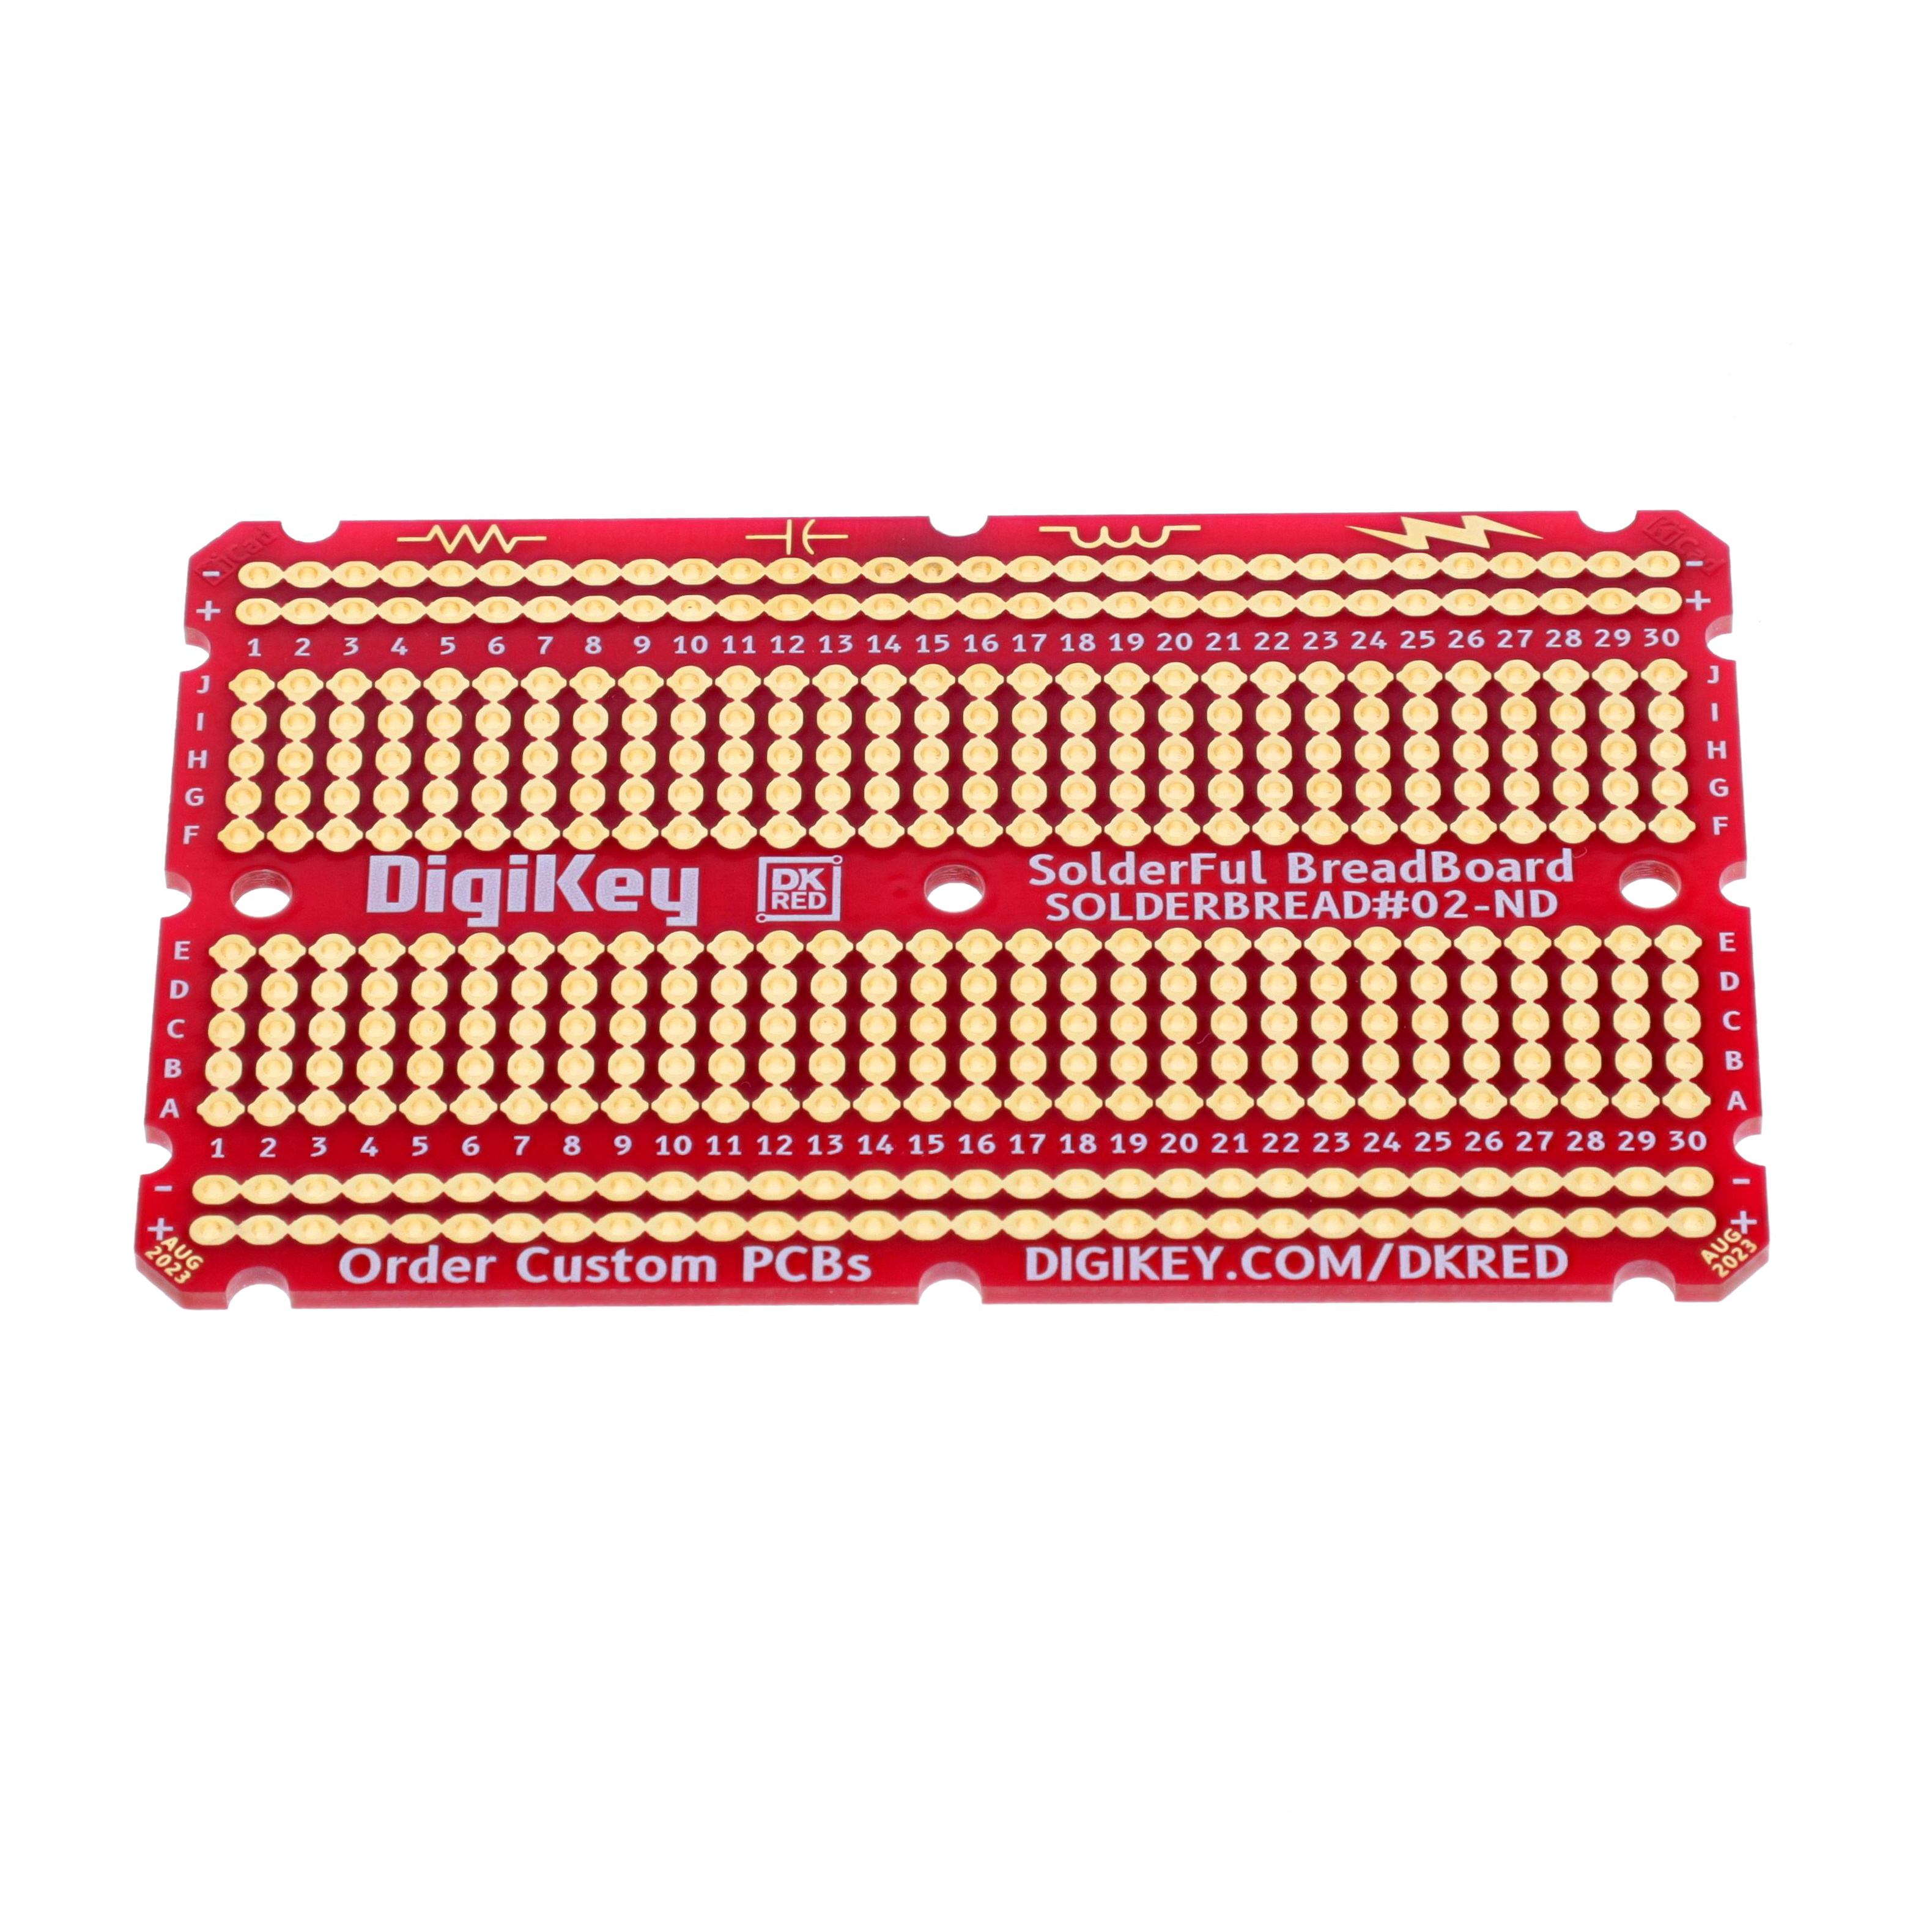
Moving from a breadboard to a perfboard can be intimidating for beginners, as using a perfboard involves soldering and creating traces using short pieces of wire. However, you can buy perfboards that look like breadboards. In addition, these perfboards already contain traces that are arranged in the same way as on a typical breadboard. Using such a prototyping PCB makes moving from a temporary breadboard project to a more permanent prototype much easier for beginners.
 This image shows a perfboard that looks like a standard prototyping breadboard.
For other projects, think about the layout that makes the most sense. The “pad-per-hole” perfboard is the most common type. As the name suggests, this perfboard has a single solder pad for each hole. The pads are isolated and not electrically connected. However, the pads can also be connected across the entire length or width of the perfboard. Similarly, you can buy perfboards designed for circuits with many ICs. This type typically contains some space in the center for standard DIP package ICs, with a few copper lines leading away from the center. Working with the third type of board can save wires and time, making it easier to connect components to integrated circuits.
 This image shows a few different common pad layouts and sizes of perfboards.
Lastly, make sure to choose the right size for your application. Get a board that’s large enough to accommodate all components and wires but not too large, as an unnecessarily large PCB increases your project cost.
Adopting this tip is helpful for all sorts of electronics projects because it can save you tremendous amounts of time and effort when working with perfboards. Try to arrange the components in your schematic in a planar way so that the traces in your schematic cross as few times as possible. Having a few crossings is no big deal, but every unnecessary intersection will make your final product look messier and more difficult to understand, adapt, and troubleshoot. Similarly, you should lay out the components on the perfboard before you solder. Ensure that all parts fit and that there’s enough room for additional wires.
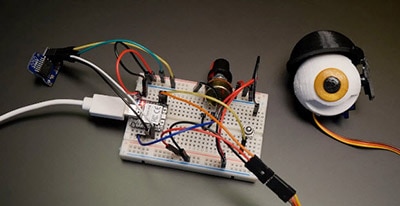
 Think about the board layout before you begin soldering. You can bend over the legs of some components to hold them in place.
Try to utilize the legs of through-hole components such as LEDs and resistors on the underside of the perfboard to save wires. Bend over the long pins as close to the perfboard as possible once you’re satisfied with the component placement on your PCB. Ensure that the component legs do not overlap where they shouldn’t, as they are not isolated and will introduce short circuits in your build. If you can’t use a component’s leg, cut it off and save it for later.
 Use component legs to save wires when connecting components. You can also bend over short legs to hold the longer ones in place, as indicated by the red circle.
Try using the pins of through-hole components to make connections whenever possible. For all other cases, run insulated solid-core wires on the top side of the board, that is, the side that contains most, if not all, other components. Here, it would be best if you routed long wires first. But in general, you should try to avoid having long wires whenever possible by rethinking your component layout. However, sometimes it’s impossible to omit long wires that span over the entire perfboard completely. If that’s the case in your project, try to run the wire as straight as possible, and use 90-degree bends to keep the board tidy and clean. In addition, you can secure long wires using the component legs you cut off and saved earlier. Doing so will hold these wires in place and act as a strain relief to prevent the solder joints from breaking easily.
 This picture shows how I used some leftover component legs to hold a long wire in place.
Lastly, try to run wires in parallel whenever possible and viable. In addition, make sure to make use of different wire colors and keep them uniform across your entire build. You can, for example, use red wire for routing VCC, black for GND, and green wire for all clock signal connections.
ICs are often the most expensive parts of circuit designs. Therefore, it makes sense to utilize IC sockets whenever possible, as they allow you to extract costly electronic chips for your projects at a later point in time. When creating the layout for your perfboard build, consider rotating the IC to see if doing so makes it easier to connect external components. Logic ICs typically also have multiple gates that operate the same. Sometimes, you can use a different gate to make the routing easier. Lastly, the close pitch of ICs makes it necessary to double-check whether there are any unwanted solder bridges between pads. Make sure to resolve any issues before powering the circuit to prevent damaging the integrated circuits in your design.
Moving from a breadboard project to a more permanent perfboard build can initially feel intimidating. However, building clean and easy-to-understand perfboard projects boils down to following a few tips. First, start by thinking about your project. Next, sketch out a schematic diagram and evaluate the placement of the components on the perfboard. Ensure that all parts fit and that your schematic diagram has as few crossings as possible. Then, choose the right type of perfboard that best suits your application, and lay out the components on the perfboard before you start soldering. Doing so helps you determine whether all parts fit and that there’s enough space for additional wires.
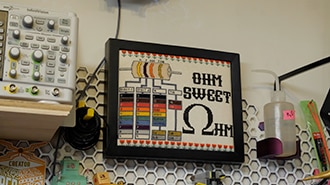
 Building appealing perfboard projects is not as difficult as it might seem!
When connecting the components, use the long legs of through-hole parts. Bend them close to the board and try to run them as straight as possible. Make short and straight connections whenever possible. Save all the component legs you cut, as they can come in handy to bridge small gaps and hold long wires in place. Use isolated solid-core wires to route long connections and run them along the top side of the board in straight lines. If you need to bend wires, make sure to bend them at a 90-degree angle. Run wires in parallel and utilize different wire colors consistently to indicate what signal a connection carries. Make sure to employ IC sockets when working with integrated circuits and try rotating the chip to see if doing so makes the connections easier to route.