制造商零件编号 SMDPST120
SOLDER TRAINING BOARD WITH MANY
Chip Quik Inc.
License: General Public License
Last time, we took a look at the requirements for our Micromouse--a miniature rover meant to navigate through a maze as fast as possible. We had ordered all of the parts and designed our PCB throughout the past month, and as of last week, got all of those goodies in the mail! I don't know about you, but it's always an exciting moment when a package appears on my doorstep.
The PCB
Our printed circuit board, courtesy of DKRed, came in!
We had ordered 4, but they ended up giving us 6. Score! Furthermore, the quality was great--complete with gold pads and clean cuts. It even sports the snazzy signature red color of DigiKey.
Our issue, which came at no fault of DKRed, was that we forgot to add in the silk screen layer. For those unfamiliar with PCB Design, the silk-screen layer is the layer that creates all of the markings and the writing on the PCB. The bottom picture depicts what the silk-screen layer was for us:
This was an option that we unfortunately forgot to check while uploading our PCB design, and as a result, we'll have to face the consequences (of having to read what is on our computer as opposed to seeing it on the board). This is a minor setback though, and will just end up in us having to put in a little extra effort when getting our components on the board.
Outside of that, we're very happy with how it came out.
Components and Soldering
In addition to the PCB, we also got all of our other parts.
As you can see, it's a bit of bags galore--mainly since we need a ton of different components for this rover, often in small quantities. Thankfully, DigiKey has been very accommodating in allowing us to order in small quantities at very good prices.
Now, as you might notice, a great deal of our components are what are called "surface mount devices," or SMDs. These are very small components that you solder onto the surface of metal pads as opposed to placing a pin through a hole.
For reference on how small it is, check out some of the 1 microfarad capacitors next to my fingernail. Super small, and I'm going to need to solder them onto the metal pads on the PCB.
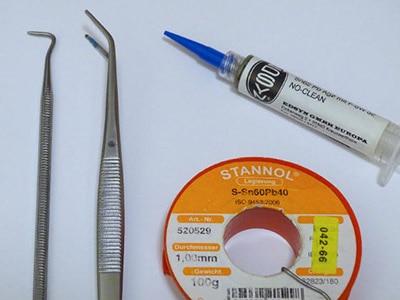
In order to get used to this new method of soldering, I first practiced on an SMD practicing board. You can find a similar kit linked below at the bottom of the page.
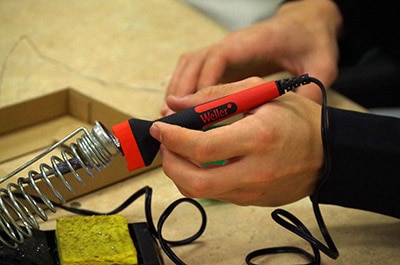
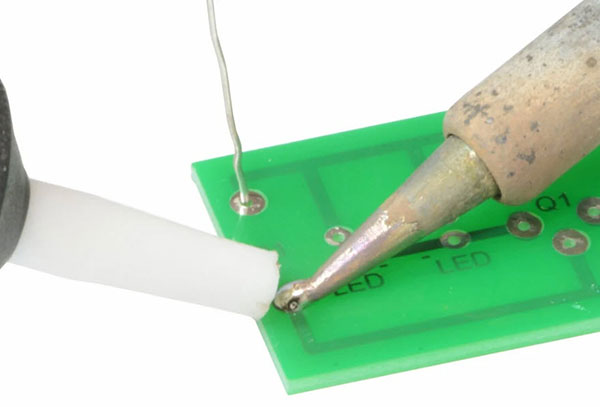
I practiced with different-sized SMDs, a few MOSFETs, and an IC. The method that I was advised to use was to create a small blob of solder on one half first, then place down the component. At this point, you would then melt the solder on the first half to secure the component while making sure that it stays in the correct orientation with tweezers. Then, once the first half is soldered, you can now solder the remaining half to fully secure and solder the component.
It must be noted that this is only one method with an iron and typical solder. Other methods, with paste and reflow ovens, exist but require more equipment and parts than our conventional method.
You can see here that I struggled with my first few components. It's important to remember a few things when going about SMD soldering:
1. Less is more. It can get messy using a ton of solder, and you don't need very much to secure such very small components.
2. Use a thin/fine tip on your iron. I used a thicker iron in this case, and it was much harder to heat the specific areas that I needed to.
3. Slow and steady wins the race. Take your time soldering these small components. I got pretty fast soldering normal through-the-hole pins, but these smaller components require much more patience and grit.
For now, I'm going to work on finishing up soldering all of the components on the mouse. In the next part of this project, we'll start to talk about the software portion and Floodfill!