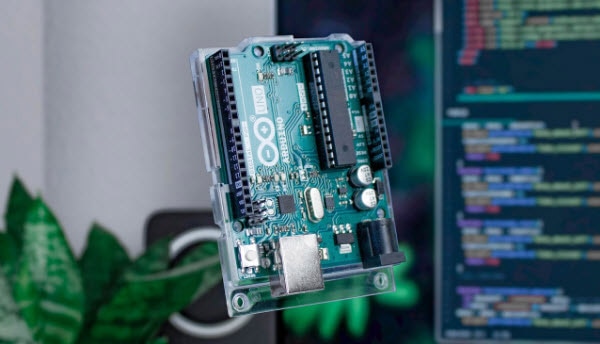
制造商零件编号 A000005
ARDUINO NANO ATMEGA328 EVAL BRD
Arduino
Makers commonly use Arduino’s built-in serial print functions for debugging programs, as it’s an easy and convenient way to observe which turns the code takes and whether the variables hold the expected values. There are, however, several problems their usage may introduce into an Arduino sketch that many coders may not even be aware of. This article explains three issues with using serial commands in production code and some of the problems these stray debugging calls may introduce.

Before discussing a few potential problems and how to solve them, the following example illustrates the concept of debugging messages. You may have already seen something similar to the following example:
unsigned long cnt = 0;

void setup() {
    Serial.begin(9600);
    Serial.println("Setup done!");
}

void loop() {
    Serial.println("Entered loop");
    cnt = cnt + 1;
    Serial.print("Counter value: ");
    Serial.println(cnt);

    // Simulate some other task going on
    delay(2500);

    Serial.println("Loop done!");
}
This unremarkable example program increases a counter variable until it overflows, and while doing so, it outputs several debugging messages using the Arduino’s built-in serial interface. One such message lets programmers know when the setup is done, and the others show that the loop method terminates and increases the cnt variable in each call. The output looks as expected:
 The program outputs all serial debug messages whenever it runs.
While debug messages may only interfere insignificantly with small programs that merely blink an LED on and off, they can impact more complex programs, particularly those relying on more precise timings.
To start, each debug message in the code must be compiled and stored somewhere, which typically happens in the SRAM of an MCU — this means that unnecessary debug messages take up valuable space that’s unavailable to other variables and constructs in the program. While this might not cause problems with larger MCUs, some smaller controllers such as the ATMega328P, used in the Arduino UNO, will run out of space more quickly due to the very limited 2K of SRAM available. These issues might be particularly annoying when you develop using more sophisticated hardware and then port the code to a more cost-effective MCU, as large programs might not fit in the target platform’s limited memory.
Secondly, each serial debug message output takes some time, which may not be a problem in all cases. Still, the UART controller that handles serial output is, in most cases, typically much slower than the MCU itself, leading to longer program runtimes compared to the version without debug messages. This problem could particularly impact time-sensitive applications, such as those implementing some custom communication protocol.
Finally, unnecessary debug messages may also pose security risks, potentially leaking vital information to adversary users and leaving an additional interface open for attacks.
The simplest way to prevent the previously discussed issues is also the most obvious: to remove all unnecessary serial output calls. However, doing so also complicates future debugging, and removing every call manually before releasing a new program version can be tedious.
Using pre-processor directives, you can instruct the compiler to automatically remove all debug output method calls before compiling and uploading the program. All that’s required is adding a few custom define statements to a sketch:
#define DEBUG 1

#if DEBUG==1
#define outputDebug(x); Serial.print(x);
#define outputDebugLine(x); Serial.println(x);
#else
#define outputDebug(x);
#define outputDebugLine(x);
#endif
You likely already know about the define directive. This instructs the compiler to replace whatever string comes first with the second string. For example, the following snippet makes the compiler replace every occurrence of the string LED_PIN with the number 13:
#define LED_PIN 13
Doing so let’s programmers use more descriptive names throughout their programs without having to create a dedicated variable, but the same can be done for entire method calls, as seen above. The if, else, and endif directives also let programmers instruct the compiler to replace the string with another one, depending on a specific value. It’s important to note, however, that these replacements happen at compile time, and unlike variable values, the defined values cannot be modified once compiled.
Either way, the complete, modified code now looks as follows:
#define DEBUG 1

#if DEBUG==1
#define outputDebug(x); Serial.print(x);
#define outputDebugLine(x); Serial.println(x);
#else
#define outputDebug(x);
#define outputDebugLine(x);
#endif

unsigned long cnt = 0;

void setup() {
    Serial.begin(9600);
    outputDebugLine("Setup done!");
}

void loop() {
    outputDebugLine("Entered loop");
    cnt = cnt + 1;
    outputDebug("Counter value: ");
    // Output the counter value in production, too!
    Serial.println(cnt);

    // Simulate some other task going on
    delay(2500);

    outputDebugLine("Loop done!");
}
Note that the code now doesn’t directly call Serial.print or Serial.println anymore to print debug messages. Instead, it makes use of the custom define statements present in the first few lines. Furthermore, the first line lets programmers toggle debug messages by changing only a single character. Setting DEBUG to any value other than 1 removes all debug print calls from the compiled program, but it won’t affect the direct call that outputs the cnt variable’s value, as that one still directly uses Serial.println:
 Changing DEBUG to any other value than one removes all debug output calls from the compiled code before uploading it to the Arduino.
Serial debug messages are useful when developing a program. But on the flip side, leaving the calls in production code can lead to various issues, the three most prominent being bloated programs, slower execution, and potential security issues.
Instead of removing every single debug output statement from your programs, you can use pre-processor directives to perform a simple text search and replace before compiling your code. Using the define statement, you can give the serial output calls custom names that the compiler either replaces with the real call or an empty string, depending on the defined value of DEBUG.