How to Power the Photon
2019-03-27 | By Maker.io Staff
Capacitors Wireless Other RF Wifi Diodes Photon
The Particle Photon is an integrated IoT prototyping platform that can bring life to even the most basic projects. In this How-To, we will learn how to power the Particle Photon and why you should be very careful when doing so!
BOM
VIN Power Supply Method
- DC-DC regulator VX07805 (optional)
- 7805 regulator
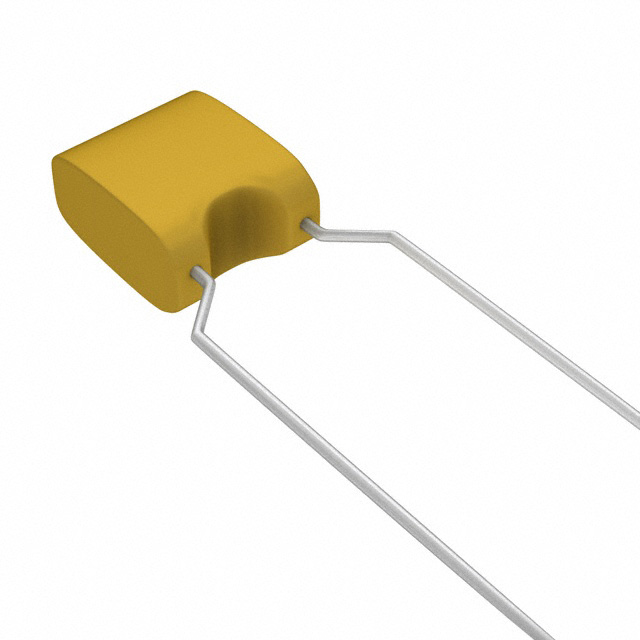
- 2 x 100nF capacitors
- 1 x 100uF capacitor
- 2 x 1N5817 diode
3.3V Power Supply Method
- AMS1117 or LM1117 linear regulator - LM1117MPX-3.3/NOPBCT-ND
- 2 x 100nF capacitors
- 1 x 100uF capacitor
- 2 x 1N5817 diode
Scheme-It

Power Option 1: USB
The most obvious and easiest power solution for the Particle Photon is the onboard micro USB connector. This connector does not just allow for communication between a PC and the Photon but also as a 5V source for the Photon. Many projects can take advantage of this and use a simple phone charger or a USB port from a computer as the power source for the Photon.
However, this method is not practical for portable projects, as most USB sources are mains operated. Some wall sockets are beginning to include USB outputs, which could be a useful power source for future Photon projects that are not portable and are mounted in locations around the house.
Power Option 2: VIN
Like Arduino boards, the Photon has a VIN pin that allows for an external voltage (such as a battery) to power the photon. However, unlike the Arduino, the Photon has a maximum voltage of 6.5V on this pin, which makes powering the Photon with batteries somewhat challenging. A common power source for portable projects, the 9V battery (also known as a smoke alarm battery) cannot be used with the Photon and therefore needs to be regulated before being supplied to the Photon. This can be done with the use of either a simple 7805 linear regulator circuit or a DC-DC module, but either way, the power going to VIN cannot be more than 6.5V.
This method is useful when building portable projects that require an external battery and do not have access to a mains supply. One possible idea for using the VIN pin would be to use a Lithium-ion battery with a premade charger module and then have the charger module feed a DC-DC regulator that provides 5V. While the LM7805 could be used for regulation, a DC-DC converter would be better as they are more efficient. One example of a potentially handy regulator would be the VX07805, which is a drop-in replacement for the 7805 that uses a small switching supply.
Power Option 3: 3.3V Pin
The Photon has an external 3.3V pin (pin 24) that is typically used as a source for 3.3V but can be reverse-driven to provide the Photon with 3.3V. However, using this pin must be done with great caution as this pin directly feeds the photon and does not go through any regulation circuitry.
Therefore, it is recommended that you only use a linear 3.3V regulator (such as the AMS1117 or LM1117), as these do not have variable outputs (unlike many DC-DC regulators). This type of input would be useful in situations where an external 3.3V supply is already available, as the Photon may not be able to provide the power needed for external circuits (such as motors and relays).
VBAT Input is not an option...
You may have noticed a VBAT input to the Photon. At first glance, you would think this was a battery input that would power the Photon, but that is only partly correct. The VBAT input (pin 22) does indeed connect to a battery, but the battery type connected to this input should be a coin cell as this is a power source for the Photon’s real-time clock needed to keep accurate track of time.


Have questions or comments? Continue the conversation on TechForum, DigiKey's online community and technical resource.
Visit TechForum


 中国
中国