Enhance Your Lights With This IoT Project
2019-05-06 | By Maker.io Staff
License: None Breadboards Programmers Switches Wifi Photon
Previously, we learned about the basics to HTTP GET and POST messages, using interrupts on the Photon, as well as powering your Photon. In this project, we will combine the knowledge from those articles to produce a simple, IoT-powered light that allows you to remotely turn a light off or on!
BOM – IoT Button
- Particle Photon - WRL-13764-ND
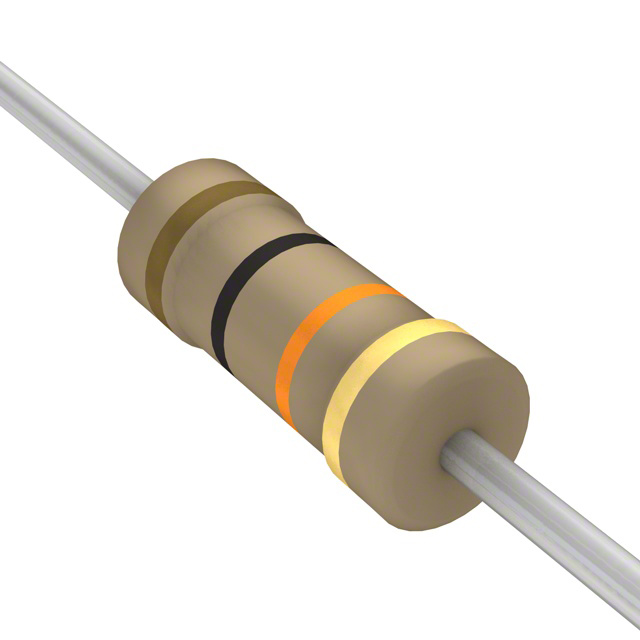
- 10K Resistor - CF14JT10K0TR-ND
- 1K Resistor - 1.0KQBK-ND
- LED - EAHP3535BA0-ND
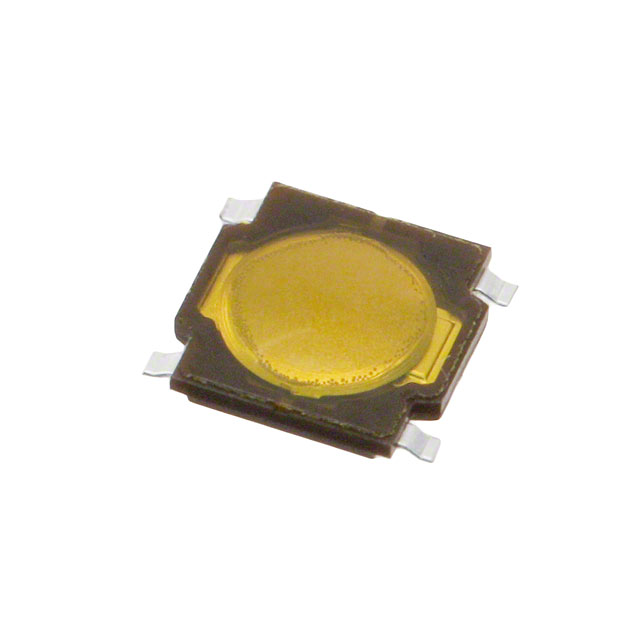
- Tactile Switch - EG4620TR-ND
- Micro USB B Cable - Q853-ND
- Breadboard - 1738-1326-ND (or stripboard, or other preferred circuit construction method)
BOM – IoT Light
Particle Photon - WRL-13764-ND
Particle Photon Relay shield - 1878-1009-ND
Micro USB B Cable - Q853-ND
If using a mains light
- Mains-powered lamp
- Fuse (rated below max current rating of cable)
- Mains cabling
- Mains Plug
If using an 12V LED panel or other low voltage light
- Low voltage light source
- Low voltage power source
Create and host a website
The first step in this project is to host a simple PHP website that contains two files: submit.php and dataValue.html. The submit.php file is used to receive POST data that contains the requested status of the light, whereas the dataValue.html file stores the current state of the light. These two files need to be hosted on a website, and while there are plenty of free website hosts available for this, make sure that whatever you choose allows for the hosting of PHP files -some do not (or their server will not run the PHP code).
When a site has been hosted, you will also need to obtain the IP address of your website, which can easily be done using an online tool or a command prompt. For example, the website that will be used in this project is maker-io-iot.atwebpages.com, and the IP address was found using command prompt on Windows using the command below. Make sure to note the IP address for later when we insert them into our Photon code!
ping maker-io-iot.atwebpages.com Insert image 2_ping
<?php
	$dataValue = $_POST["lights"];
	$Write="<h1>#" . $dataValue . "#</h1>";
	file_put_contents('dataValue.html',$Write);
?>
The IoT Button
The role of the IoT button is to detect button presses and then toggle the state of the light, which is done using a POST HTTP message. However, to ensure that the button press is captured, the switch is connected to D3, which is attached to an interrupt, so that as soon as the button is pushed, a Boolean flag is set to true and a small switch de-bounce delay is executed.
Then, in the main loop of code (where other tasks could be executed) the switch flag is checked and, if set, then the Photon proceeds to sending the POST message which toggles the value of the light status. When the button is pushed, the external LED blinks to provide the user with visual feedback (to indicate that the button was, in fact, pushed).
TCPClient client;                               // Create TCP Client object
byte server[] = { 185, 176, 40, 75 }; 	    // http://maker-io-iot.atwebpages.com/
byte dataBuffer[1024];                          // Data buffer for holding received
String receivedData;                            // Received data as string
bool switchStatus = false;                      // Switch status
bool lightStatus = false;                       // Light status

// Setup Function
void setup()
{
    pinMode(D3, INPUT);                             // Configure D3 as input (from switch)
    pinMode(D0, OUTPUT);                            // Configure D0 as output (for LED)
    attachInterrupt(D3, buttonPressISR, FALLING);   // Connect D3 to interrupt on falling edge
}

// Main Loop
void loop()
{
    if(switchStatus)
    {
        digitalWrite(D0, HIGH);         // Turn the LED on
        delay(100);                     // Brief pause
        digitalWrite(D0, LOW);          // Turn the LED off
        delay(300);                     // Simple delay for debouncing

        // POST Message
        if(client.connect(server, 80))
        {
            // Send our HTTP data!
            client.println("POST /submit.php HTTP/1.0");
            client.println("Host: maker-io-iot.atwebpages.com");
            client.println("Content-Type: application/x-www-form-urlencoded");
            client.println("Content-Length: 8");
            client.println();

            // Determine if we set lights on or off
            if(lightStatus == 1)
            {
                client.println("lights=1");
            }
            else
            {
                client.println("lights=0");
            }

            // Read data from the buffer
            receivedData = "";

            while(receivedData.indexOf("\r\n\r\n") == -1)
            {
                memset(dataBuffer, 0x00, sizeof(dataBuffer));
                client.read(dataBuffer, sizeof(dataBuffer));
                receivedData += (const char*)dataBuffer;
            }

            // Toggle the light status and reset the switch flag
            lightStatus = !lightStatus;
            switchStatus = false;

            // Stop the current connection
            client.stop();
        }
    }
}

// Button press interrupt service routine
void buttonPressISR(void)
{
    switchStatus = true;            // Tell the code that the switch was pushed
}
The IoT Light
The role of the IoT light is to constantly read the value of the variable stored in the dataValue.html file and then set the state of the light to match that value. While a custom relay circuit could have been used, the use of the Photon Relay shield makes the hardware easier to construct and provides four relay outputs that allow for the controlling of up to four other devices (lights, curtains, etc).
In the main loop, the Photon sends HTTP GET requests to the website, specifically asking for dataValue.html. The result is then parsed (using the # character). The first string parse will be the HTTP message, whereas the second parse will be the state of the light, which is easily extracted and then compared in an if-statement to turn the light either on or off.
TCPClient client;                           // Create TCP Client object
byte server[] = { 185, 176, 40, 75 }; 		// http://maker-io-iot.atwebpages.com/
byte dataBuffer[1024];                      // Data buffer that holds received data
String receivedData;                        // String that holds received data as string

void setup()
{
    pinMode(D3, OUTPUT);                    // Configure D3 as an output (relay)
    digitalWrite(D3, LOW);                  // Ensure lights start off
}


void loop()
{
    // GET Message
    if(client.connect(server, 80))
    {
        // Send our HTTP data!
        client.println("GET /dataValue.html HTTP/1.0");
        client.println("Host: maker-io-iot.atwebpages.com");
        client.println();

        receivedData = "";

        // Read data from the buffer
        while(receivedData.indexOf("\r\n\r\n") == -1)
        {
            memset(dataBuffer, 0x00, sizeof(dataBuffer));
            client.read(dataBuffer, sizeof(dataBuffer));
            receivedData += (const char*)dataBuffer;
        }

        // Parse the data and read the light status (parsed using '#')
        int ptr = receivedData.indexOf("#");
        char lightStatus = char(receivedData[ptr + 1]);

        // Turn lights on or off depending on website
        if(lightStatus == '1')
        {
            digitalWrite(D3, HIGH);
        }
        else
        {
            digitalWrite(D3, LOW);
        }

        // Stop the current connection
        client.stop();
    }

    delay(500);
}
Mains-Powered Devices
The IoT light has the capability to switch either mains-powered devices or low voltage devices (voltages lower than 48V). Which one you choose to switch is up to you. However, it’s important to understand that mains voltages are very dangerous and should only be attempted by those who are trained and competent to handle mains voltages.
When wiring mains-powered devices, there are many factors that need to be considered, including cable size, fusing, earthing, and general good practice with attaching wires. While not comprehensive, the list below shows just how many aspects have to be considered when undertaking mains wiring:
- Cable size with current consumption and voltage rating taken into consideration
- Cable length with resistance affecting cable current capacity
- Termination type and torque used when holding wires with screw terminals
- Ambient temperature of surroundings (which impacts cable resistance)
- Earthing of metal enclosures
- Correct use of color cables (brown for live and blue for neutral)
- Proper enclosures for safety

Have questions or comments? Continue the conversation on TechForum, DigiKey's online community and technical resource.
Visit TechForum


 中国
中国