Build a Halloween Screaming, Wing Flapping “Cat Bat”
2018-10-30 | By John LeDuc
License: GNU Lesser General Public License Programmers Circuit Playground
There is nothing creepier then seeing a black cat cross the road on the evening of Halloween!
During Halloween, there are many props out there that can scare the living daylights out of you!
When thinking about all the components we sell, creating a spooky Halloween prop that resembles a cat with movable bat-like wings and emits a screaming sound, seemed like a good idea. Using a 3D printer and some Adafruit boards, I thought I’d make a SCARY project that would greet guests at a Halloween costume party.
The concept then was to print something that resembled the head of a black cat, use servo motors to move something that resembles bat wings, and a PIR sensor to trigger sound effects to scare anyone coming to the party.
Originally, I had 4 servos to move the wings but the mechanics did not seem to work consistently.
So, a single wooden dowel or pole was used on each wing. Folding the black cloth over the wing pole and using hot glue to attach the cloth took some time. To help shape the bottom half of the wing, 14-gauge wire was used and secured with hot glue. Note: Caution when using hot glue! I think I burned my hands 3 times during the creation of this… it hurts like hell (and it lingers) when a glob of glue gets on your skin!!!!!
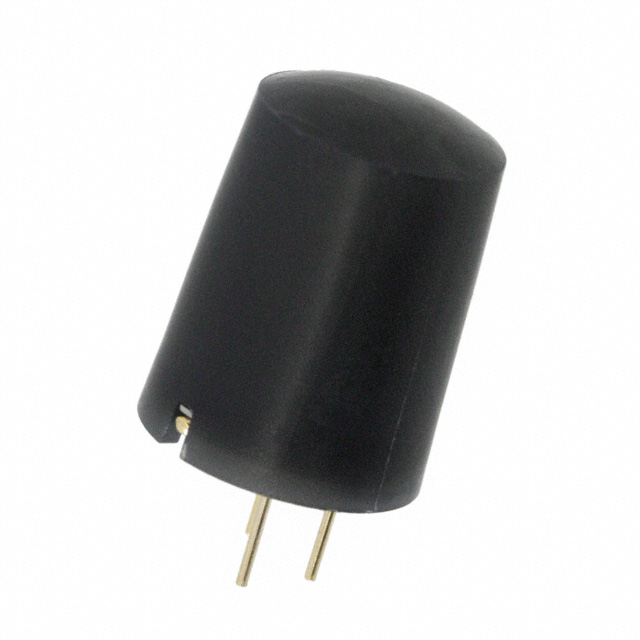
Tinkercad was used to create the cat head. Slots were made in the back of the head to house both servo motors from Parallax Inc. (900-00005-ND) where the connectors will plug into Adafruit’s Crickit driver board (1528-2631-ND) driven by CPX - Circuit Playground Express (1528-2280-ND) programmed using CircuitPython (readthedocs - also invented by Adafruit - which is an improved version of MicroPython). To integrate the PIR motion sensor from Panasonic (255-3075-ND) into the cat head, Tinkercad was used to make a tubular hole from the back to the front so it would be easy to drop it into place in the forehead. By putting a bit of a smaller ring merged to the tubular hole worked well to wedge the PIR sensor into place. Additionally, I put a tubular hole in the bottom of the head so it would fit onto a 1” inch wooden dowel. By using an old camera tripod along with some wood scraps, it was easy to attach the head & wings to the top of the tripod and mount the electronics to a board in the back of the tripod.
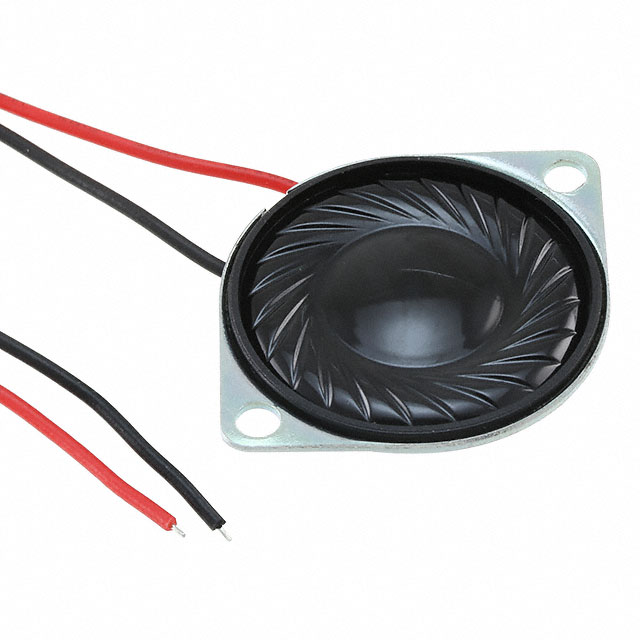
To help create a scary sound once the PIR motion sensor has been triggered, I used the Adafruit FX sound board with built-in amplifier (1528-1209-ND). It was easy to download free scary sounds (WAV files) from the internet. The original sound file was renamed to reflect the corresponding pins 0 through 10 (for 11 triggers). In this case, the “hauntedhouse.wav” was renamed to “T01.wav” for the pin 1 input shown below (when pin 1 is taken to ground, it puts corresponding sound out to attached speakers - 102-3841-ND).
The schematic drawings shown below:
The code shown below is CircuitPython which was easy and fun to use with the CPX.
#CPX stands for Circuit Playground Express (in this case for use with CircuitPython)
import time
from digitalio import DigitalInOut, Pull, Direction   	#import digital io
from adafruit_crickit import crickit			#bring in serial connection for working w/ CPX
import board

button_a = DigitalInOut(board.A2)       	 # button_a tied to pad A2 for PIR Sensor
button_a.direction = Direction.INPUT    	 # direction of pad A2 - wait for a 1 or high coming from PIR sensor

screamsnd = DigitalInOut(board.A7)       	# tied to A7 of CPX which is tied High or a 1 via 10k res to V+
screamsnd.direction = Direction.OUTPUT
screamsnd.value = True                   		# keeping sound off temporarily (it activates Low or False)

# Create 2 servos on Crickit's servo port 1 & 2
servo1 = crickit.servo_1
servo2 = crickit.servo_2
i = 0

servo1.angle = 90
servo2.angle = 90
time.sleep(1)

while True:
    if button_a.value:                  	# assigned to CPX pin A2 triggered by the output of PIR Sensor
        for i in range (8):               	# flap wings a few times
            servo1.angle = 180        	# right wing
            servo2.angle = 0             	# left wing
            time.sleep(.35)               	# delay 350ms
            screamsnd.value = False     	# connected to pin A7 of CPX & input 1 of snd board (False = GND or zero volts)
            time.sleep(.35)            	 # sound on for 350 ms (it actually lasts longer but then keeps servos moving)
            screamsnd.value = True      	# turn off sound
            servo1.angle = 90
            servo2.angle = 90
            time.sleep(.35)

Have questions or comments? Continue the conversation on TechForum, DigiKey's online community and technical resource.
Visit TechForum


 中国
中国