Piezoelectric Buzzers: Creating Vibrations
2024-01-08 | By Antonio Velasco
Chances are, if you've worked with embedded systems for a minute, you've run into piezo buzzers before! If not, don't worry--they're pretty simple and easy to pick up! If you're interested in piezo sensors--which detect vibrations instead of producing them-- check out this blog! There are a ton of applications for buzzers and sensors alike, so let's get into what makes it all possible.
Piezoelectric Effect
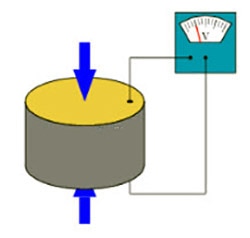
Put simply, the piezoelectric effect is what happens when pressure or mechanical stress on a certain material results in the generation of an electric charge. Similarly, if we put an electric charge on these materials, they'll vibrate. The latter is what we'll be looking at for the buzzers, as we'll be supplying electricity in return for a noise. The materials that typically work with such an effect are quartz crystals or ceramics--materials that can deform or move and have electric charges within them.

The Buzzer Itself
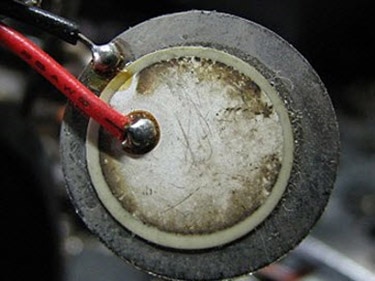
The buzzer will typically consist of a ceramic (or sometimes quartz disc) in between two electrodes, which supply the voltage.

This disc is usually very small--the size of a coin for most small applications like the average component used for electronics projects.

As an electronic voltage is applied, the disc will flex and move, creating an audible noise.

As you might notice from the diagram, the buzzer will flex up and down with different polarities. This is because piezo buzzers are designed to intake an AC current, which will switch the polarities rapidly and thus allow it to flex up and flex down.
Applying the Buzzer in Your Projects
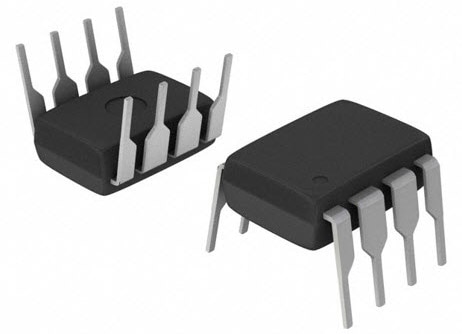
One way that you could overcome this limitation on a simple breadboard is to utilize a 555 timer IC as the primary oscillator and resistors/capacitors to modify the frequency. This allows the timer to generate a square wave and operate the piezo buzzer as if it were an AC power source.

You could also use an Arduino instead--which will in turn give you more control over the frequency and sound patterns. With the Arduino, you'll be able to utilize the tone() function to not only turn on the buzzer but also control the frequency.
For the buzzer, this control over the frequency will allow you to change the sound of said buzzer, as a higher frequency will result in a higher pitch and a lower frequency in a lower pitch. This can allow you to enable your buzzer to make a lot more sounds or even play songs!
In the video above, you can see a piezo song player that I made in IEEE at UCI's Open Project Space! We utilized the buzzer to make the sound and the Arduino to control the frequency. With an additional library that allowed us to attribute notes to frequencies, all we had to do was write in the notes for any song we'd like. Another cool feature is the potentiometer and the LED, which allows us to change the song and program multiple songs into the Arduino.
Wrap-Up
Overall, the piezo buzzer is a fascinating component and provides the functionality of sound to your project. The ability to change its frequency and control its sound just adds to the beauty of the piezo buzzer. They're used everywhere, and I know that I'll definitely be incorporating them into some nice musical greeting cards at some point!
If you're interested in the blog about piezo sensors--essentially the opposite--click here!

Have questions or comments? Continue the conversation on TechForum, DigiKey's online community and technical resource.
Visit TechForum


 中国
中国