Photoresistors: Opening a Path with Light!
2024-01-12 | By Antonio Velasco
Light detection can be an important component to include in a lot of projects--and there are a number of ways to incorporate it into whatever build you're working with. One such way is with photoresistors--not to be confused with photodiodes! We'll look more into this component and how it works.
What are Photoresistors?
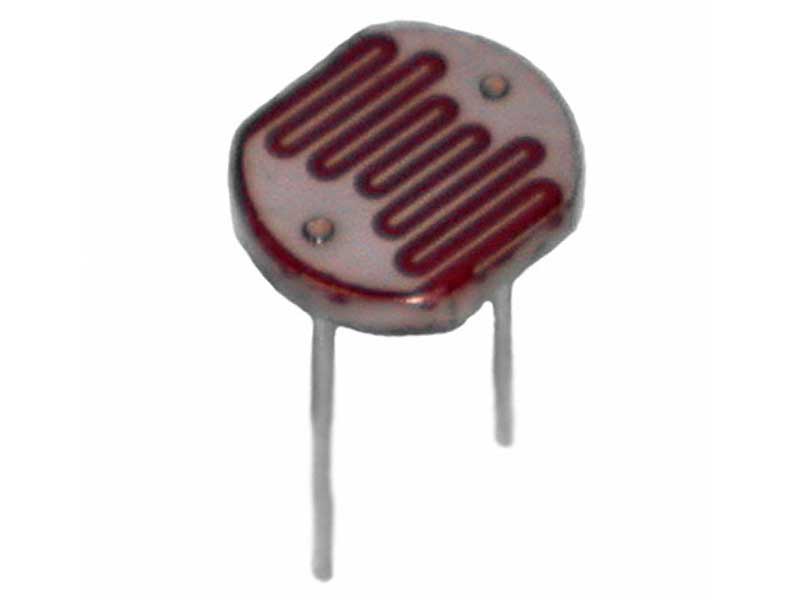
Put simply, photoresistors are just resistors that decrease their resistance with respect to light. The more light they are subjected to, the less resistance the photoresistor will exhibit. This variance makes it useful to detect both light levels and to vary your input/output with respect to such levels.

This effect will typically be a negative exponential curve, where the x-axis represents the light level, and the y-axis represents the resistance. You can see that it's quite a steep curve at the beginning.
Like other optoelectronic components, the symbol represents a simple resistor except with arrows pointing towards it to symbolize light going into it.

How Does It Work?
Now that we've established what it does, let's investigate how it works. Photoresistors utilize the concept of photoconductivity: essentially where the conductivity of a material changes when exposed to light. This is dissimilar to photodiodes, which we'll discuss more later, which produce a current based on the photoelectric effect. With photoconductivity, the materials you'll typically see are cadmium compounds.
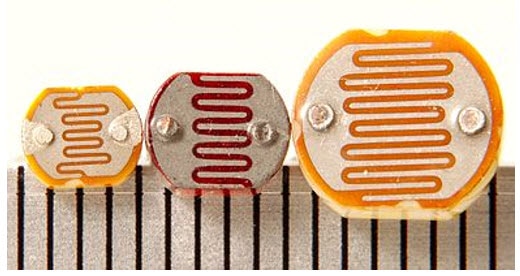
There's a similar aspect of looking at the band gap again though. Simply put, the band gap is the difference in energy levels between the conduction band and the valence band (where electrons remain in the dark environment). When photons (or light) hit the photoresistor, energy is transferred into the device, which thus moves electrons (which are originally in the valence band in darkness) to the conduction band. Now, being in the conduction band and excited, the conductivity of the material spikes. With more light and thus energy, more current is allowed to flow through. This also means that photoresistors can exhibit a range of resistance as well.
This semiconductor material is typically sandwiched between two electrodes, which facilitates the current that flows through said material. This whole process is not as instant as it seems, taking sometimes a second in delay. This means that if you need very quick light detection that depends on the very second, you might want to look into another solution.

Here's an example of a large sensor used for a streetlamp to turn it on and off!
Photoresistor vs Photodiode
As mentioned, photoresistors utilize a different scientific concept (photoconductivity) than photodiodes (photoelectric effect). The latter generates a current by itself, whereas the former requires a current to flow through it.
Comparing the two, if you need light detection with a very fast response time, maybe look into photodiodes as they tend to be faster than the slower photoresistor. However, when it comes to range, the photoresistor shines (haha, get it?), as it can detect a wider spectrum--sometimes including infrared light and not just visible light. Photodiodes tend to be picky and more selective.
You'll also see photoresistors more commonly in the consumer world, as their wide range makes them particularly useful. The (relatively) slow response time isn't an issue in these cases, as the second being lost doesn't have a huge impact.
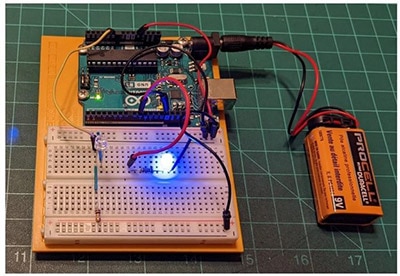
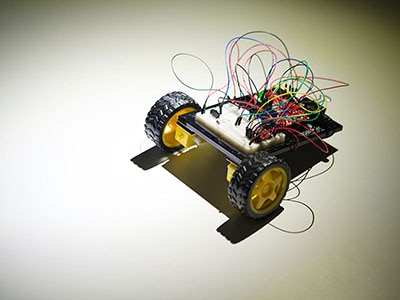
You could use both though, to produce a current signal and send it back to your Arduino. I personally did a project before in UC Irvine's Open Project Space that had us utilize a photoresistor to create a daylight detector.
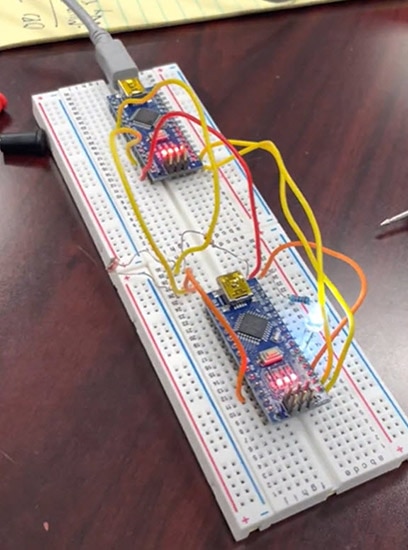

When I put my hand on the photoresistor, the light would turn off. Similarly, taking it off would turn the light on. It looks a little complicated (with 2 Arduinos and a ton of wiring), but that's just because the project involved us sending over values from one Arduino to another. The circuit is actually pretty simple: just a photoresistor, LED, and a couple of jumper wires with a power source should do the trick for you to try it out yourself. Make sure you pay attention to the resistance rating on your photoresistor to pick out the right one.
Wrap-Up
All-in-all, you can't go wrong with a photoresistor. You can apply it in a ton of different ways, and the variable resistance makes it optimal for analog input. They're used very commonly in today's world, and if you're working on a project with light, give it a chance!
If you're interested in other light/optoelectronic articles, check out the linked ones below!
Photodiodes: Light Meets Semiconductors
Harvesting the Sun: Photovoltaic Cells


