Exploring AI Vision Boards for DIY Electronics Projects
2024-03-12 | By bekathwia
Today, we’re taking a look at three different AI vision boards you can use to build cool camera projects. There are always new products coming out in this space, but here are some boards across the spectrum of complexity that should give you an idea of what to look for with your own projects.
All these modules are easy to use and come with sample code demonstrating key features like face, person, and object recognition. The way they work is that the program is trained with a labeled data set and compares the camera input to what it has learned from its training data. This is called Machine Learning.
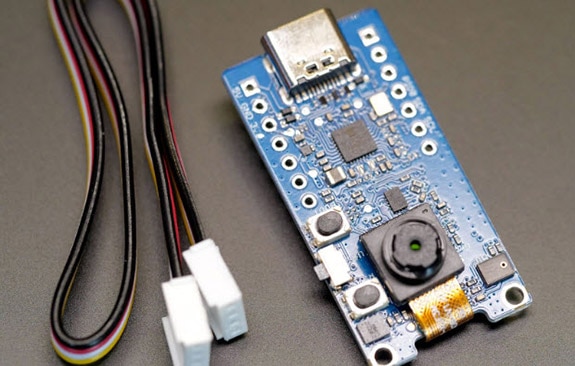
First up is the baby bear: the Grove Vision AI Module from Seeed Studio. It uses an OV2640 camera and has compatible connectors for the Grove ecosystem and the Xiao board format. It uses I2C to communicate so you can use a different type of Arduino-compatible board, too. It also has a microphone and a motion sensor on board and operates at five volts.
The way you can see what the camera sees is through a website that communicates with the board over serial. Safari and Firefox aren’t supported, instead, use Chrome. Plug in the board’s USB C connector and click the Connect button on the website.
All these ML/AI vision boards use trained models to make sense of what they see. For this board, there’s a GitHub repo where you can find a few prebuilt models, like for people detection. If you want to train your own model, you’ll need a dataset of images, with labels, that cover your subject in 360 degrees and in different lighting conditions. There are some publicly available datasets out there that can get you started, and Seeed has a detailed guide for training and deploying your model using a few free tools.
Basically, the way it works is that you show the model a bunch of faces, labeled as such, and a bunch of nonfaces, also labeled as such, and it uses that information to infer a classification of the new images coming in from the camera. In this example, you’ll get a position and a confidence score, or how sure the program is about what it's seeing.

Next up it’s the mama bear: the DFRobot HuskyLens, which operates at 3.3 to five volts. This one actually uses the same OV2640 camera as the previous board we looked at. It’s pretty easy to find replacements for these cameras that have a wider-angle lens or a longer cable, should you need it.
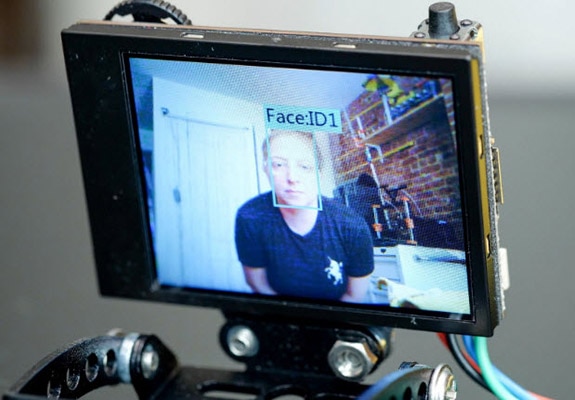
This device has a screen, so you can see what it sees right on board and interact with the menus. It comes preloaded with a bunch of pretrained recognition and tracking modes to choose from.
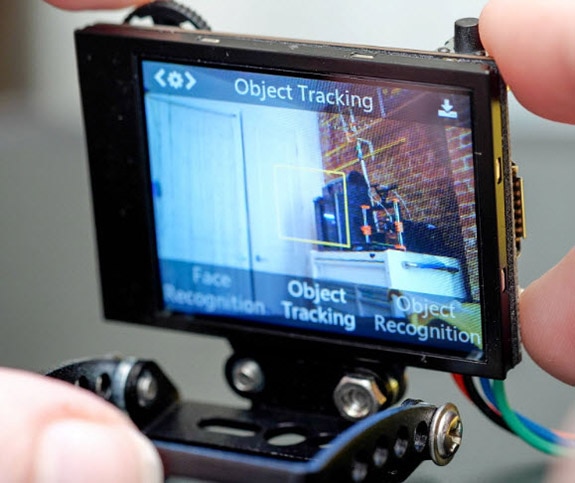
You can also use the device to record your own custom gestures and recognize when they are used. You can train it on specific faces, objects, and colors. This thing puts complex machine learning and training at the touch of a button. HuskyLens can be connected to most microcontrollers and single-board computers using UART or I2C to build anything you can think of, from interactive art installations to autonomous robots. This is a great option for total beginners because it’s the easiest module to use that I’ve tried so far.
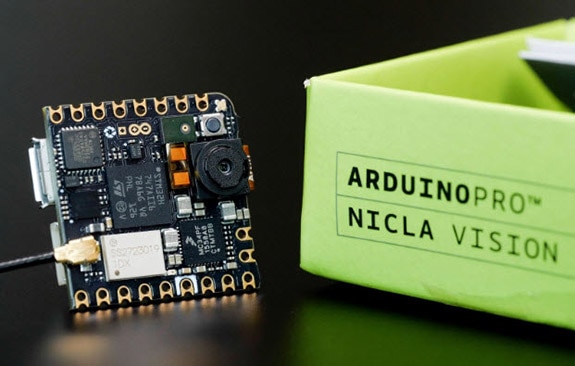
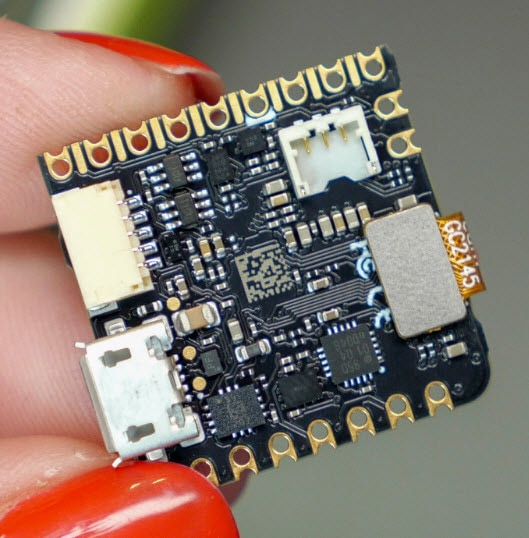
And finally, here’s the papa bear in functionality, even though its form factor is tiny: it’s the Arduino Nicla Vision. Unlike the other two boards we covered earlier, it’s an all-in-one device, meaning you don’t have to connect a separate microcontroller. It’s also got wireless on board, both wifi and Bluetooth low energy, a six-axis motion sensor, a microphone, a distance sensor, and circuitry to connect to and charge a lithium battery.
You can learn more about machine learning from Shawn Hymel, right here on DigiKey - he’s got a lot of in-depth videos on the topic.

Have questions or comments? Continue the conversation on TechForum, DigiKey's online community and technical resource.
Visit TechForum


 中国
中国