Leverage Over-the-Air Uploads with Arduino IoT Cloud
2022-04-20 | By Maker.io Staff
A recent article gave an overview of the Arduino Cloud services, the supported boards, and plans you can choose from. There, I used a USB cable to upload an IoT sketch to an Arduino Nano 33 IoT. However, that method might not be practical once you deploy your Arduino out in the field. Luckily, the Arduino IoT Cloud now offers an over-the-air (OTA) upload and sketch update function which you can use to roll out updates to connected IoT boards without having to connect them to a compatible computer.

Compatible Hardware and Prerequisites
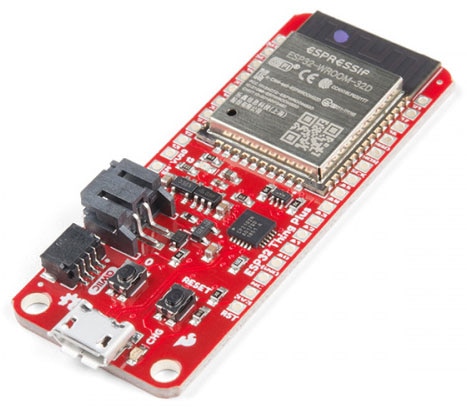
It’s important to note that the Arduino IoT Cloud OTA-update feature is not available for all connected Arduino-compatible boards. At this time, the function only works on seven official Arduino boards, namely the MKR WiFi 1010, Nano 33 IoT, RP2040 Connect, Portenta H7, UNO R4 WiFi, and Nicla Vision. In 2023, support was added for the popular ESP32, including the Arduino Nano ESP32 and at least ten other tested and verified ESP32 boards. ESP8266 development boards are currently not supported.
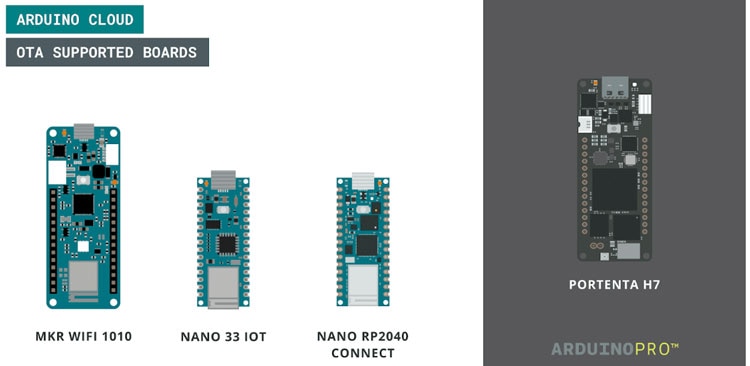 This image outlines the boards that were initially compatible with the OTA-update feature of the Arduino IoT cloud. More boards have been added since. Image courtesy of arduino.cc
In addition to buying a supported development board, you’ll also have to create an Arduino account in order to access the Arduino Cloud features. You can also log in to an existing account if you already have one. Next, you'll also need to choose one of the paid plans. The OTA update feature is not available in the free version of the Arduino IoT Cloud.
Creating a Simple Test Project and Uploading it to the Arduino
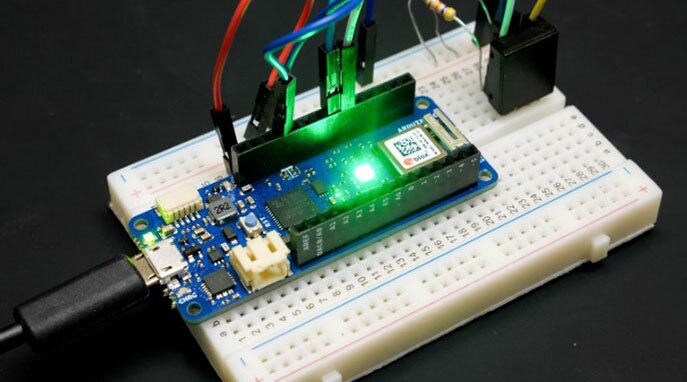
This section summarizes how to create a basic Arduino IoT Cloud. project, and it uses a few terms commonly used in the Arduino IoT Cloud. You can read this getting started guide if you find it difficult to follow the steps in this section.
Start by navigating to the Arduino Cloud website and signing into your Arduino account. Once done, create a new “thing” on the dashboard. While you could also use an existing cloud project, I recommend starting with a fresh thing to rule out any external problems. Name the thing whatever you like. Then, create a variable within the new thing. Set its type to boolean, select "Read & Write", and then set the update type to “On change.”
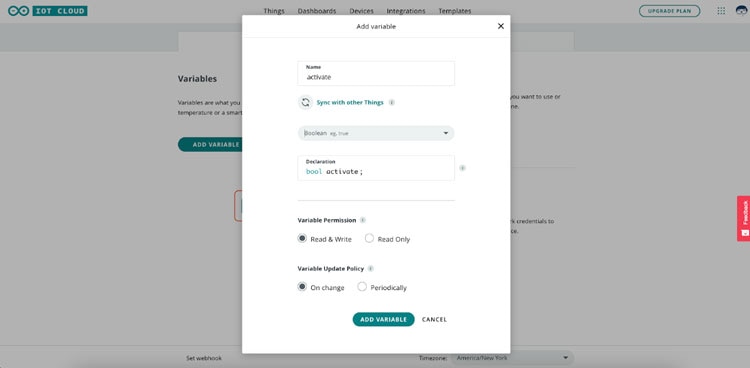 Create a new variable as shown in this image.
Next, link the device you want to use with your newly created thing. Make sure that you also enter valid network credentials on the thing’s overview page. Also, ensure that you update the Arduino’s NiNa module firmware to the most recent version. Otherwise, the board might not be able to establish a connection to the IoT Cloud service.
Then, navigate to the thing’s code editor and update the auto-generated sketch. Add some code that periodically updates the boolean variable you created earlier:
 Add a few lines of code to the loop method so that the Arduino periodically updates the linked boolean variable. Then, select the device from the drop-down list and hit the upload button.
Note that you’ll first have to upload an IoT Cloud sketch to the Arduino board using a conventional USB cable. Connect the board to your computer and select the correct device in the Arduino IoT Cloud sketch editor. Then, upload the code and navigate back to the dashboard of the web application. You should see that the dashboard now lists the device as online. If that’s not the case, check whether you need to update the NiNa firmware or whether you’ve incorrectly entered the network credentials.
Testing Over-the-Air Updates
At this point, you should have uploaded a simple sketch that periodically changes a boolean variable’s value. Unplug the Arduino board from your computer and use a different power supply to power the Arduino back on. Next, build a new dashboard in the Arduino IoT Cloud that contains a single LED component, and link it to the boolean variable you created earlier. You should see that the virtual LED on the dashboard blinks as the Arduino periodically updates the boolean variable.
Then head back to the sketch editor of the thing and change the update period so that you can later test whether the OTA update works as intended.
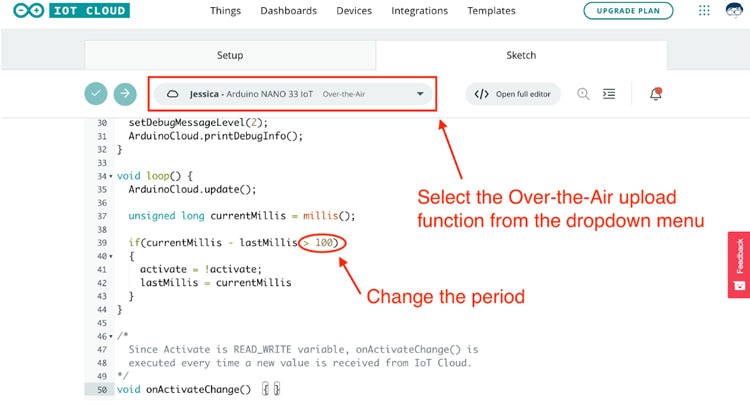 Make sure to select the OTA upload option from the drop-down menu in the sketch editor.
As you can see, the sketch editor now displays the OTA update option. Select that option and click the upload button. The web GUI then compiles the program and pushes the update to the Arduino. However, if you cannot select the OTA upload option, verify that the board can establish a connection to the Arduino Cloud dashboard and that you’ve updated the NiNa firmware on the device. Also, check whether you’re using the free plan of the Arduino IoT Cloud. Unfortunately, OTA uploads are only available for paid plans and the feature is not available in the free plan.
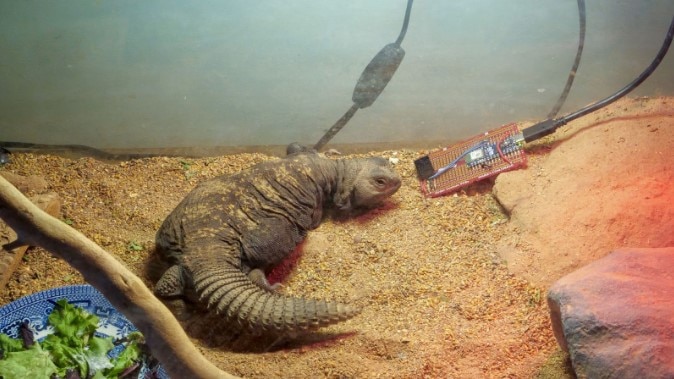 This image shows a sensor deployed in a lizard habitat, which is a good example of why OTA updates are convenient.
Conclusion
Over-the-air updates are crucial for ensuring that connected IoT applications can receive frequent feature and security updates as well as bug fixes. Using this feature, you won’t have to physically connect an Arduino board to a computer in order to upload a changed sketch. This approach is particularly useful when you’ve deployed the Arduino boards in areas that are difficult to access.
At this point, OTA updates are only available with the paid version of the Arduino IoT Cloud application. In addition, you’ll have to upload a Cloud IoT sketch to one of the supported boards before you can update that board using the OTA upload method.


