Connect to the Cloud in 10 Minutes Using the Renesas Synergy Platform
投稿人:DigiKey 北美编辑
2018-09-05
Embedded developers need to quickly and efficiently connect their devices to the cloud. Cloud connectivity conceptually sounds easy, but it requires many software stacks be integrated together to the point that developers could spend considerable time just getting their device to connect to the cloud, when they should be spending time on their end application.
Going further, it could be said that at this point in the development of the Internet of Things (IoT), adding cloud connectivity needs to be as easy as printing “Hello World!” out on a serial terminal. The trick to accomplishing this is to leverage existing solutions.
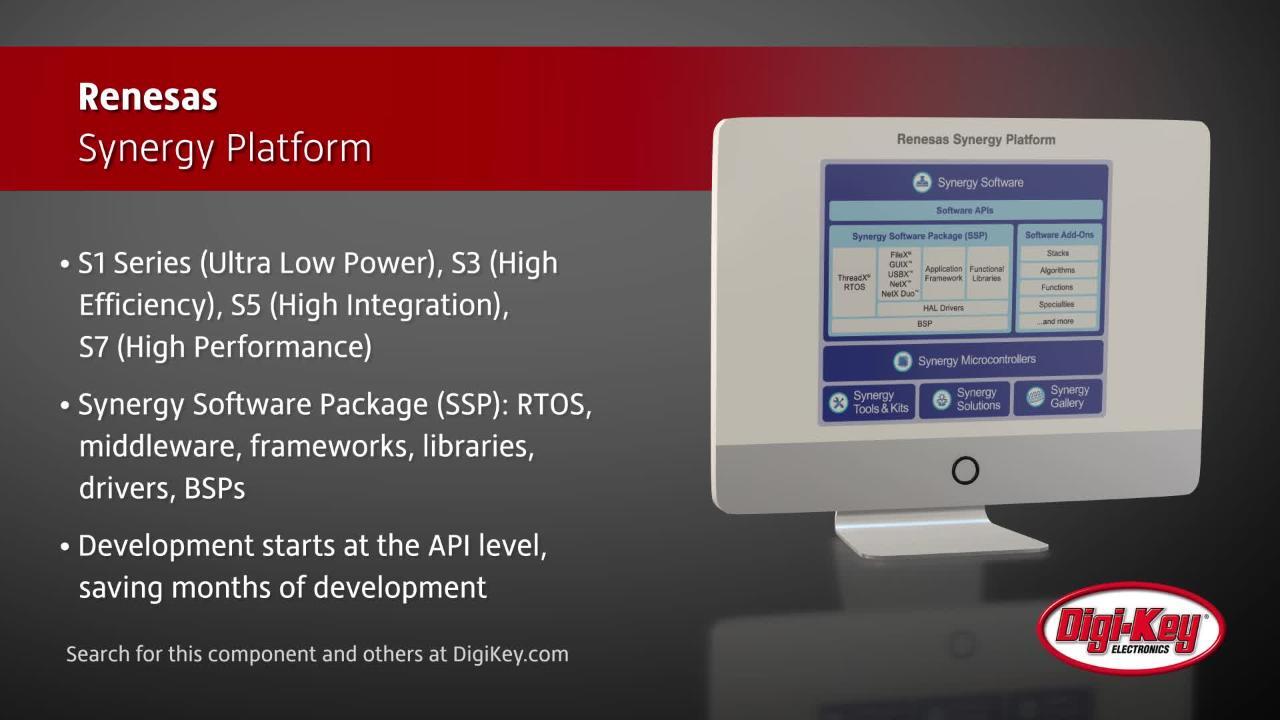
One new solution that is quite interesting is the Synergy Platform from Renesas and the software connectivity stacks that the platform offers. Renesas has built an example evaluation platform, the AE-Cloud1, which not only pulls together the necessary hardware components, but also tested software that runs right out of the box.
This article will show how developers can quickly and easily get an IoT device up and running with a connection to the cloud in ten minutes or less using the AE-Cloud1.
The complex connectivity software stack
A typical connectivity solution will require developers to write and integrate:
- Low-level drivers to control the hardware
- An operating system to manage system resources
- A TCP/IP stack along with any additional connectivity protocols
- An MQTT stack and necessary callback functions
- TLS to secure communications
- Initialization code to initiate and maintain a connection
- Application code to transmit and receive messages
This list doesn’t include other requirements such as device provisioning, secure key storage, and the handling or defining of the cloud policies. The AE-Cloud1 includes much of this already, making it a good starting point.
Introduction to the Renesas Synergy AE-Cloud1 evaluation board
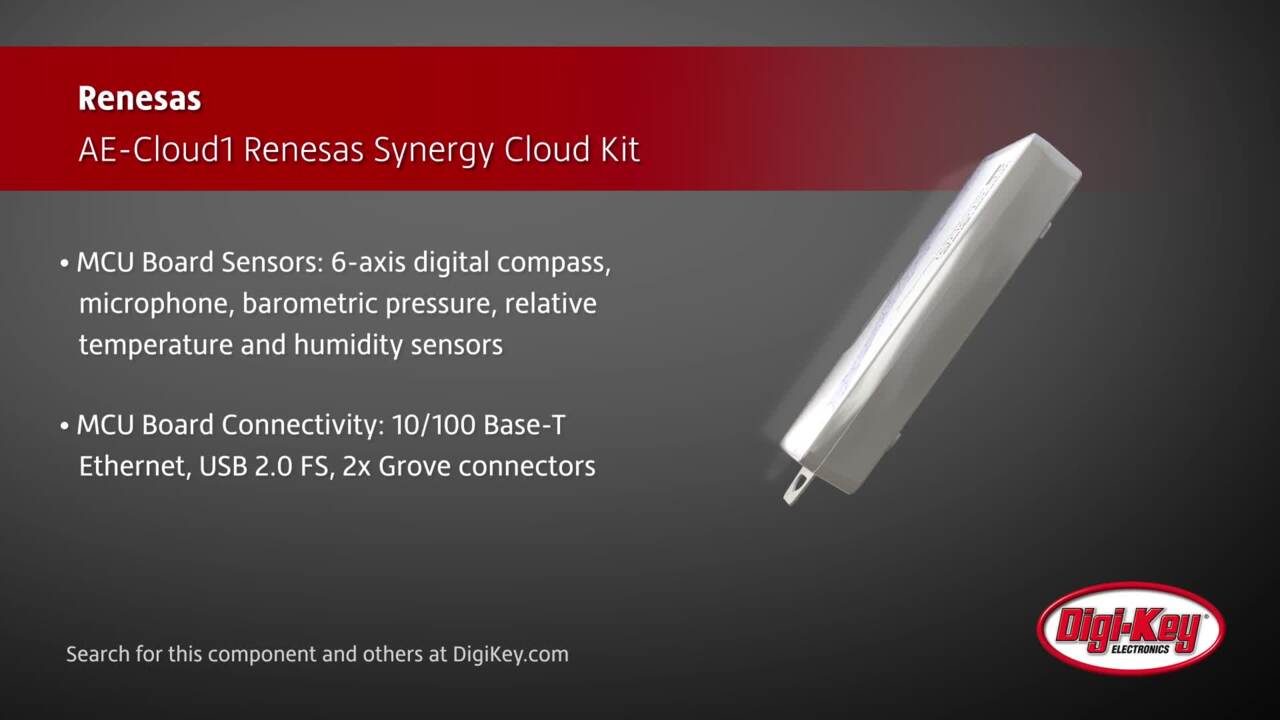
The AE-Cloud1 evaluation board comes with three major components (Figure 1). The first, is a SEGGER J-Link which is used to program an S5D9 microcontroller which is on the second component, the MCU board. The S5D9 is an Arm® Cortex®-M4 processor that runs at 120 MHz and contains 2 Mbytes program flash and 640 Kbytes of SRAM.

Figure 1: The AE-Cloud1 evaluation board is based on the Renesas S5D9 Arm Cortex-M4 microcontroller. The kit includes a GT202 Wi-Fi module that is easily configured through a serial terminal for the desired wireless network. (Image source: Renesas)
The MCU board doesn’t just contain the S5D9, but also several LEDs that can be controlled through the cloud and humidity and temperature sensors that broadcast their state. The final component included in the AE-Cloud1 is a GT202 Wi-Fi module which is used to connect to a local router and then to the cloud. The module is easily configured through a serial terminal for the desired wireless network.
Despite the AE-Cloud1 evaluation kit coming with everything needed to connect to the cloud, it’s possible to go further and purchase another GT202 Wi-Fi module and attach it to a YSPKS5D9E10 Synergy PK-S5D9 evaluation board. This provides access to all the prototyping pins and headers on the board, and makes it easier to customize.
However, this may require some extra effort to get up and running, so it may be wise to start with the AE-Cloud1 to evaluate the capabilities and become familiar with the platform before moving to a more customizable setup.
AE-Cloud1 hardware setup
The AE-Cloud1 hardware setup is straightforward (Figure 2). The GT202 Wi-Fi module connects to the MCU board through a PMOD connector. The connector is not keyed, so take care to locate pin 1 on both sides before connecting them. There is a single micro USB connector that is used to power the evaluation board. This also acts as a serial terminal to set up the Wi-Fi and enable the demonstration software.
The board comes programmed with the demonstration software already programmed. To run the software in debug mode, connect the USB cable to the J-Link and then attach the JTAG/SWD cable to the MCU board.

Figure 2: The Renesas AE-Cloud1 comes set up and ready to to connect to the cloud. (Image source: Renesas)
Running and configuring the AE-Cloud1 AWS demonstration
There are several steps to follow in order to connect to the cloud. These steps include:
- Power and run the demonstration
- Connect to the MCU board through a serial terminal
- Configure the GT202 to communicate with the local router
- Link the development board to the Synergy Enterprise Cloud Toolbox Dashboard
- Start the example demonstration application through the terminal
- Experiment with the MCU board to monitor the sensor values and control the LED states
The board already comes pre-programmed, so just attach the GT202 and connect the USB cable in order to start running the evaluation board. Then use a terminal program such as Realterm or PuTTy to access the enumerated COM port and connect with a 9600 baud rate. When the connection is successful, the command terminal comes up (Figure 3).

Figure 3: The AE-Cloud1 command terminal comes up after the board has been powered, initialized, and successfully connected. (Image source: Beningo Embedded Group)
To see all the commands that are accepted in the terminal, enter a question mark (?). A command listing will then be provided. Several commands that are important to the developer are:
boot – Provision the device (private/public key and certificate storage and start TLS session)
ktid – Gets the unique kit ID that is used to register the device
cwiz – Used to set the router and gateway information
turb – Starts a wind turbine example application that transmits and receives cloud data
At this point, use the ktid command and store that value in a safe location. Once the ktid is saved, enter cwiz and then walk through the Wi-Fi setup prompts. The setup will ask questions such as whether Ethernet or Wi-Fi is being used, the SSID, security type, and Wi-Fi password.
Once the kit is connected to the internet, it’s important to visit cloud.renesassynergy.com to sign up and register the evaluation kit using the unique kit ID. After registration, use the device management tab to configure the device and even add new devices (Figure 4).

Figure 4: The cloud dashboard shows the registered devices and provides device management, remote monitoring, and source code options. (Image source: Beningo Embedded Group)
Note that there is also a tab for remote monitoring to see the sensor data and control the LEDs, in addition to the development kit tab that has the user manual and source code.
Going to the remote monitoring tab to see what is happening with the device would be disappointing at this time. The reason is that the evaluation board is not yet running the turbine example that communicates with the cloud. To kick off the application and start communication between the IoT device and the cloud, go to the serial terminal, type “turb start” and then hit “Enter.” When the application starts, message data will start to be populated in the terminal as it’s transmitted to the Amazon Cloud Service (AWS), the cloud service used in this example (Figure 5).

Figure 5: Example sensor data that is being transmitted to AWS from the AE-Cloud1 development kit. (Image source: Beningo Embedded Group)
Now look in the Remote Monitoring tab on the cloud dashboard and note that as the board is moved around, the accelerometer sensor data for the x, y and z-axis change. Valid values for temperature and humidity are also displayed (Figure 6). It’s possible to control the IoT device by toggling the LED switches. It takes several seconds for the messages to traverse the Internet, but they will get there successfully.

Figure 6: The AE-Cloud1 sensor data is received by the cloud dashboard and displayed for the user. (Image source: Beningo Embedded Group)
Tips and tricks for connecting to the cloud
Here are several tips and tricks that will help simplify IoT device cloud connectivity:
- As mentioned earlier, leverage an existing platform and software stack that is robust to minimize cost and development schedule.
- Start with pre-compiled binaries to test out potential platforms and once successfully tested, examine the source code and start making modifications.
- When using the source build, setup and enable tracing to understand what the underlying platform and web connectivity stacks are doing.
- Don’t forget when migrating the cloud solution to your own server, you’ll need to setup your own AWS account and configure the device policies.
- If available, use the serial terminal not just for commands, but to monitor for potential issues such as connection errors.
Conclusion
Getting an embedded system connected to the cloud can be challenging for developers if they choose a DIY solution. The practical method to get up and running quickly is to leverage an existing solution such as the Renesas Synergy Platforms AE-Cloud1 evaluation board. The complete process to unbox, connect and provision the device literally takes 10 minutes.
When leveraging such a platform, a developer no longer needs to be concerned about the low-level software behavior and all the cogs in the wheel that help the system connect. Instead, they can get up and running with a few simple steps and then focus on their own product features and differentiation.
免责声明:各个作者和/或论坛参与者在本网站发表的观点、看法和意见不代表 DigiKey 的观点、看法和意见,也不代表 DigiKey 官方政策。