Documenting Your Electronics Projects
2023-09-26 | By bekathwia
Today I’m going to walk through how to document and share your electronics projects. A well-documented build does a couple of important things: it preserves the knowledge and experience you gained during the process, which then becomes useful to your future self as well as others in the maker community.
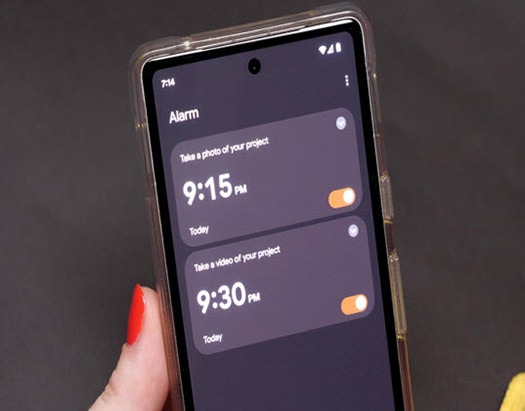
As you are getting started with your electronics project, commit to capturing videos and photos throughout the process. Set a reminder if you think you’ll forget.
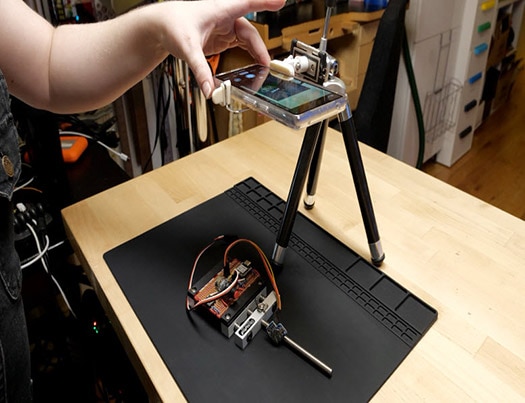
You can set up a camera to capture your desk while you work and either have it take photos to stitch into a timelapse or record video you can slice or speed up later, if you have the storage.

To help your audience focus on the key aspects of the project, avoid clutter by removing any unnecessary items from your desk before recording. This important step will make it easier to capture high-quality, easy-to-understand visuals to go with your project.
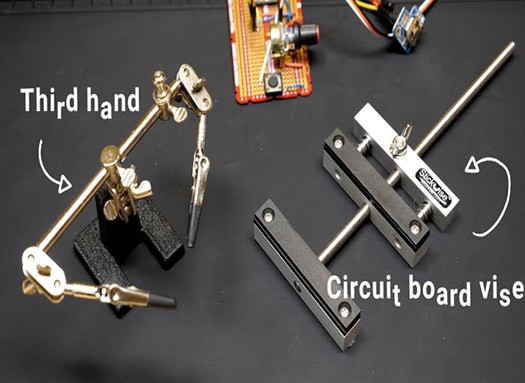
I like to use a work-holding tool to stabilize my circuit board so it’s easy to take consistent pictures during the process. Depending on what you’re working on, this could be a third-hand tool (also called a helping hand tool) or a circuit board vise, for example.
Documenting each step helps you remember the process so that when you are writing about it, you’ll have your memory jogged by the imagery. At least, that’s how it works for me.
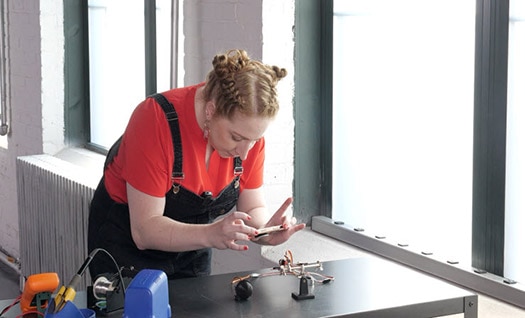
Don’t worry too much about the quality of your gear but do try to have plenty of light on your subject and try to make sure your subject is in focus. If possible, shoot near a window with ample daylight. Balance the shadows with a fill light of some kind. If you are a night owl, you’ll need more lights.
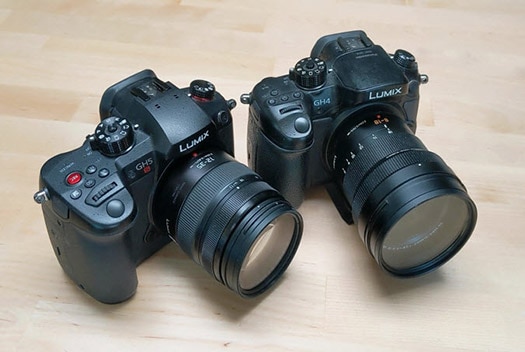
Start recording on whatever camera is available to you, even if that’s your phone. Experiment, take notes, and figure out what you like and don't like about the camera you're using. Do you switch up your projects in terms of size and context? A DSLR with interchangeable lenses might be up your alley.
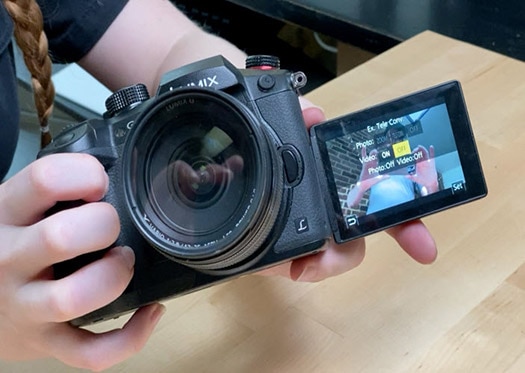
For instance, an important feature to me is an articulated screen, which lets me preview the shot I'm getting while I'm filming, and it allows me to shoot from different angles by angling the screen.
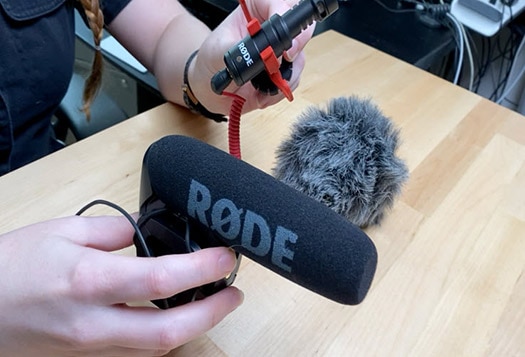
I also need a camera with audio input for hooking up an external microphone.
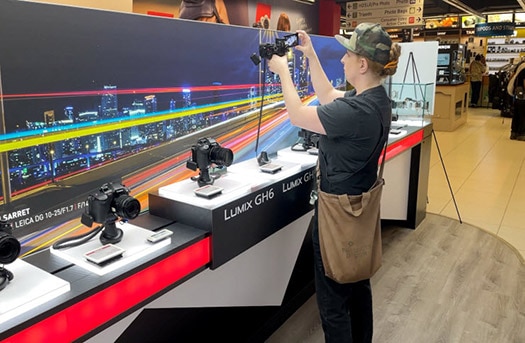
But your needs may differ. If you can, visit a store with a wide selection of cameras so you can test them out before making a decision.
You might even consider renting your prospective camera to try before you buy. A minor flaw in the design can cause major headaches down the line, like if you have to unscrew the tripod plate every time you need to change the battery. Always read product reviews before making a purchase online and make sure you can return the camera if it doesn't meet your expectations.

I like to edit my photos and videos in big batches after my project is almost complete and use the editing process to help me write the story that goes along with the project. Breaking it down into simple, concise steps will help others follow your instructions, and help you retrace your steps if you want to revisit this project in the future.
The software you use to fix up your files doesn’t matter that much– you’re just looking to crop photos to feature the subjects, and maybe do a little exposure adjustment.
These days there are plenty of free or inexpensive options for desktop and mobile photo and video editing software. Here are a few examples:

Write down every component used in your build. This is called the Bill of Materials, or BOM for short. Having an organized list of the components makes it easier for anyone to replicate your project or adapt it to their own needs. Your BOM should include quantities and links to where folks can learn more about and buy the components.
The same goes for the circuit diagram, list of tools, and any source files that go along with your project, including the code. Gather them up and organize them in a list.

With the visuals and other assets sorted out, it's time to write the steps someone needs to reproduce your project. Break down your project into simple, concise steps. This will help other follow your instructions. The goal is to make your project easily replicable. Think about what would make it easy for someone who has never done this type of project before. When in doubt, providing more detail is better than less detail.
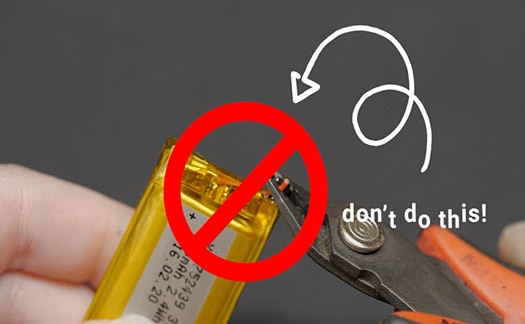
And if you made mistakes along the way, let your dear reader learn from them! Celebrating your mistakes as part of the learning process helps prevent others from making the same ones and provides a better understanding of the overall process.
Once you’ve got all the puzzle pieces of your project, it’s time to share it. If you don’t have your own website, or even if you do, there are several popular project-sharing platforms dedicated to the maker community where you can post your work, like these:
Some of these sites run contests where you can enter your project for prizes, in addition to the benefit of getting the community’s response to your project.
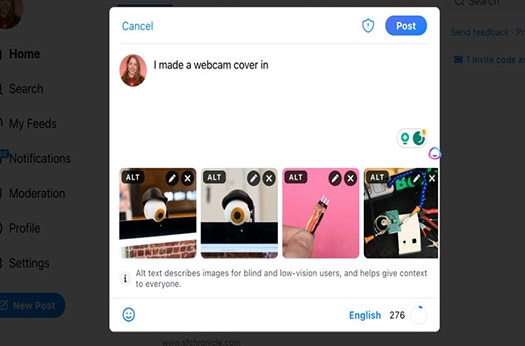
Once your project is up on the internet, share it with your networks. Post on social media and tell your friends what you’re up to. Send your project documentation to sites that write about the relevant topics. To make it as easy as possible for folks to share, provide a concise project summary and example social media text, as well as an image or link to an easily shareable video.
By following the steps, we just covered, you should be able to successfully document and share your electronics projects with the world. Remember, the more knowledge and experiences we share, the stronger and more creative our maker community becomes.
Have questions or comments? Continue the conversation on TechForum, DigiKey's online community and technical resource.


