Wireless Home Automation (Control and Monitoring)
2023-01-04 | By Hesam Moshiri
License: Attribution-NonCommercial-ShareAlike Humidity Temperature Arduino
Nowadays home automation is a trending topic among electronic enthusiasts and even the mass population. People are busy with their life challenges, so an electronic device should take care of the home instead! The majority of such devices need internet or Wi-Fi for connectivity, or they don’t offer a user-friendly GUI, but I decided to design a standalone wireless monitoring/controlling unit that can be adjusted using a graphical and touch-controlled LCD display.
The device consists of a panelboard and a mainboard that communicate using 315MHz (or 433MHz) ASK transceivers. The panel side is equipped with a high-quality 4.3” capacitive-touch Nextion Display. The user can monitor the live temperature values and define the action threshold (to activate/deactivate the heater or cooler), humidity (to activate/deactivate the humidifier or dehumidifier), and ambient light (to turn ON/OFF the lights). The mainboard is equipped with 4 Relays to activate/deactivate the aforementioned loads.
To design the schematic and PCB, I used Altium Designer 23. I used the Arduino IDE to write the MCU code, so it is pretty easy to follow and understand. Designing a GUI using the Nextion tools was a pleasant experience that I will certainly follow for similar projects in the future. So, let’s get started :-)
Specifications
Connectivity: Wireless ASK, 315MHz (or 433MHz)
Parameters: Temperature, Humidity, Ambient Light
Wireless Coverage: 100 to 200m (with Antennas)
Display: 4.3” Graphical, Capacitive-Touch
Input Voltage: 7.5 to 9V-DC (power adaptor connector)
Circuit Analysis
Figure 1 shows the schematic diagram of the panelboard. Figure 2 also shows the schematic diagram of the mainboard. I used Altium Designer to draw these two circuits.
Figure 1, Schematic diagram of the panelboard
Figure 2, Schematic diagram of the mainboard
1. Mainboard
The mainboard circuit consists of 5 main parts: the power supply, ASK transceivers, Sensors, Microcontroller, and Relay drivers.
1-1: Power Supply
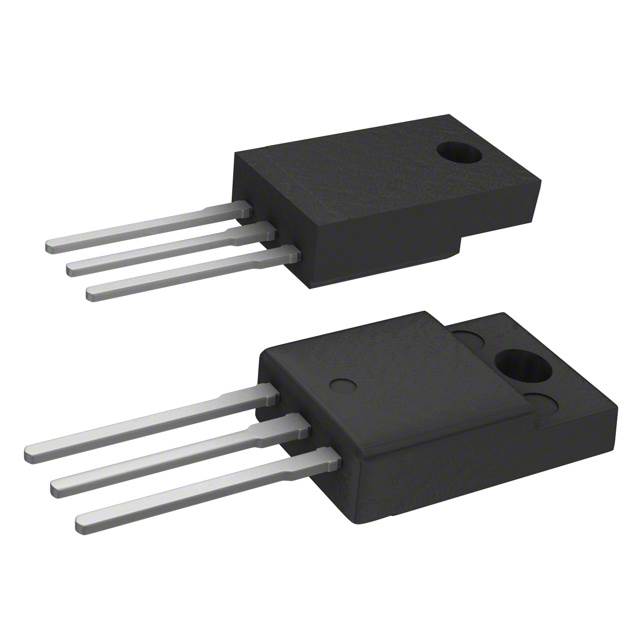
CON-1 is an input jack to connect an adaptor or a power supply to the board. The best input voltage is around 8V; however, you can use 9V adaptors as well. The current rating of the adaptor should be 1A, but make sure that it can deliver at least around 400mA continuously. FB1, C17, and C18 are used to reduce the input noise and spikes. REG2 is the famous 7805 regulator [1] to power the Relays. D1 is a bidirectional SMBJ5CA diode [2] to remove possible voltage spikes. C19 and C20 are used to reduce the output noise. R3, C14, and C15 build a low-pass RC filter to reduce the noise to REG1. REG1 is the SOT-89 78L05 regulator [3]. It supplies the IC1 and the ASK RF modules. C16 reduces the output noise of REG1.
1-2: ASK Transceivers
RE and TR represent the ASK receiver and transmitter modules. The frequency of the modules could be 315MHz or 433MHz, but the frequency of all modules (both the panelboard and the mainboard) must be identical. Figure 3 shows a picture of these ASK modules. C1, C2, C3, and C4 are decoupling capacitors for the module supplies.
Figure 3, ASK Transmitter and Receiver modules
1-3: Sensors
I used the SHTC3 module (SENS2) and the TEMT6000 module (SENS1) to measure the temperature, humidity, and ambient light intensity. SHTC3 module uses the I2C protocol to communicate with the microcontroller, however, the module itself has already implemented all necessary pull-up resistors, a 3.3V regulator, and decoupling capacitors inside the box. C7 and C8 are decoupling capacitors for the TEMT6000 supply. Figure 4 shows a picture of these modules.
Figure 4, TEMT6000 and SHTC3 modules
1-4: Microcontroller
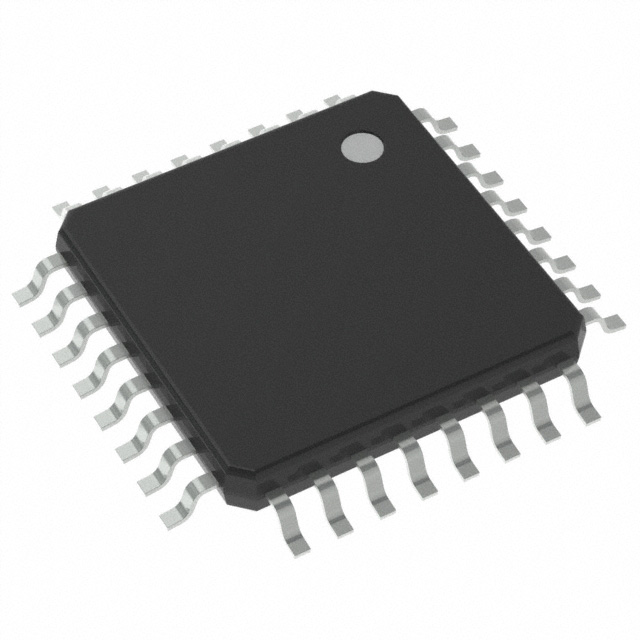
The heart of the circuit is the IC1 (ATMega328 microcontroller) [4], the same chip as the Arduino Nano. I used a 16MHz crystal for the clock source. C9 ... C13 are decoupling capacitors. The ISP is a 5-pin male pin header to connect an ISP programmer (such as the USBasp or similar) to burn the HEX file into the chip. R1 is a 10K pull-up resistor for the Reset pin, to avoid unwanted triggering of the Reset (active-low).
1-5: Relay Drivers
The Relay driver circuitry is identical for all 4 Relays, so I only explain one of them. Q1 is the Si2302 N-Channel Mosfet [5]. R6 is a pull-down resistor to prevent unwanted Gate triggering of Q1. D2 is a protecting diode against reverse currents of the Relay’s coil. C21 capacitor helps dampen the Relay’s coil ON/OFF spikes. D4 is a 0805 RED led to indicate the ON/OFF state of the Relay [6].
2. Panelboard
There is a high similarity between the circuit of the panelboard and the mainboard, the main difference is the Nextion display connector. The Nextion display uses the UART or Serial interface. C16 and C17 are decoupling capacitors.
3. PCB Layout
Figure 5 shows the PCB layout of the design. Both are two-layers PCB boards and the majority of the components are SMD. As well as the schematic, I also used Altium Designer [7] to draw the PCB layout. Figure 6 shows the assembly drawings.
Figure 5, PCB layout of the wireless home automation device (Altium)
Figure 6, Assembly drawings
4. Code
I used the Arduino IDE to write the code for both the panelboard and the mainboard microcontrollers. Below is the code of the mainboard.
You must install several external libraries to be able to modify and re-compile the code if you like. The first one is the Adafruit SHTC3 library [8], the second is the RadioHead Packet Radio library [9], the third is the TaskScheduler library [10], and the last one is the Easy Nextion library [11]. I have provided the complied HEX file for the panelboard [12] and the mainboard [13] as well. Below is the code for the panelboard.
4. Fuse Bits
As I mentioned earlier, you should use an external AVR ISP programmer (such as the cheap USBasp [14], official Atmel programmer, or whatever similar) to program the microcontroller of both the panelboard and the mainboard. That’s why I have provided an ISP interface for the boards. To compile the code, you should select Arduino Nano in the “board” selection menu. To generate the HEX file, you can press Ctrl Alt S.
Also, don’t forget to program the fuse bits. You should program the clock source to use an external high-frequency crystal oscillator (above 8MHz) and CKDIV8 should not be programmed (the clock should NOT be divided by 8). As a result, the fuse bits should be as follows: HIGH: 0xFF, Low: 0xFF, EXTENDED: 0xFF.
5. Nextion Display
As it is clear in the YouTube video, I used a 4.3” Nextion HMI Display, Intelligent Series (Model: NX4827P043-011C-Y) [15]. The TFT file is available for download [16]. You must copy-paste this file into a MicroSD card and upgrade the Flash memory of your Nextion Display. There are many tutorials about this, so I skip this step. Figure 7 shows a picture of this display.
Figure 7, 4.3” Nextion HMI Display, Intelligent Series
6. Assembly and Test
Figure 8 shows the assembled PCB boards and the Nextion display. The smallest component package size is 0805, you shouldn’t have any problem in soldering the components, however, if you have some difficulties to purchase the components or there is no time for hand soldering, you can order the boards assembled.
The GUI is user-friendly and easy to use, please watch the YouTube video completely to learn the adjustments.
Figure 8, A view of the assembled and operation of the boards and display
7. Shielded Cable for TEMT6000 Sensor
If you run the board in a noisy environment or if the sensor is more than 1 meter away from your board, I recommend you use a shielded cable to connect the TEMP6000 sensor to the board. Your shielded cable should have 3 inner wires and one outer shield. To follow the EMC rules, the shield is connected to the Ground at the mainboard side, but the shield should not be connected anywhere at the sensor side. If you also connect the shield to the Ground near the sensor, it creates a ground loop. Figure 9 shows this type of connection.
Figure 9, TEMT6000 shielded wire connection
8. Bill of Materials
Figure 10 and figure 11 show the bill of materials for the project.
Figure 10, Bill of materials of the mainboard
Figure 11, Bill of materials of the panelboard
7. References
[1]: L7805: https://www.digikey.com/en/products/detail/stmicroelectronics/L7805CP/585963
[2]: SMBJ5CA: https://octopart.com/rnd smbj5ca-rnd components-103950670?r=sp
[3]: 78L05: https://www.digikey.com/en/products/detail/texas-instruments/UA78L05CPK/656504
[4]: ATMega328: https://www.digikey.com/en/products/detail/microchip-technology/ATMEGA328PB-ANR/5638752
[5]: Si2302:https://www.digikey.com/en/products/detail/vishay-siliconix/SI2302CDS-T1-E3/2345137
[6]: LM1-5D: https://octopart.com/lm1-5d-rayex-53719411?r=sp
[7]: Altium Designer: https://www.altium.com/yt/myvanitar
[8]: Adafruit SHTC3: https://www.digikey.com/en/products/detail/adafruit-industries-llc/4636/12504001
[9]: RadioHead Packet Radio: http://www.airspayce.com/mikem/arduino/RadioHead/
[10]: TaskScheduler: https://github.com/arkhipenko/TaskScheduler
[11]: Easy Nextion: https://github.com/Seithan/EasyNextionLibrary
[12]: HEX file (PanelBoard): https://drive.google.com/file/d/1AEGvovvZIZ5yNiNJHPkdy8_8rUAmK4ac/view?usp=share_link
[13]: HEX file (MainBoard): https://drive.google.com/file/d/1LuS8Jv6xVSV1e6sairXMlE9ONt7EgDSN/view?usp=share_link
[14]: USBasp Programmer: https://www.fischl.de/usbasp/
[15]: Nextion Display:https://www.digikey.com/en/products/detail/seeed-technology-co-ltd/104990605/11201138
[16]: Nextion TFT File: https://drive.google.com/file/d/1NWkGv4OHpM4tbhi14wY2tCHhkZT-QGWA/view?usp=share_link

Have questions or comments? Continue the conversation on TechForum, DigiKey's online community and technical resource.
Visit TechForum


 中国
中国