How to Build a Photon MQTT Logger
2019-02-21 | By Maker.io Staff
License: See Original Project Switches Photon Raspberry Pi SBC
Previously, we learned how to use MQTT with the Raspberry Pi and how to use the Photon. In this project, we will combine what we have learned to create a Photon Data Logger that logs the state of a GPIO pin and submits it to a Python receiver via an MQTT broker.
BOM
- Photon - 1878-1000-ND
- Raspberry Pi - 1690-1000-ND
- Python with Paho-MQTT
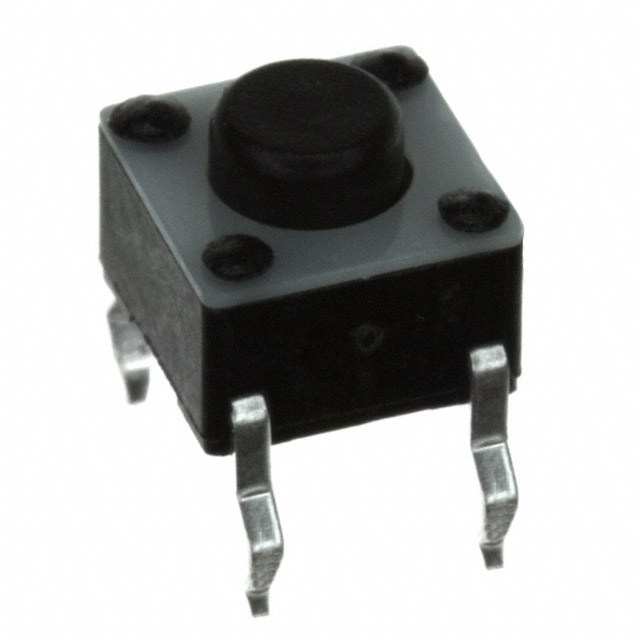
- Tactile switch - 450-1650-ND
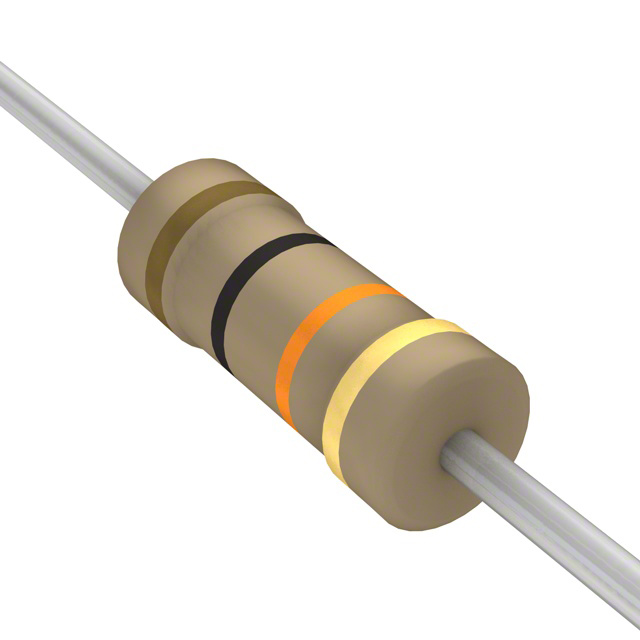
- 10K resistor - CF14JT10K0TR-ND
SchemeIt
How It Works: Photon
In this project, the Photon is programmed “over-the-air,” meaning we do not need a physical connection to update the firmware. Instead, we’ll send it the new firmware via an internet connection through the online IDE. This project will be making use of the MQTT library that provides easy-to-use functions for interacting with an MQTT broker.
The first step is to create a new project on the online IDE. Click the link below to get to the IDE. Make sure that you have a registered account with Particle, otherwise, you will not be able to use the online IDE.
https://build.particle.io/build/
When on the IDE create a new project by clicking the folder icon and then selecting “Create a New App”. From there, give your project a name and save it.
The next step requires that you include the MQTT library, which is done by clicking the library icon and then searching for MQTT. With the library selected, click the “Include In Project” button to include it in your project.
With the necessary libraries included, you will need to enter the following code and then flash your photon. The program starts by creating an MQTT client object and next defines the callback function. This function is called when the MQTT broker sends a message to our device, but since we are not receiving data, we do not need to handle any data sent to us. The setup function in the code connects us to the server and also configures D0 to be an input.
#include "MQTT.h"

// Create an MQTT client
MQTT client("test.mosquitto.org", 1883, callback);


// This is called when a message is received. However, we do not use this feature in
// this project so it will be left empty
void callback(char* topic, byte* payload, unsigned int length)
{
}


// Setup the Photon
void setup()
{
    // Connect to the server and call ourselves "photonDev"
    client.connect("photonDev");

    // Configure GPIO 0 to be an input
    pinMode(0, INPUT);
}


// Main loop
void loop()
{
    // Only try to send messages if we are connected
    if (client.isConnected())
    {

        // If the button is pressed it will be read as 0V since the button is
        // in an inverting configuation.

        if(digitalRead(0) == 0)
        {
            // Publish our message to the test server
            client.publish("photonLog", "Button has been pressed");
            delay(1000);
        }

        // CALL THIS at the end of your loop
        client.loop();
    }
}
The Python Program
The Python program used in this project is similar to the program that we made before when learning about MQTT on the Raspberry Pi.
import paho.mqtt.client as mqtt			# Import the MQTT library
import time					# The time library is useful for delays

# Our "on message" event
def messageFunction (client, userdata, message):
	topic = str(message.topic)
	message = str(message.payload.decode("utf-8"))
	print(topic + message)


ourClient = mqtt.Client("makerio_mqtt")		# Create a MQTT client object
ourClient.connect("test.mosquitto.org", 1883)	# Connect to the test MQTT broker
ourClient.subscribe("photonLog")			# Subscribe to the topic AC_unit
ourClient.on_message = messageFunction		# Attach the messageFunction to subscription
ourClient.loop_start()				# Start the MQTT client


# Main program loop
while(1):
	time.sleep(1)				# Sleep for a second
The first few lines include the needed libraries (time and the MQTT library). After the includes, the method “messageFunction” is defined and this function is called when a new message sent by the MQTT broker is received. This method will print the topic and data that has been received by the broker, but this function could be made to do just about anything with this data. Actions include configuring a UART device, sending a signal, or even performing a computer command.
The next few lines configure our MQTT client to connect to the MQTT broker, give it a unique ID, subscribe to the topic “photonLog”, assign the on_message handler, and the start the main MQTT loop. The last method is the main program loop that simply sits idle. As messages come in, the messageFunction is automatically called and handles the data.
Taking the data-logger further
This demonstration shows how the Photon can communicate with an MQTT broker and receive the data with a Raspberry Pi. However, the Photon can do more than just digital read. It can also read analog values, return the state of outputs, and even communicate with SPI and I2C devices. If a thermistor is used on an analog input, then temperature could be logged or if the DHT11 was connected to an input resulting in both the temperature and humidity being recorded. A small SPI OLED could then be hooked up to create a wall mounted temperature/humidity logger with a display.


 中国
中国