How to Permanently Store Data on an Arduino's Built-in EEPROM
2021-12-15 | By Maker.io Staff
Sometimes it would be helpful to save data on an Arduino even when it's switched off. This data could include usage statistics, the last selected item in an interactive menu, or the position and state of some actuator motors, for example. However, if you write these values to regular program variables stored in the RAM, the data will be lost once you disconnect your Arduino board from its power source.
But that doesn’t have to be the case. Some Arduino boards allow you to dynamically write a few bytes into a section of their non-volatile EEPROM so that the device can retain the data even when powered off.
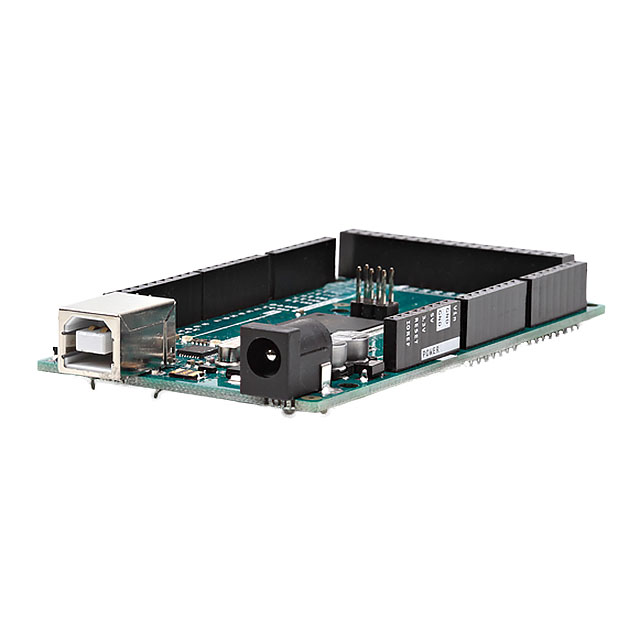
 The Arduino UNO comes with a built-in EEPROM with 1024 bytes of storage space. Source: https://pixabay.com/photos/arduino-electronics-1128227/
Supported Arduino Boards
Note that not all Arduino development boards support this technique. The following table outlines which MCUs allow you to store a few bytes in non-volatile memory:
Microcontroller/Usable EEPROM Space
The Arduino101 and Genuino101 range of boards come with an emulated EEPROM space of 1024 Bytes. Throughout this article, I’ll use an Arduino UNO to demonstrate how to write data to the EEPROM and read stored values in the EEPROM. At the heart of the Arduino UNO is an ATmega328P microcontroller, and so this Arduino development board comes with 1024 Bytes of usable EEPROM space for experiments.
What to Do If Your MCU / Arduino is Not on the List?
If you didn’t find your Arduino or microcontroller on the list above, you can still use an external EEPROM to store data permanently in your projects. For that, refer to one of the following two articles depending on the type of EEPROM you want to use:
How to use serial EEPROM for storing data
How to use parallel EEPROM for storing data
How to Write Data to the Arduino’s Built-in EEPROM
Luckily, the Arduino IDE already comes with a simple-to-use EEPROM library by default. The EEPROM library contains a few handy methods that make it very easy to store data in a compatible MCU’s EEPROM. In its simplest form, a write operation looks as follows:
EEPROM.write(ADDRESS, BYTE_VALUE);
The write method stores a supplied byte value at the given address. As an example, the following code stores a short string in the Arduino UNO’s EEPROM:
#include <EEPROM.h>

const unsigned int ADDRESS_OFFSET = 0x00;
const char *str = "Hello, World!";

void setup()
{
  Serial.begin(9600);
  Serial.println("Attempting to write to internal EEPROM...");

  for(int i = 0; i < strlen(str); i++)
  {
	byte byteAtCurrentStringPosition = (byte) str[i];
	EEPROM.write(ADDRESS_OFFSET + i, byteAtCurrentStringPosition);
  }
  EEPROM.write(ADDRESS_OFFSET + strlen(str) + 1, ‘\0’);

  Serial.println("Done!");
}

void loop()
{ }
As you can see, I want to store the data at position zero in the EEPROM, and the string I want to save is ‘Hello, World!’. The setup method initializes the serial monitor and then writes each character of the string to the EEPROM as a byte value. Note that strlen() doesn’t include the null-terminator at the end of the string. That’s why I had to make sure that the Arduino adds it to the end of the string after the loop. Either way, the setup function then lets the user know when it finished writing the data to the EEPROM.
 A close-up of the ATMega16 microcontroller on an Arduino board. Source: https://pixabay.com/photos/semiconductor-ic-integrated-circuit-5722982/
How to Read Data Stored in the Arduino’s Built-in EEPROM
Next, we need to read the previously stored data. The EEPROM library also supplies a handy function that you can use for that purpose:
byte valueAtAddress = EEPROM.read(address);
Calling the EEPROM.read()-function returns the currently stored byte value at the supplied address. The following example illustrates how you can restore the previously saved string:
#include <EEPROM.h>

void setup()
{
  Serial.begin(9600);
  Serial.println("Reading EEPROM data ...");

  for(int i = 0; i < EEPROM.length(); i++)
  {
	char charAtPosition = (char) EEPROM.read(i);

	if(charAtPosition == '\0')
  	break;
	else
  	Serial.print(charAtPosition);
  }

  Serial.println("");
  Serial.println("Done!");
}

void loop()
{ }
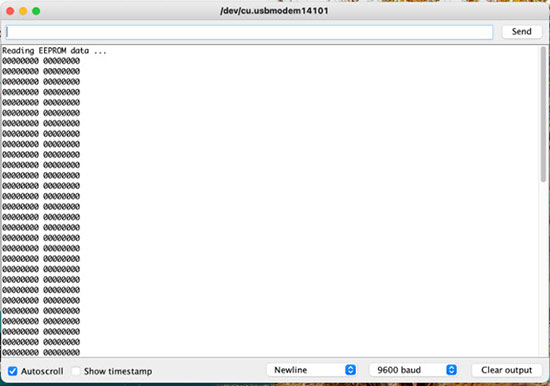
This code snippet reads each position of the EEPROM until it either reaches the end or finds an empty spot. You can use the EEPROM.length() function to request the MCU’s EEPROM size.
Delete the Contents of the EEPROM
You can delete the contents of the EEPROM with the help of the EEPROM.length() function. To delete all previously stored data, iterate over each address of the EEPROM and set every single bit to zero:
void erase(void)
{
	for (int i = 0; i < EEPROM.length(); i++)
    	EEPROM.write(i, 0);
}

Summary
Some Arduino boards come with a small persistent storage space that you can use in your custom projects. In that EEPROM region, you can store configuration values, user settings, and failsafe values to load when the Arduino comes back online. Luckily, accessing an Arduino’s internal EEPROM is a straightforward task. The Arduino IDE comes with a simple-to-use EEPROM library that comprises a few handy methods. Besides other things, the library allows you to write data to the EEPROM and recover stored information.
While the Arduino documentation doesn’t state an exact number, keep in mind that every EEPROM has a limited number of erase/write cycles before the chip breaks. Therefore, you should only write data to the EEPROM when necessary and not, for example, in every loop iteration. You can, however, read stored data in the EEPROM as often as you want.


 中国
中国