Generating True Analog Outputs When Using Arduino Boards
2022-06-22 | By Maker.io Staff
While reading analog input values using an Arduino is not a problem, the situation is different when you have to generate actual analog output signals using a microcontroller. Read on to learn why the standard analogWrite function is not what it might make you believe on most Arduino boards and what other options you have for generating proper analog signals using your favorite Arduino-compatible development board.
Understanding the Problem of Using analogWrite
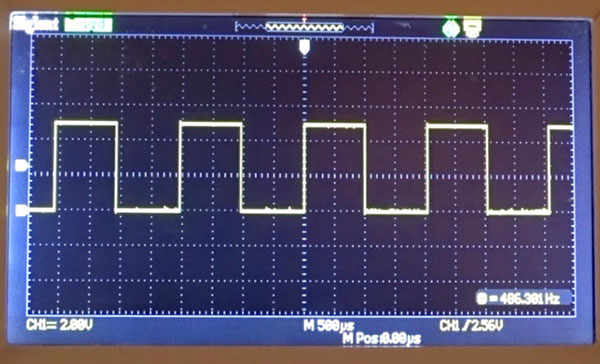
Unfortunately, generating actual analog outputs with most Arduino boards is not as simple as calling the analogWrite function. While some development boards (such as the Arduino Nano 33 IoT) come with onboard digital-to-analog converter (DAC) capabilities, most popular Arduinos (such as the UNO) don’t have one. As a result, calling the analogWrite function on a pin that doesn’t have proper analog output capabilities will lead to the Arduino generating a pulse-width-modulated digital signal. This PWM signal then has the duty cycle of the passed analog value. So, for example, if you want to output a value of 128 using the analogWrite function with a resolution of eight bits on a pin that doesn’t have proper analog output capabilities, the Arduino’s firmware will generate a PWM signal with a duty cycle of roughly 50% without you knowing.
 This image shows the digital PWM output signal generated by the analogWrite function on a standard Arduino UNO.
While that approach works perfectly fine for simple tasks such as dimming an LED or making a motor run slower, the pulse-width-modulated signals are no use for communicating with analog components, as these PWM signals are digital.
Overcome the Limitations of analogWrite by Using Specific Arduino Boards
As briefly mentioned, some Arduino boards have a built-in DAC converter that can take several bits and generate proper analog outputs. The following official Arduino boards support actual analog outputs:
- All Arduino MKR boards
- The Nano 33 IoT
- The entire Zero range
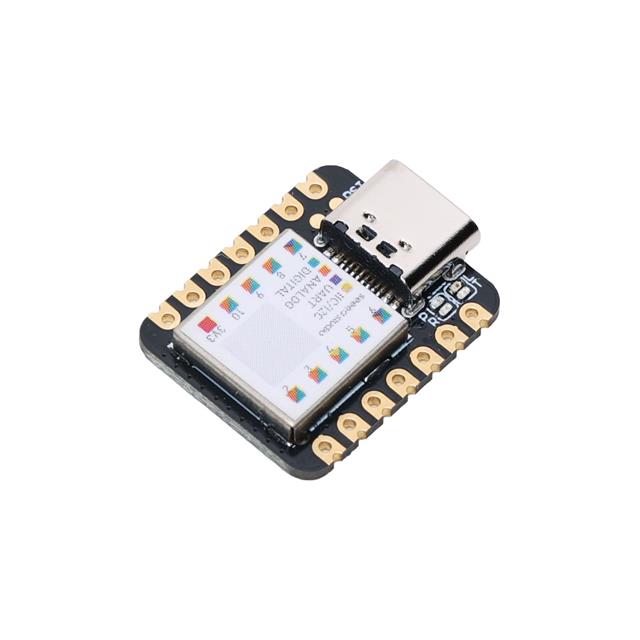
Therefore, the simplest way of adding actual analog outputs to a project is to use one of the supported Arduino development boards. However, there are numerous other Arduino-compatible devices, such as the Seeeduino XIAO, which also has a built-in DAC.
Dedicated Expansion Boards and Shields
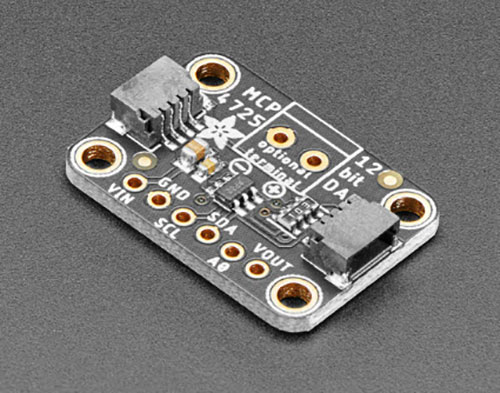
You can use an external DAC breakout module or Arduino shield if your project requires a specific Arduino that doesn’t have a built-in DAC. Many of these modules have a high resolution of around ten to twelve bits. However, to not use up all the digital I/O pins of an Arduino, these modules often use other communication methods, for example, I2C, to receive the bits using only a few digital communication lines. Such modules internally convert the transmitted value to a voltage that resembles the input value before generating a proper analog output signal. For example, the MCP4725 is a popular 12-bit DAC available in a convenient, small package.
 This image shows a small MCP4725-based DAC breakout board from Adafruit.
Building a Custom Digital-to-Analog Converter
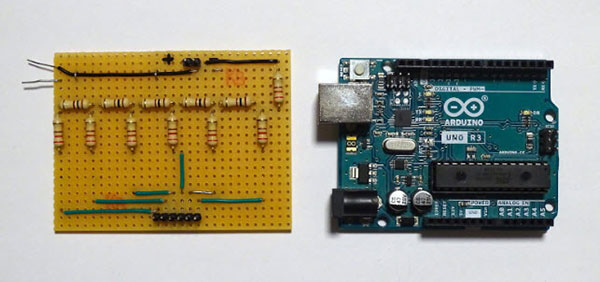
Finally, you can also design and build a custom DAC circuit for your Arduino project. This approach is perfect for more experienced makers and projects where cost-efficiency is more important than accuracy. Depending on the implementation, you can save a few dollars by implementing a simple DAC circuit, such as a standard R-2R resistor ladder. However, more elaborate solutions could also employ a dedicated DAC chip, for example, the MCP4725 mentioned above.
 This image shows a custom R-2R resistor ladder assembled on a piece of perfboard that matches the footprint of a standard Arduino UNO board.
Conclusion
You may likely never notice that the Arduino analogWrite function does not generate a proper analog output signal when called on many Arduino development boards. Instead, the firmware outputs a pulse-width-modulated digital signal so that the signal's duty cycle, on average, roughly matches the analog signal intended voltage. While this approach doesn't pose a problem for most simple applications (for example, dimming an LED), proper analog equipment will not function correctly with such a PWM signal.
You can choose from a few options when looking for ways to add actual analog output capabilities to your Arduino projects. The simplest method is to use an Arduino or any compatible development board that includes an onboard digital-to-analog converter (DAC). If that's not possible, you can employ an external DAC breakout module or shield. Lastly, building a custom DAC is an option, especially when the solution should be cost-effective, and accuracy is not of utmost importance.

Have questions or comments? Continue the conversation on TechForum, DigiKey's online community and technical resource.
Visit TechForum


 中国
中国