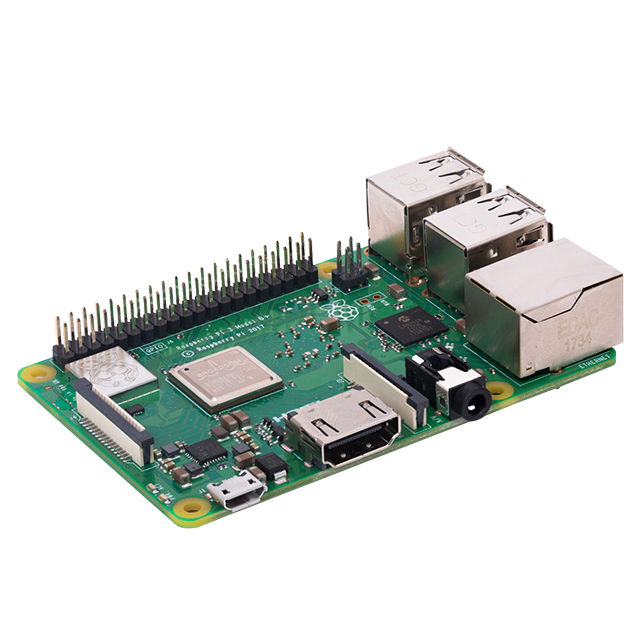
制造商零件编号 SC0022
SBC 1.2GHZ 4 CORE 1GB RAM
Raspberry Pi
In reference to our previous installment, we have used a Windows-based PC to run our Apache server, which hosts the website files and runs our PHP script up to this point. While this is incredibly useful for dashboard development, it is not entirely useful for the end application for several reasons. Firstly, the power requirements of even small Windows-based PCs can be large (a few hundred watts) and running an IoT dashboard server 24/7 can be costly. Secondly, running a small-scale IoT dashboard does not require a high-end system, so running it on a computer with decent specs is a waste of computing resources. Thirdly, even compact PCs are not very compact and require bulky power leads.
The Raspberry Pi is a small, single-board computer that is perfect for hosting web servers for these very reasons. The Pi only consumes a handful of watts of energy when running. Additionally, the Pi is a low-spec system that is capable of running a web server. Finally, the Raspberry Pi range of computers are incredibly small (being only slightly larger than a credit card), so they can be mounted in all kinds of places while only requiring a USB power port for power. So, in this tutorial, we will learn how to use a Raspberry Pi as an IoT webserver!

The first step is to power your Raspberry Pi, ensure that you are using the Raspbian OS, and ensure that it is connected to Wi-Fi, so it can be accessed over the local network. Once connected, you will need to access the Pi over secure shell; to do this, we will use Putty. In Putty, start a remote connection to the Pi using its IP address on port 22 and log in. The default login details for the Raspberry Pi are “pi” as the username and “raspberry” as the password.

The next step requires us to install Apache as well as PHP. Therefore, the first code to execute in the console is:
sudo apt-get update
This command will update the system and allow the Raspberry Pi to download the latest version of the software. Once this command completes, run the following command in the console:
sudo apt-get install apache2 -y
Once Apache has downloaded, the server automatically starts, and you can, at this point, test the website (however, PHP is not installed… yet!). To test the system, put the IP address of your Raspberry Pi into the browser search bar; you should be presented with the following page:

Once you have tested that Apache is, in fact, running, you will need to install the latest version of PHP. To do this, run the following command in the console:
sudo apt-get install php libapache2-mod-php -y
Now that the Apache software is running with PHP, it’s time to transfer our files to the website directory. By default, the Apache software uses the directory shown below as the default location for website files:
/var/www/html
This directory has one issue: you will only have read permissions and will not be able to write anything to this folder. Therefore, we need to take ownership of the file. To do this, you need to use the following command:
sudo chown pi:pi -R /var/www/html
Once ownership of the folder has been corrected, we can transfer our IoT Dashboard files into the directory. To do this, we use WinSCP, which allows us to drag and drop files onto the Raspberry Pi. The image below shows the website files on our local machine and the files now on the Raspberry Pi:

Now that the website is loaded and ready to be used, there is one minor change that needs to be made before it can work. The PHP code seen previously uses a function that is now depreciated and needs to be replaced. All instances of the function “split()” need to be replaced with “explode()” . If you don’t do this, the website will fail and not work properly!
If all goes well, you should be able to enter the Raspberry Pi’s IP address into your browser and be presented with the login page. Log into the site, and you should be able to use the site as normal!
Using the Raspberry Pi as a server has more advantages than using a typical computer. For one, the GPIO on the Raspberry Pi allows us to make a very customized server with hardware interfaces such as buttons, LEDs, displays, and much more. The server could run a Python program in the background that can access our site and change GPIO as needed, which could be used to show errors, display messages, or even act as a device in its own right and have controllable relays and LEDs! While this how-to looks at the Raspberry Pi 3, it is fully compatible with all Raspberry Pis including the Raspberry Pi 4. The advantage of using the Pi 4 is its increased RAM size, faster processor, and higher speed internet connection, making it more ideal for use as a web server. The dual screen port could also allow for making a monitoring station that could run a local site for admin reasons including real-time data usage, number of connections, and geolocation.