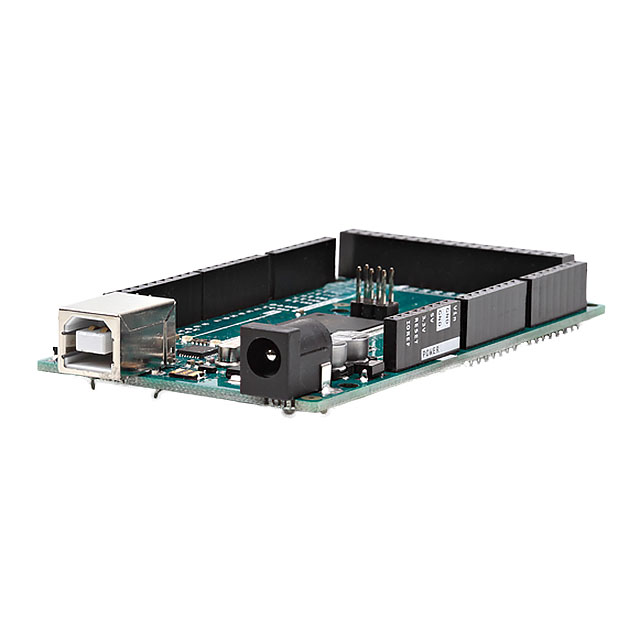
Use an Arduino to Read and Write Files from an SD card
2017-10-06 | By All About Circuits
License: See Original Project Arduino
In this project, you’ll learn how to use an SD card to store and retrieve information with your Arduino system.
Courtesy of All About Circuits
It’s worthwhile to learn how to store and retrieve information locally in some Arduino applications. This can be done with an SD (Secure Digital) card, which is a non-volatile memory card commonly used in mobile phones, tablet computers, digital cameras, handheld consoles, and GPS navigation devices. The smallest SD card available is the Micro SD, measuring at just 15x11x11 mm.
SD Card
For this project, we used an Ethernet shield with a micro SD slot on it. Note that other types of shields compatible with the different types of SD cards.
Micro SD cards have 8 pins, which can be seen in the figure above. Each pin has a specific function:
If you attempted to interface this SD card on your own, you would need to make sure all the pins of the SD card connected to the correct pins of your Arduino. Luckily, we used a commercially-available shield, so this was not a concern. We needed to declare the default chip select (CS) pin of the Arduino as OUTPUT, which was pin 53 on our Arduino MEGA. The CS pin is number 4 on the Ethernet shield. We specified this in the code in order to endure the SD card worked properly.
Experiment 1
In this experiment, we learned how to read a file from the SD card.
Hardware Required
- 1 x micro SD card
- 1 x Ethernet shield module
- 1 x Arduino Mega2560
Arduino MEGA with Ethernet shield installed
Code
To read from the SD card, we used the SD.h library. This code assumed that the file "ourfile.txt" was already written to the SD card.
                  #include

const int cs = 4;

void setup()
{
 Serial.begin(9600);


 Serial.print("Initializing card...");
 // make sure that the default chip select pin is declared OUTPUT

 pinMode(53, OUTPUT);

 // see if the card is present
 if (!SD.begin(cs))
 {
   Serial.println("Card failed to initialize, or not present");

   return;
 }
 Serial.println("card initialized.");

 // open the file named ourfile.txt

 File myfile = SD.open("ourfile.txt");

 // if the file is available, read the file
 if (myfile)
 {
   while (myfile.available())
   {
     Serial.write(myfile.read());
   }
   myfile.close();
 }
 // if the file cannot be opened give error report
 else {
   Serial.println("error opening the text file");
 }
}

void loop()
{
}
Experiment 2
In this experiment, we learned how to create a file, write it, and then read it from SD card.
Hardware Required
The same hardware from Experiment 1 is used.
Code
We used the SD.h library to write a file to the SD card and to read that file.
                  #include

File myfile;

void setup()
{

 Serial.begin(9600);

 Serial.print("Initializing card...");

 // declare default CS pin as OUTPUT
  pinMode(53, OUTPUT);

 if (!SD.begin(4)) {
   Serial.println("initialization of the SD card failed!");
   return;
 }
 Serial.println("initialization of the SDcard is done.");


 myfile = SD.open("textFile.txt", FILE_WRITE);


 if (myfile)
 {
   Serial.print("Writing to the text file...");
   myfile.println("Congratulations! You have successfully wrote on the text file.");

   myfile.close(); // close the file:
   Serial.println("done closing.");
 } else
 {
   // if the file didn't open, report an error:
   Serial.println("error opening the text file!");
 }

 // re-open the text file for reading:
 myfile = SD.open("textFile.txt");
 if (myfile)
 {
   Serial.println("textFile.txt:");

   // read all the text written on the file
   while (myfile.available())
   {
       Serial.write(myfile.read());
   }
   // close the file:
   myfile.close();
 } else
 {
     // if the file didn't open, report an error:
   Serial.println("error opening the text file!");
 }
}

void loop()
{
}

Have questions or comments? Continue the conversation on TechForum, DigiKey's online community and technical resource.
Visit TechForum


 中国
中国