


制造商零件编号 MSP-EXP430G2
LAUNCHPAD MSP430G2XX EVAL BRD
Texas Instruments
License: See Original Project Launchpad
Courtesy of All About Circuits
Remember this seeing commercials for The Clapper on TV? We're going to make our own clapper that can do more than just lights! In this project, you’ll learn how to make a sound activated switch that can be opened and closed with a double clap. The sound sensing device of this circuit is an electret microphone. The input coming from the microphone is converted into an analog signal by the preamplifier circuitry connected to said microphone. The LaunchPad’s internal ADC module reads and processes the analog signal. When the microphone detects the sound of a double clap, a relay is switched on or off over the relay driver circuitry. This way, the power for any gadget connected to the relay can be controlled. For our example application, we’ll be making a fan.
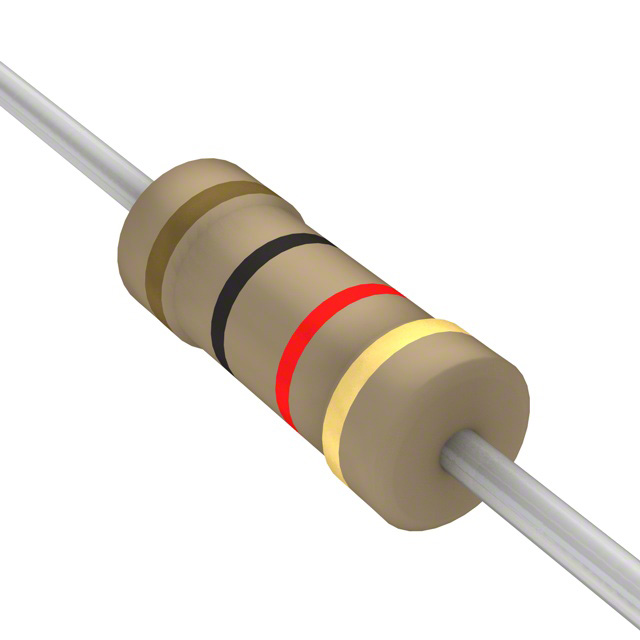
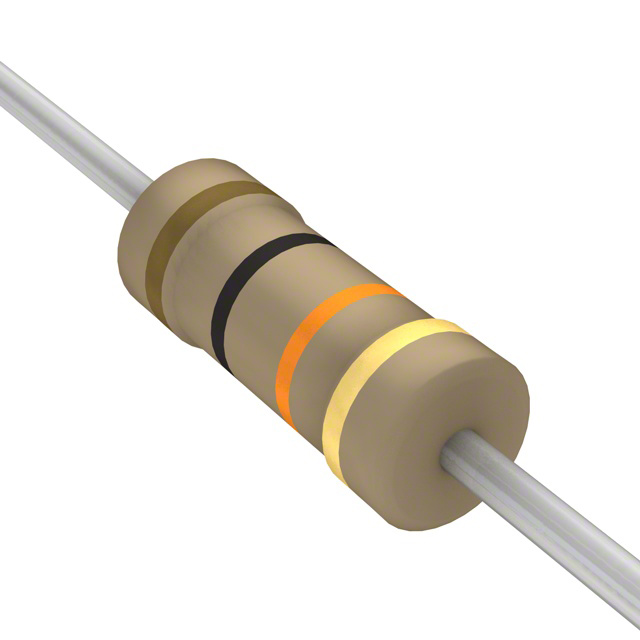
Part List
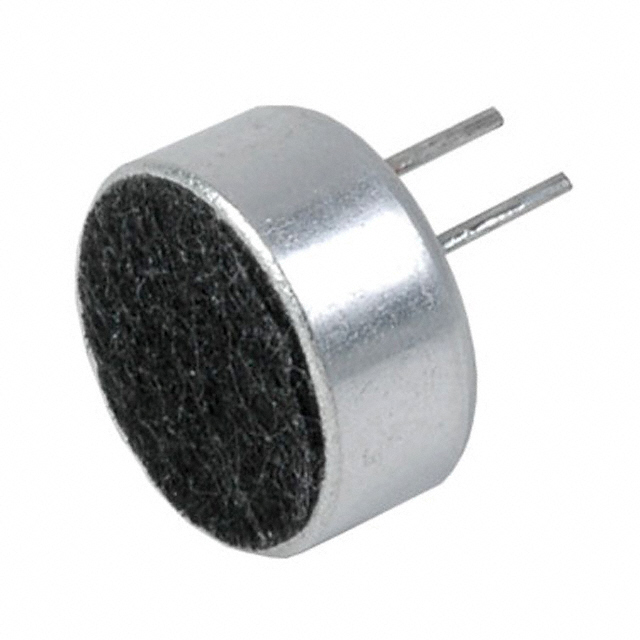
An electret microphone is a condenser (capacitor) based microphone that converts sound energy into electrical energy. It’s a low cost microphone that can be found in every laptop, cellphone, video camera, and loads of other devices. The electret microphone is the main component of the circuit and it is used as our sound sensor.
The electret microphone is connected to the preamplifier stage built around the Q1 transistor. The Q1 transistor amplifies the input signal that comes from the microphone. The amplified signal is applied to the LaunchPad’s A0 analog input. We can read this analog input and monitor the signal’s behavior during the claps using the sketch code below.
void setup()
{
Serial.begin(9600);
}

void loop()
{
 int sensorValue = analogRead(A0);
 // print out the value you read:
 Serial.println(sensorValue);
}
On the Energia IDE’s serial monitor, we can get the readings and create a graph in Excel. You can see what the audio signal looks like during the clap test below:
You can see that the audio signal’s DC offset is about 260 units. The peaks generated by the claps can go up to 500 units. The LaunchPad code’s main purpose is to detect these peaks and activate the relay when a double clap is sensed.
Just sensing two claps isn’t enough for the desired operation. The interval between claps is also important. In order to distinguish between two claps and a double clap, a timeout procedure is applied in the code and a clap will be discarded if it is not followed by another clap in 500ms.
In order to adjust the threshold level of the clap action that will be detected, we’ll use a tact switch. There are three different threshold levels that are depicted by a yellow LED’s brightness changing depending on the selected level. The LED will get brighter when the sensitivity gets higher.
When the software detects a double clap, it will toggle the P1.1 output. The P1.1 output drives a green LED and a relay through a relay driver. This green LED indicates the output status. The relay driver circuit based on the Q2 transistor is required because the output pin current rating of the LaunchPad is limited to 6mA and not capable of driving the relay coil. In order to to prevent the back EMF, a 1N4007 diode is placed between the coil terminals.
The Software
The software for the application is built in Energia IDE, you can find the code at the bottom of this article. The code includes comments to clarify each step.
You will see in the video below that the circuit doesn't respond to a single clap, but toggles its output when only a double clap is sensed.
unsigned long int timestamp;
int sensitivity=350;


void setup()
{
 // Set the pin modes
 pinMode(P1_1, OUTPUT);
 pinMode(P1_2, OUTPUT);
 pinMode(P1_3, INPUT_PULLUP);
 digitalWrite(P1_1, LOW);
 analogWrite(P1_2, 150);
}

void loop()
{
 // Detect the first clap sound
 if (analogRead(A0) > sensitivity) {

   delay(100);
   timestamp = millis();

   do {
     // Detect the second clap sound
     if (analogRead(A0) > sensitivity) {
       digitalWrite(P1_1, !digitalRead(P1_1));
       delay(100);
       break; // Second clap is detected, break the while loop
     }

   }

   //Discard the first clap if the second clap is not received in 500ms
   while(millis() < (timestamp   500));

 }

 // If the sensitivity buton is pressed, change the sensitivity level
 if (!digitalRead(P1_3)) {

   if (sensitivity == 400) {
     sensitivity = 350;
     analogWrite(P1_2, 150);
   }
   else if (sensitivity == 350) {
     sensitivity = 300;
     analogWrite(P1_2, 250);
   }
   else if (sensitivity == 300) {
     sensitivity = 400;
     analogWrite(P1_2, 50);
   }
   delay(500);
 }
}

Have questions or comments? Continue the conversation on TechForum, DigiKey's online community and technical resource.
Visit TechForum


 中国
中国