Create an Arduino Security Project using a PIR Sensor
2019-02-26 | By Maker.io Staff
License: See Original Project Arduino
BOM
This month we have learned about using PIR modules and the EasyVR 3.0 module with the Arduino Uno. In this project, we will construct a PIR guard that will protect our valuables from intruders. This project also uses speech recognition to disable the alarm.
BOM
- Arduino Uno - 1050-1024-ND
- EasyVR 3.0 Shield with Microphone - 1568-COM-15453-ND
- PIR Module - 1597-1182-ND
- Buzzer - 668-1470-ND
- 2N3904 Transistor - 2N3904FS-ND
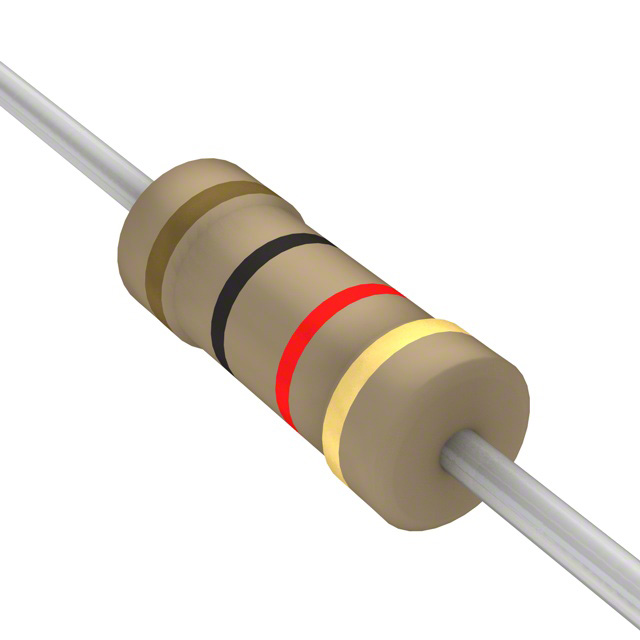
- 1K Resistor - CF14JT1K00CT-ND
- Breadboard - BKGS-400-ND
- USB B Cable - AE1462-ND
SchemeIt
The Plan
The basic idea is to have our valuable possessions kept in a designated area and these possessions could include money, car keys, and even vouchers for free coffee at our favorite cafes! The PIR sensor is mounted and faced towards these items in such a way that it can detect the presence of anyone nearby. The PIR module is connected to the Arduino Uno via a GPIO pin so the Arduino can detect the pulses from the PIR module when a detection has been made.
In the event of a detection, the Arduino Uno proceeds to turn on the buzzer to raise the alarm. The alarm can only be turned off with the use of the EasyVR shield, whereby the correct word needs to be said. But the alarm can also be disabled before the alarm is even triggered, so that authorized users can approach items and take what they need.
The Circuit
This project relies on the built-in regulator on the Arduino Uno which removes the need for power handling circuitry. This means our entire circuit is powered via a USB port which could be from a laptop, Raspberry Pi, computer, or even a USB charger! While some buzzers can be directly powered by GPIO from microcontrollers, it’s always best to use a driver circuit.
In this project, a simple 2N3904 general purpose NPN transistor is used as a driver, and in this case the driver is non-inverting. This means that if the Arduino needs to turn on the buzzer, it writes a logical “1” to the GPIO pin that controls the transistor. The PIR module does not require external components, such as resistors and capacitors, and is therefore directly connected to the Arduino.
The Code
The code that runs on the Arduino Uno is where the magic happens in this project. The code consists of two main functions as most Arduino projects do; setup() and loop(). The setup function performs several initiations, including the creation of a software serial port used by EasyVR, configuring GPIO, configuring the EasyVR shield, and playing a short series of beeps. The short series of beeps is used as a notification that the system is turning on and gives the PIR sensor time to reset.
The main loop of code simply informs the EasyVR shield to start listening to built-in words in group 1 which include the words Action, Move, Turn, Run, Look, Attack, Stop, and Hello (word 6, “Stop”, is the word that will be used to turn off the alarm).
While EasyVR looks for detected words the Arduino determines if the alarm should be sounded. This is determined with the use of a Boolean variable, alarmEnabled, which, if true, will execute the code that checks the PIR module for detected objects.
If alarmEnabled is false, then a small 3-second timeout is used to re-enable the alarm automatically and the output to the buzzer is also turned off. When the EasyVR has detected a word, the word ID is obtained from the module and if the ID is equal to 6 (“STOP”) then the alarmEnabled Boolean variable is set to false which prevents the alarm from sounding.
Arduino Uno Code
#include "Arduino.h"              // The standard Arduino library
#include "SoftwareSerial.h"       // Software serial needed to communicate with EasyVR
#include "EasyVR.h"               // EasyVR library

SoftwareSerial port(12, 13);      // Software serial port for using EasyVR
EasyVR easyvr(port);              // Assign the software serial to EasyVR

int8_t idx;                       // Word ID of recognised words
bool alarmEnabled;                 // Determines if the alarm should sound
int counter;                      // Used to determine the timeout for the disabled alarm

void setup()
{
  port.begin(9600);                           // Start the software serial to EasyVR

  easyvr.setTimeout(5);                       // Set timeout to 5 seconds
  easyvr.setLanguage(EasyVR::ENGLISH);        // Use English as the language

  pinMode(5, INPUT);                          // Input from PIR sensor
  pinMode(4, OUTPUT);                         // Output to buzzer
  digitalWrite(4, LOW);                       // Turn off buzzer

  // Make short beeps as a startup sound
  for(int i = 0; i < 10; i ++)
  {
    digitalWrite(4, HIGH);
    delay(80);
    digitalWrite(4, LOW);
    delay(300);
  }

  alarmEnabled = true;
  counter = 0;
}


void loop()
{
  // Recognise words from command group 1
  // 0 - Action
  // 1 - Move
  // 2 - Turn
  // 3 - Run
  // 4 - Look
  // 5 - Attack
  // 6 - Stop (we will use STOP as the word to turn off the alarm)
  // 7 - Hello
  easyvr.recognizeWord(1);

  // Wait until EasyVR has done detecting a word or timing out
  do
  {
    if(alarmEnabled   == false)
    {
      // Make sure the alarm is off and increment the
      // re-enable counter
      digitalWrite(4, LOW);
      delay(100);
      counter ++;

      // Re-enable the alarm after 3 seconds
      if(counter > 30)
      {
        counter = 0;
        alarmEnabled = true;
      }
    }
    else
    {
      // Turn on the alarm if PIR output is high (detected)
      if(digitalRead(5) == 1)
      {
        // Turn on the alarm
         digitalWrite(4, HIGH);
      }
    }
  }
  while (!easyvr.hasFinished());

  // Get the word that was said
  idx = easyvr.getWord();

  // If the word was "STOP" then disable the alarm
  if(idx == 6)
  {
    alarmEnabled = false;
  }
}

Have questions or comments? Continue the conversation on TechForum, DigiKey's online community and technical resource.
Visit TechForum


,TO-226_straightlead.jpg)


 中国
中国