Getting Started with Arduino Tian
2016-08-12 | By Maker.io Staff
The Arduino Tian by Arduino.org is an advanced evolution of the popular Linux development board Arduino Yun. The new Arduino Tian board is powered by Atmel’s SAMD21 MCU, featuring a 32-bit ARM Cortex M0+ and a Qualcomm Atheros AR9342, which is a highly integrated MIPS processor operating up to 533MHz and features an 802.11n 2.4 and 5GHz dual-band Wi-Fi module, IoT ready. The Tian also has the ability for users to switch off the Linux port from the MCU to reduce power and also use the board as a standalone device.
Arduino Tian Vs Arduino Yun
The main differences between the two boards are:
- The Arduino Tian uses the ARM Microcontroller (SAMD21G18) whilst the Arduino Yun uses the traditional AVR Microcontroller ATmega 32u4
- The MIPS are also different with the Tian mounts the Atheros AR9342 to 560MHz and the Arduino Yun uses the Atheros AR9331 to 400MHz
- The Arduino Tian has on-board Bluetooth 4.0 technology and it also has 4GB eMMC memory, which considerably improves stability over standard SD
- In addition the Tian has a dual-band 802.11n 2.4 and 5GHz
Technical Specs

Tian Microprocessor
|
Processor |
Atheros AR9342 |
|
Architechture |
MIPS |
|
Operating Voltage |
3.3V |
|
Flash Memory |
16MB + 4GB eMMC |
|
RAM |
64MB DDR2 |
|
Clock Speed |
560MHz |
|
WiFI |
802.11 b/g/n 2.4/5 GHz dual-band |
|
Ethernet |
10/100/1000 Mbit/s |
|
USB |
2.0 Host Port |
Tian Microcontroller
|
Microcontroller |
SAMD21G18 |
|
Architecture |
ARM Cortex-M0+ |
|
Operating Voltage |
3.3V |
|
Flash Memory |
256 KB |
|
SRAM |
32 KB |
|
Clock Speed |
48 MHz |
|
Analog I/O Pins |
6 |
|
Current per I/O Pin |
7mA |
General Specs
|
Input Voltage |
5V |
|
Digital I/O |
20 |
|
PWM Output |
12 |
|
Power Consumption |
470 mA |
|
Bluetooth |
Bluetooth BLE 4.0 |
The Arduino Tian can be powered via the micro USB connection or with an external power supply. When the board is powered up the Arduino Tian will automatically detect which power input is used. You can power the board by using a DC adapter rated at 5V 600mA or using the Vin and GND pins directly on the Tian headers. The recommended method of supplying power to any Microcontroller board is always using a rated DC adapter for reliability and power stability.
In terms of the I/O pins, it is not possible for users to access any of the pins directly on the Atheros AR9342 as all the I/O pins are used on the SAMD21. The Atheros is connected to a USB hub chip which connects the Bluetooth, eMMC, SAMD21 and the USB host port.
Each of the 20 digital I/O pins can be used as either an input or output pin using the common Arduino functions; pinMode(), digitalWrite() and digitalRead(). These digital pins operate using 3.3V as opposed to the common 5V systems, and also provides 40mA with an internal pull-up resistor of 20-50K.
Of course there are the usual specialized features:
- Serial: 0 (Rx) and 1 (Tx) which are used to receive and transmit serial data using the SAMD21 hardware serial (USB). Don’t forget that the hardware serial between the SMD21 and Atheros are used to communicate between the two processors.
- TWI: SDA and SCL support TWI communication using the Arduino Wire library
- External Interrupts: 0 and 1 are used to trigger an interrupt, detecting a pin change
- Linux MIPS ON/OFF: Yes, it is possible to switch off the Linux part of the board allowing just the Microcontroller to be used significantly reducing the power consumption overall
- SPI: This is only provided on the ICSP header on the board and is supported using the SPI library. NOTE: Only shields that feature the 6-pin ICSP header will work with the Tian board
- LED 13: This is the built-in LED as found on every Arduino board and can be programmable.
- Analog Inputs: A0 – A11, each analog input provides 10-bit resolution (1024 values). The Analog pins will measure from 0 – 5V although it is possible to change this using the AREF pin.
There are also three different reset pins which each have a different function: MCU-RST to reset the SAMD21, LNX-RST to reboot the AR9342 and WLAN-RST to reset the WiFI (7-10 seconds) and default configuration. You can also reset the board using software, which is a nice new feature.
ArduinoOS/LininoOS
The LininoOS is based on the OpenWRT distribution which includes over 3000 packages built. The LininoOS provides a fully writable Linux file system with package management for expansion. LininoOS features many innovations for the Arduino Tian:
- LininoIO is a software framework able to integrate microcontroller features inside the microprocessor environment. You can simply write your application using Node.js, Python, Bash, etc., on linux side using LininoOS to control completely the board and all the devices attached.
- Node.js with Ideino Node.js is a platform built on Chrome's JavaScript runtime for easily building fast, scalable network applications. Node.js uses an event-driven, non-blocking I/O model that makes it lightweight and efficient, perfect for data-intensive real-time applications that run across distributed devices. Ideino is an embedded editor to write and debug your node.js application.
- All Joyn supported, which is an open source project which provides a universal software framework and core set of system services that enable interoperability among connected products and software applications to create dynamic proximal networks.
Getting Started
The first thing you will need to do is install the drivers for the board. There are two ways in which you can accomplish this; either through the Arduino IDE or directly from the following URL https://www.silabs.com/products/mcu/Pages/USBtoUARTBridgeVCPDrivers.aspx.

Follow the on-screen instructions to install the USB drivers
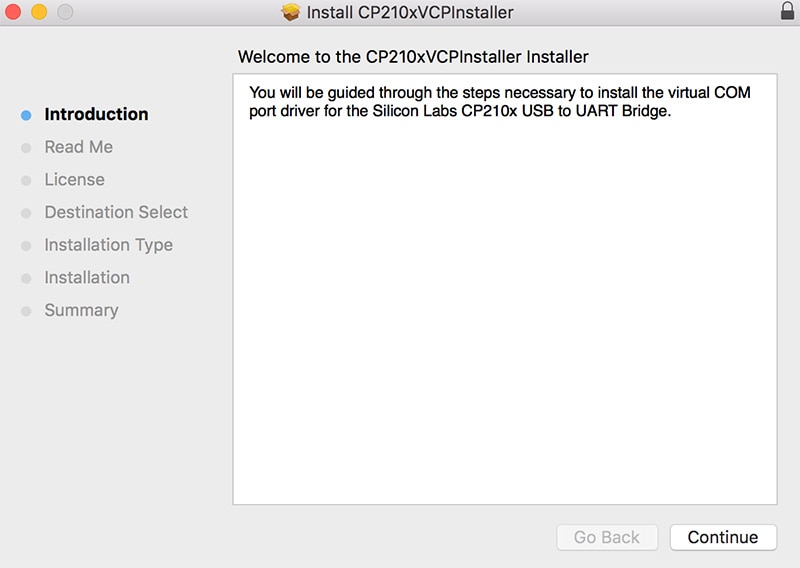
Once completed, plug-in your board to your computer. The board will continue to boot up for about 20 seconds. Open up your computer's WiFI and you should see an access point labelled “Arduino-Tian-xxxxxxxxx”.

Note: You can reset the WiFi credentials by holding down the WLAN-RST button for over 5 seconds and then resetting the board itself.
You can now connect your computer to the boards WiFi access point. Open up your web browser and navigate to the following URL http://arduino.local/, after a few moments a web page will load up asking for a password.
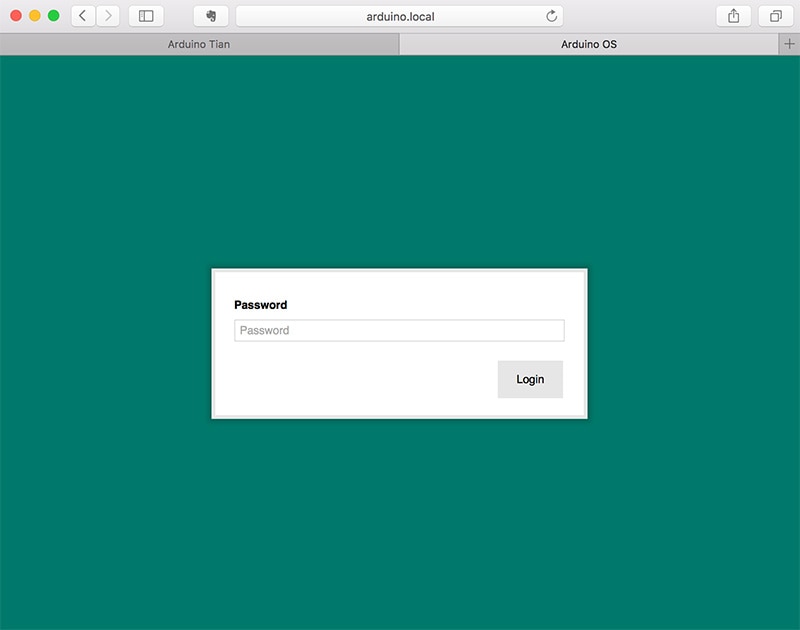
Enter the default password: arduino
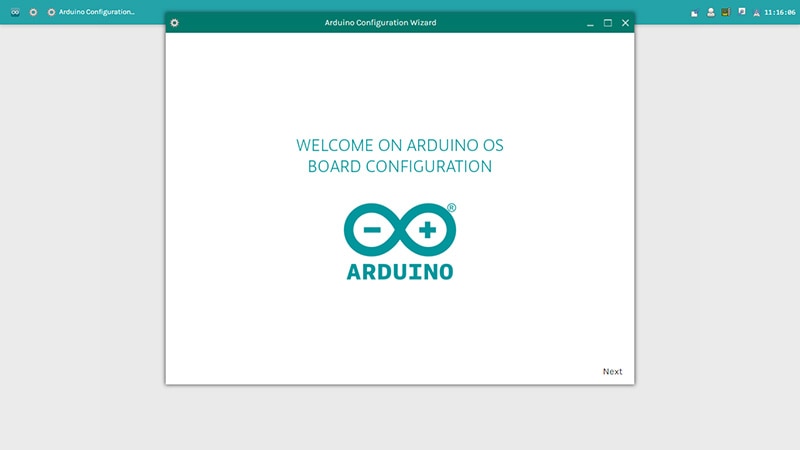
Now, you are in the Arduino OS and It will start a configuration wizard to help you configure the board step-by-step.
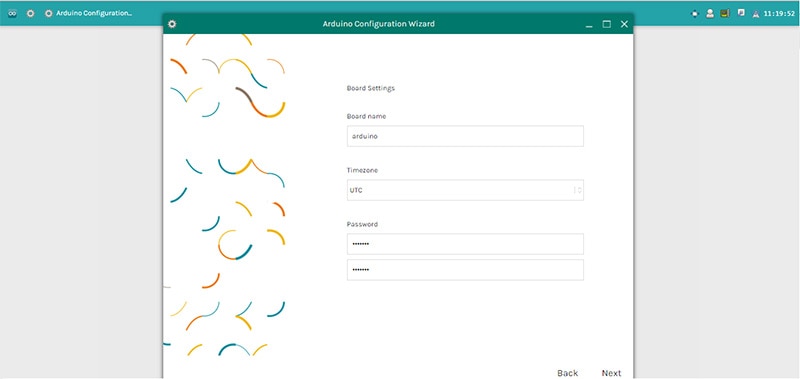
Give a unique name, choose your Password (8 or more characters) and select your Timezone/country. It is recommended to set these options as it may help connecting to local WiFi networks. Setting the local timezone also selects the country's regulatory domain. If you leave this field blank, the system retains the default arduino password.
When you finish then click on Next.
Select your Wireless Network and type the network password. Click Next to continue the configuration.

You will see toggles for changing the access of Reset API, 1 ON - 0 OFF.

REST is an acronym for "Representational State Transfer". It is a software architecture that exposes various parts of the Arduino hardware through URLs. By default, the REST API access is password protected. It is possible to change this to access the services without a password, clicking on Open.

After that you have completed click “Save”.

Wait the end operation.
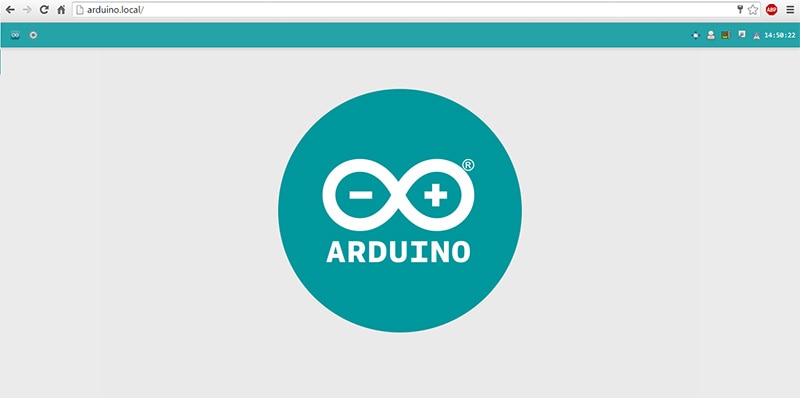
Now connect your PC to the same network of Tian and access to your board typing the hostname.local/ or IP address on the bar. If you can reach your board then you have correctly configured it:
Uploading Sketches OTA
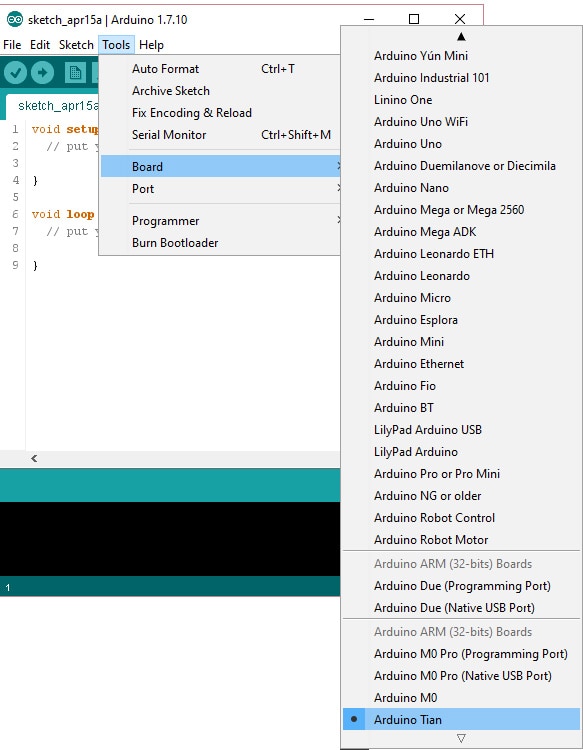
With the latest Arduino IDE 1.7.10, you can upload sketches to the Arduino Tian board using the WiFi as long as both the Tian and your computer are connected to the same network. The process of selecting OTA programming is very simple. Open up the example Blink sketch and select the board in the board menu, Tools>Boards.
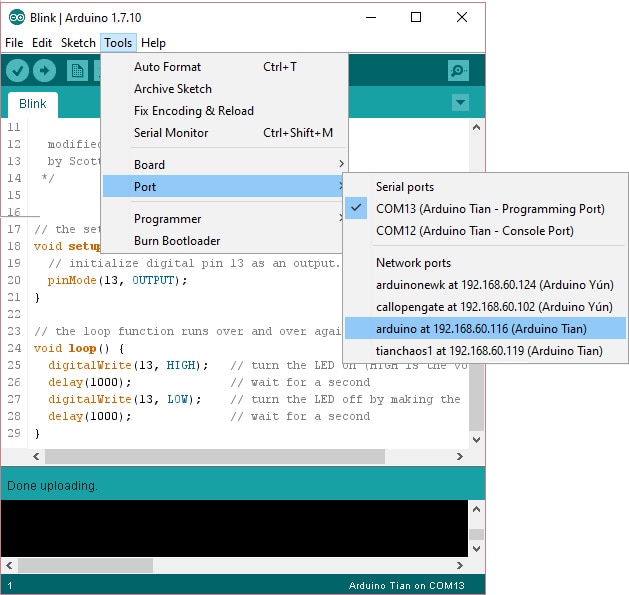
Now in the Tools>Port menu , under Network ports you should see the Arduino Tian device appear.
Once done, click Upload sketch and type in the Arduino Tian password when prompted to do so.
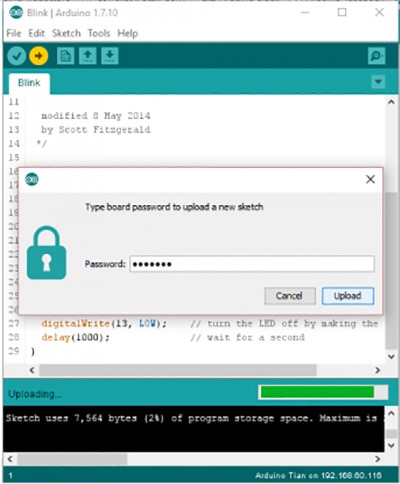
Then sketch should start to compile in the IDE and be uploaded to your Arduino Tian. You will see the on-board LED blink.
Summary
There is no doubt that the Arduino Tian board is a very powerful tool complimented by the new Arduino OS which simplifies the Linux side of things for beginner whilst also offering more complex software tools for advance users. The Arduino Tian is also IoT ready with dual-band WiFi and integrated Bluetooth low energy allowing the board to be programmed OTA. In comparison to the Arduino Yun the Tian also offers a built-in eMMC 4GB of storage giving better reliability and ease of access to the Linux file system. This really is a great board that will battle its rivals to be one of the best.

Have questions or comments? Continue the conversation on TechForum, DigiKey's online community and technical resource.
Visit TechForum


 中国
中国