Ray-Ban Stories Smart Glasses Teardown
2023-04-30 | By bekathwia
License: None Wearables
Today I’m taking a look inside the Ray-Bans Stories smart glasses. They’ve got cameras, speakers, microphones, and a whole lot more crammed into these frames.
These glasses are particularly interesting because of how small and oddly shaped the electronics must be to fit entirely in the otherwise pretty normal-looking frames. Before I took them apart, I sent them off to be CT scanned by my friends at Lumafield.
Taking apart these glasses was not an easy or elegant task. The only screws I was able to remove successfully were the ones holding the arms onto the front of the frames, and even still, there were flex PCBs routed through these hinges that I broke when I tore the arms off.
Tools used in this teardown:
- Tweezers
- Pliers
- Screwdriver
- Microscope
- Eye protection
- Flush cutters
- Workholding tool
- Utility knife
- Rotary tool with cutoff wheel
- Bench vise
- Hot air rework station
- Awl
- Hammer
I found a couple more screws but I couldn’t get them out; I’m thinking they might have had thread lock on them.
So I brought them up a notch on the destruction scale over at my workbench, where I used my pedal-operated flex shaft to cut into the plastic of the glasses, wearing eye protection, of course.
Inside the arms, I found the battery and a circuit board. The majority of the chips on the board are covered in metal cans, which are usually used to block out unwanted RF interference. I used my hot air rework station to melt the solder affixing the cans to the board, and pried them off with tweezers.
I managed to extract one of the tiny camera modules by squeezing the glasses in my bench vice.
The charging case was also pretty difficult to break into, but eventually, I did it and found a beefy battery and a long skinny circuit board.
I brought in my favorite electrical engineer, David Cranor, to help make sense of the components I removed.
Here are all the components we were able to identify (1-5 are in the charging case, 6+ are in the glasses):
- Unknown - 2201UF
- I2C Controlled 3A Single-Cell Battery Charger with High Input Voltage Capability and Narrow Voltage DC (NVDC) Power Path Management - SG Micro SGM41511
- System-side fuel gauge with Dynamic Voltage Correlation, battery gas gauge - Texas Instruments BQ27621-G1
- Arm® Cortex®-M0+ 32-bit MCU STMicroelectronics STM32G031
- Thermister
- Shielded Ultra Small Dual Band Wi-Fi® 11a/b/g/n + Bluetooth® 5.0 Module - Murata Type1LV
- Unknown
- Combo Memory 4GB MLC + 4Gb LPDDR3 - Kingston 04EPOP04-NL3DM627
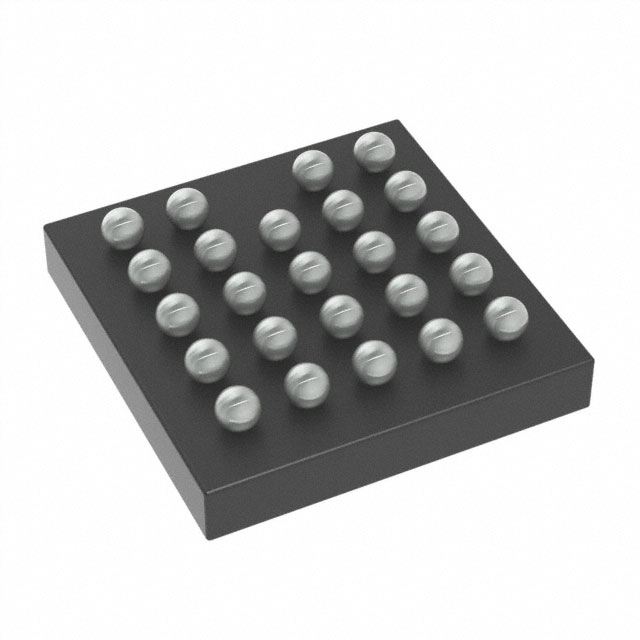
- Snapdragon Wear 4100+ SDA429w quad-core ARM Cortex-A53 MPcore application processor - Qualcomm SDA429W
- 2.5-A high-efficient buck-boost converter with I²C interface for dynamic voltage scaling - Texas Instruments TPS63811
- Capacitive Touch Sensing Mixed-Signal Microcontroller - Texas Instruments 430FR2632
- Logic Audio Amplifier - Cirrus CS35L41B
- i.MX RT600 Crossover MCU with Arm® Cortex®-M33 and DSP Cores - NXP Semiconductors MIMXRT685SFVKB
- Power management - Qualcomm PMW3101
also:
- 175 mAh Lithium-ion polymer battery - Huizhou Desay Battery Co, Ltd
- 2940 mAh Lithium-ion polymer battery
- 2x speakers
- 2x camera modules
On the first side of the main glasses board, we identified a Murata-made Wi-fi and Bluetooth module (6) and found a couple of possible locations for its antennas based on the interesting-looking geometry of the board. The Kingston memory chip (8), which fell off when I was hot-airing to remove other pieces, was hiding something else: A Snapdragon application processor (9), which is a commonly used, power-efficient processor for mobile applications.
There is also a buck-boost converter (10), which is a power regulator which combines a buck (step-down) and a boost (step-up) converter to efficiently convert an input voltage to a range of outputs.
On the other side of the board, we identified another microcontroller (13), which may be used for co-processing the video or audio. There is also a huge power management chip (14), which is associated with the Snapdragon (9). David explained that, with more complicated computer systems, it's common to abstract processors into multiple chips to provide more flexibility in the design.
There were also dozens of passive components, which had been hidden under a can.
We analyzed the glasses battery, which has some additional connections, which might be for protection circuitry or built-in sensors. The speaker assembly also has a press-fit connector and a flex connector that runs down the arm of the glasses. One of the camera modules had an attached LED, which lights up when in use to let others know that the glasses may be recording.
On the circuit board for the charging case, we found a battery charger (2), which is a battery safety feature that regulates the charging rate and reduces the risk of fire or explosion. There was also a fuel gauge (3), which monitors the useful life of the battery, and a thermistor (5), which is another safety feature that monitors the battery temperature.
You can explore the scans of the Ray-Bans Stories and its charging case yourself on Lumafield. And find the tools and components discussed in this teardown:

Have questions or comments? Continue the conversation on TechForum, DigiKey's online community and technical resource.
Visit TechForum


 中国
中国