制造商零件编号 900-00005
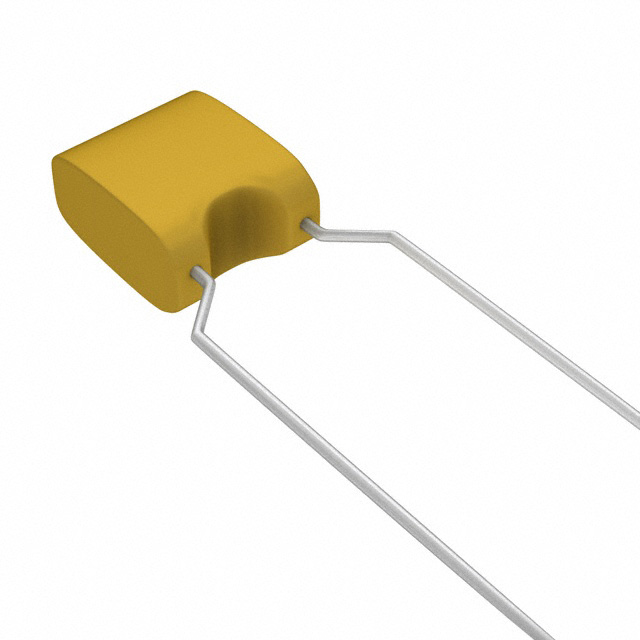
SERVOMOTOR RC 6V
Parallax Inc.
License: None Photon
When trying to stick to a strict diet, it can be difficult to resist the urge to eat our favorite snacks. In this project, we will use the Photon to create a sweet dispenser that is controlled via an IoT feed.
BOM
Scheme-it
How It Works – The Mechanics
The sweet dispenser takes heavy advantage of premade modules and units (such as the Particle Photon and servos) to keep the circuit construction simple. The complexity in this project comes from the mechanical construction of the dispenser and the software that lies on the Photon. Creating a feeder can be done in a number of ways, but two methods come to mind for a project involving sweets such as M&Ms:
A funnel feeder would take a funnel that holds the sweets and then has a piece of plastic attached to a servo that prevents the sweets from leaving the funnel at the bottom. When the servo is activated, the sweets can fall through and enter a dispensing tray that can be then taken by the user. Funnel feeders are very easy to design and build, but they can have problems in scenarios where either the food being held gets damp and begins to clump or if the exit hole at the bottom of the funnel is not wide enough.
A chicken-style feeder uses a trough that rotates about its axis and acts as both a feeder and food blocker at the same time. Typically, the trough points upward and the food above falls into the trough, but the trough acts as a barrier and food cannot fall through. When the trough is activated, it quickly rotates 180 degrees and empties its contents below it. However, the top of the trough stops food from falling through. This method is more complex and takes longer to build but is much less likely to have issues with blockages.
The chosen feeder for this project is the funnel feeder, since it is very easy to build and prototype with commonly-found materials including paper, cardboard, wood, and 3D printed parts.
The Particle Photon controls the servo with the use of a single digital I/O pin, and, thanks to the low-power consumption of the servo, we can operate it directly from the 3.3V supply. However, to help prevent noise on the power line, when the servo operates, a 100uF and 100nF capacitor are placed next to the servo. The Photon will also take advantage of standard USB chargers and will use one with a micro USB B output for power.
How It Works – The Software
The software is what makes the project work; it relies on the Adafruit IO library, which makes communication with Adafruit IO simple and easy. However, since writing this project, there has been a problem with the library provided by GitHub; Photon devices cannot receive information from Adafruit IO. Upon investigation, it turns out that the REST API by Adafruit may have changed slightly, which means the library can no longer understand the data stream and therefore throws an error when trying to read data.
Although the online version of the Photon IDE cannot be used, a downloaded version will work. Instead, the downloaded version needs to be used. Attached to this project are the project files which include the modified Adafruit IO library.
The Particle Photon has three tasks to perform:
Monitoring Adafruit IO is fairly simple with the .receive() function that continuously reads data from the sweetDemand feed. If the value of this feed is 1 (i.e. the “Feed Me” button was pushed on the dashboard, then the Photon turns the servo to allow the falling of sweets for a predetermined time before restoring the position of the servo (to prevent further sweets from falling).
Once the sweets have been delivered, the Photon writes back to a sweetCounter feed that can be useful for tracking how many portions have been requested. If the calorie of each portion is known, then this project could be expanded to inform the user of how many sugar calories they have consumed.
Code
#include "Adafruit_IO_Client.h"
#include "Adafruit_IO_Particle.h"

#define AIO_KEY "5be5de5d0e3c4d7a92c90dc7058fb91e"          // Adafruit IO AIO Key
TCPClient client;                                           // TCP Client used by Adafruit IO library
Servo feedServo;                                            // Servo that controls our feeder

// Create the AIO client object
Adafruit_IO_Client  AIOClient = Adafruit_IO_Client(client, AIO_KEY);

// Create a feed object to send and get data
Adafruit_IO_Feed    sweetDemandFeed = AIOClient.getFeed("sweetDemand");
Adafruit_IO_Feed    sweetCounterFeed = AIOClient.getFeed("sweetCounter");

// Start-up code
void setup()
{
  // Start the Adafruit IO Client
  AIOClient.begin();

  // Connect the Servo to D0
  feedServo.attach(D0);
  feedServo.write(0);
}

// Main loop
void loop()
{
  // Grab the latest data from AIO
  FeedData sweetDemandFeedLatest = sweetDemandFeed.receive();
  FeedData sweetCounterFeedLatest = sweetCounterFeed.receive();

  // Determine if the data is valid
  if(sweetDemandFeedLatest.isValid())
  {
    if(String(sweetDemandFeedLatest) == "1")
    {
      feedServo.write(90);   // Turn the servo
      delay(500);             // Make sure its a tight portion ;)
      feedServo.write(0);     // Turn the servo back

      // Get the counter value and keep trying until succesfull
      while(!sweetCounterFeedLatest.isValid())
      {
        sweetCounterFeedLatest = sweetCounterFeed.receive();
      }

      // Get the counter, convert it to an integer, increment, and save back
      String strCounter = String(sweetCounterFeedLatest);
      int sCounter = strCounter.toInt();
      sCounter ++;
      sweetCounterFeed.send(String(sCounter));
      sweetDemandFeed.send("0");
      delay(3000);
    }
  }
  delay(200);
}