DIY Arduino Holographic Matrix Clock
2023-06-02 | By Mirko Pavleski
License: General Public License Arduino
This is another in my series of unusual DIY clocks, this time realized based on the holographic effect. It's really very interesting to watch, and you get the impression that the numbers are floating in the air.
This is the simplest way of creating a hologram, where the light source and the screen are placed at an angle of 45 degrees. In the case when we have a text or a numerical message, we need to know that the information of the light source should be a mirror of the original image which we should see on the screen. For the light source I use a very simple to build matrix clock, which is actually a modified version of one of my previous projects entitled "Arduino Nano mini LED matrix clock" , where I modified the original code to get a mirrored image.
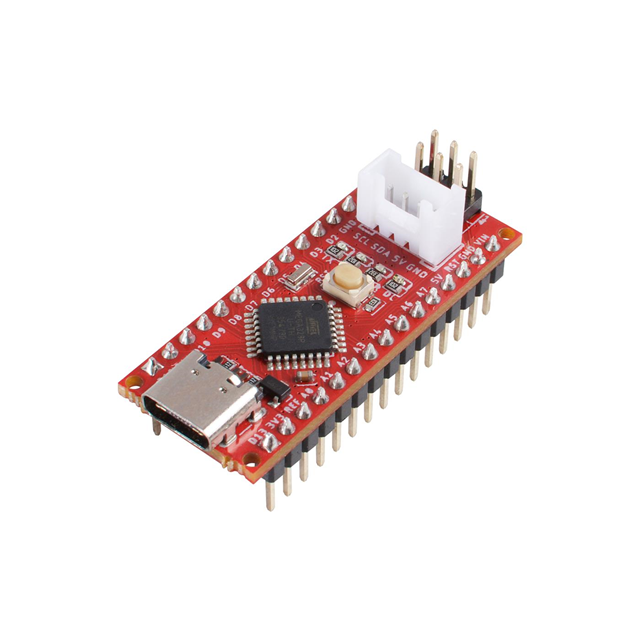
As I mentioned the clock is really simple to build, and consists of several components: - Arduino nano microcontroller - DS3231 Realtime clock module - 8x32 Led matrix module - and two buttons.
This little clock is full of different faces, work modes, and other options that you will be able to see in the continuation of the video.
As for the mechanical construction of the device, it is necessary to observe several rules: - The primary light source should be positioned so that it cannot be seen from the front of the device. - The screen should be placed at an angle of 45 degrees with respect to the plane of the light source.
- Also, the screen should be as thin as possible, but also strong enough to keep its shape. If ordinary glass with a thickness of 3 or 4 mm is used, the light will be refracted twice, so the image will be blurred. - The entire device should be covered with black matte wallpaper or paint, to have as little reflected light as possible on the surrounding parts, for a more realistic appearance.
- By changing the distance between the source and the screen, the height of the hologram image changes, so we must determine this distance experimentally. If the source and screen are set according to the recommendations given above, the hologram image appears in the middle of the screen. With two buttons we can adjust the various options.
I adapted this device from the beginning so that it can also displays holograms from a smartphone. For this purpose, the light of the smartphone should be set to maximum, and then a video specially designed for the hologram presentation should be selected. These videos are usually with a black background, so that the hologram effect is more emphasized.
Schematic:

Have questions or comments? Continue the conversation on TechForum, DigiKey's online community and technical resource.
Visit TechForum


 中国
中国