


制造商零件编号 2968
ADDRESS LED STRIP SERIAL RGB 1M
Adafruit Industries LLC
License: None 3D Printing Breadboards
Once a design is selected or created, it will need to be sent to someone with a laser. While this could be done with a dremel or sandpaper, laser etching really produces the best finished product. Check with local sign or trophy making shops, or look online for a company that will do this.
This sign was etched on a 12”x12”x⅛” thick acrylic sheet with a ULS (Universal Laser Systems) M660. The laser etched about ⅓ to ½ way through the acrylic. There are a few tips to keep in mind that will make the sign more visually pleasing. After trial and error, it was decided that etching a mirror image on the back of the acrylic had more of a crisp, clear appearance. Make sure any lettering either has a partial etched fill or a thick outline so it doesn’t blend in with the rest of the design. The original piece was ultimately used, but these are changes that would be made a second time around.
A shadow box of the appropriate size was sourced from a local craft store. The glass was removed, and new wood slats were cut with the correct size grooves for the Neopixels and the acrylic. Notches were cut from the ends to allow the wire to be run. These were painted and glued, then assembled with a strip of Neopixels on the top and on the bottom so the light would be evenly distributed through the entire length of the sign.
After the Neopixels have been cut and spliced (take note of the input/output as the strips are directional), wires from the input side of the Neopixels were run to the circuit that is mounted on the back of the shadow box in a 3D printed enclosure. The 5V version of the Pro Trinket from Adafruit was selected to program the Neopixels. Since they both run off of 5V, this enabled us to use a single power supply.
For this sign, pin 2 on the trinket is being used as the digital output to the Neopixels. Power and ground from the Neopixels and the Trinket are tied together. Power is run with a SPST on/off switch in series, then to a DC barrel jack. All of this is powered by a 5V, 4A wall wart.
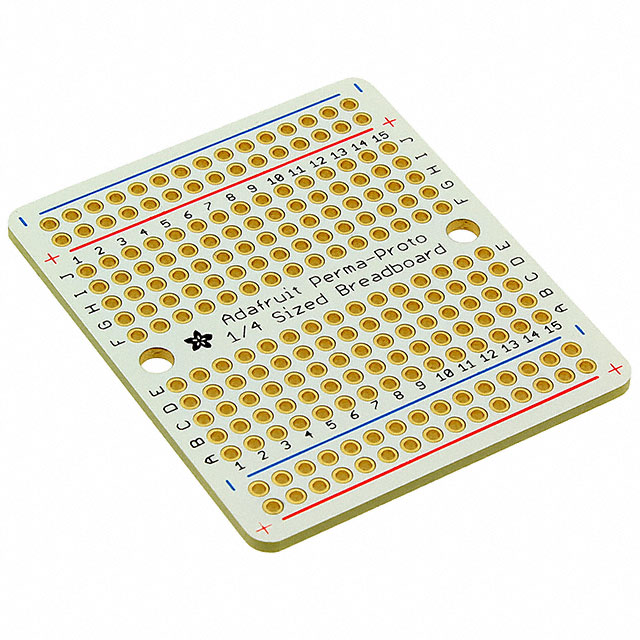
After everything was hooked up and functioning, this image was discovered from Adafruit’s website. The digital wire was cut to place the resistor in series, and the capacitor was added to the negative and positive rails of our perma-proto. Be mindful to the polarity of the capacitor.
Setting up the Trinket to run the Neopixels had a few catches that we weren’t aware of. https://learn.adafruit.com/adafruit-arduino-ide-setup/overview Follow this link and the instructions for installing the Arduino IDE to function with the Trinket. Once that is set up, download the Neopixel library from Adafruit. Open a new sketch, select “Sketch” off of the toolbar, then “Include Library”, and “Manage Libraries”. The library manager screen will pop up. In the search box, type Neopixel. Then highlight Adafruit Neopixel and hit install. Upload an example sketch such as the strandtest and ensure the correct defined pin is entered.
This was a fairly quick and easy project to create. Once everything was modified and fitted everything went together well. The sign is an entertaining addition to our “Another Teaching Moment” videos.

Have questions or comments? Continue the conversation on TechForum, DigiKey's online community and technical resource.
Visit TechForum


S.jpg)

 中国
中国