制造商零件编号 5652
MOVE:MINI MK2
Kitronik Ltd.
If you’re reading this maybe you’re interested in building your very first robot. Maybe you’re also interested in being able to program that robot. Perhaps you’re scared to death! Maybe you’re looking for a relatively inexpensive build for a group of youth. Well I am here to tell you that the MOVE: for the Microbit microcontroller may just be the answer to all of your problems.
I’ve built, tested and reviewed many small robots in the past including some from Adafruit Industries, Makeblock and more. I was excited to get the opportunity to build one that utilized the MicroBit platform. MicroBit is an inexpensive microcontroller with a lot of features built-in. Out of the box the unit comes with two buttons, a 5x5 led matrix, bluetooth radio, digital accelerometer, compass and 3D manometer just to name a few features. This board is in the same category as something like the Adafruit Playground Express.
One of the major features of this board is being able to program it using block programming similar to Scratch. By simply graphically programming, downloading a file and dragging it onto the MicroBit, which shows up as a physical drive on most computers, no native IDE is required and no drivers need to be installed. When working in a classroom environment, this can be crucial to the success of having students get the boards to work with whatever computer is available. I’ve done countless Arduino/microcontroller sessions where we spent a good portion of the class simply troubleshooting connectivity. Boards like the MicroBit and Circuit Playground Express remove this hurdle.
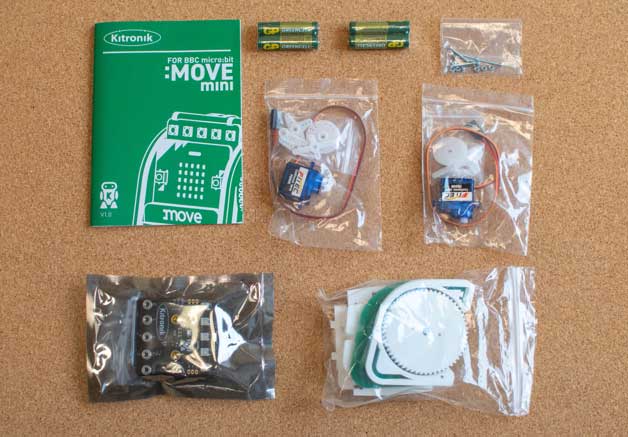
Now, let’s get back to building a robot! The MOVE: kit comes with everything you see pictured here, including the batteries which will act as a power source.

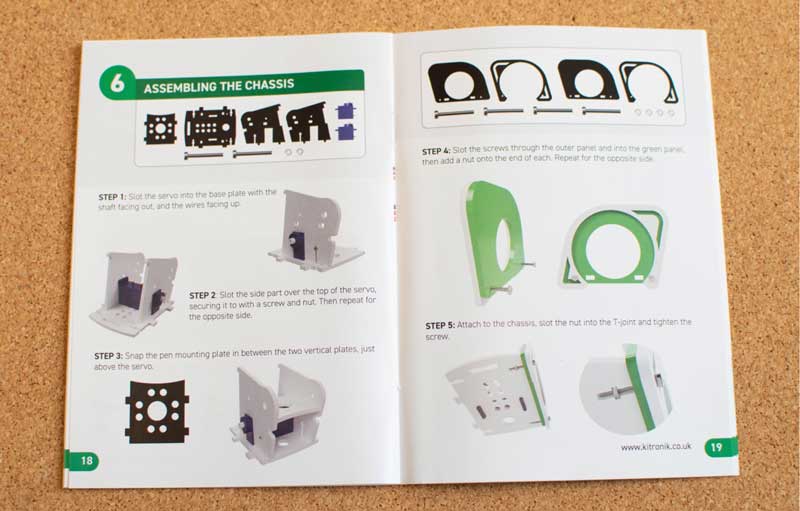
The instruction manual is fantastic and has color 3D illustrations to show you how to build the robot as well as programming examples. Nothing is overly complicated, however, some of the nuts and bolts are small and may be difficult for younger users. I wasn’t able to find an age on their website but I might not recommend this for anyone under 12.

As you go through the booklet you’re asked to first connect the MicroBit to the ServoLight board and test the lights. There is code in the book that walks you through using the online programming tool to test different colors on different LED’s. It runs you through a few examples so you understand what the code is doing and how to slightly modify it. Once you’ve attached the MicroBit to the ServoLight board you can plug in a micro usb cable, however not all cables will work as you need to find one with a slimmer amount of rubber/plastic around the connector.
Once you’ve done that you’re asked to assemble the servos (but not attach permanently yet!) and test those as well. People who have not played with servo motors before, or more specifically continuous servo motors, will enjoy learning how to make sure that the servo is tuned appropriately so there is no drift when it’s in its neutral position. Once you’ve done those few steps, you’re onto building the final assembly.


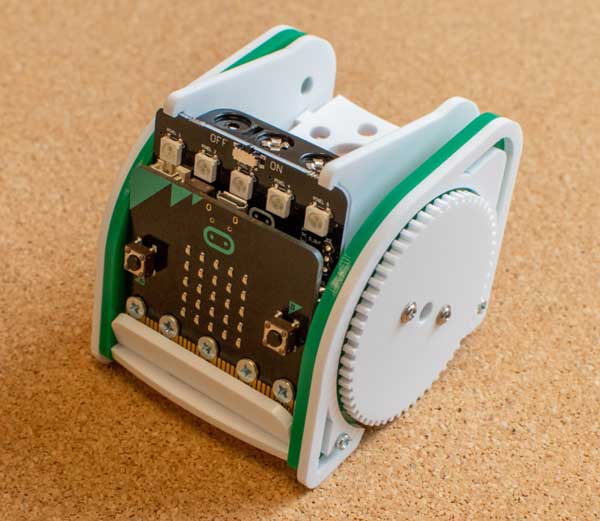
In building the final assembly, I didn’t find the laser cut parts to be as rigid as I had hoped, but once I put the ServoLight board into place it felt more solid. The final code has you incorporating not only the servo motors so it can drive, but also the LED lights so the little buggy has “headlamps”. The code also makes use of the two buttons on the front. I programmed it so that the A button made it move forward and turn on white LEDs and B made it move back and turn on red LEDs. If you press both buttons at the same time, it cancels motor functions and turns off the lights. Further instructions have you insert a pen into the pen holder built into the frame and start drawing shapes. By switching over to the javascript coding, it makes it easier to get a little more advanced in programming shapes to draw.
Next Steps: